We asked our Artist of the Month Chrissie Nicholls to create a new step-by-step tutorial for you all and she did not disappoint! She has put together this great tutorial which uses two different artistic mediums, calligraphy and illustration.
Follow her steps below and create your very own personalised envelope, perfect for any occasion! Why send a plain addressed evnvelope when you can personalise it?
So, what are you waiting for? Get your pens ready and lets go!
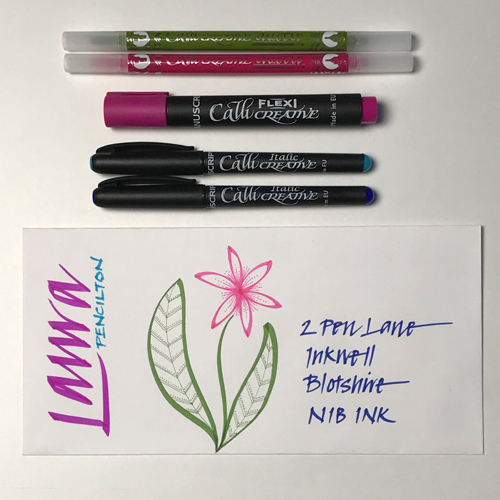
The Tools you need to get started:
- Manuscript Callicreative Fine Markers
- Manuscript Callicreative Duotip Marker
- Manuscript Flexi Marker
- Pencil
- Ruler
- Rubber
- Envelope of choice
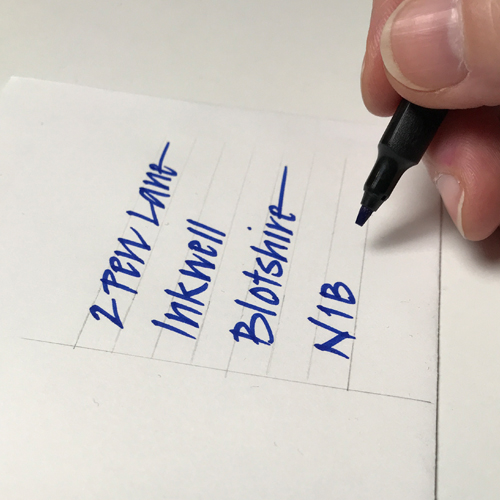
Step 1 - Prep Your Envelope
First start by practicing your lettering to understand how much room it will take on when you design your envelope.
Using your ruler and pencil, faintly draw your letter guides.
Don’t forget to leave room for a stamp! It’s a good idea to draw the outline so you can see where it will go.
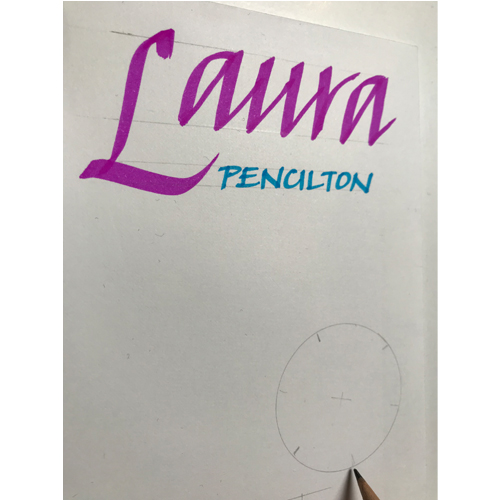
Step 2 - Add your Name
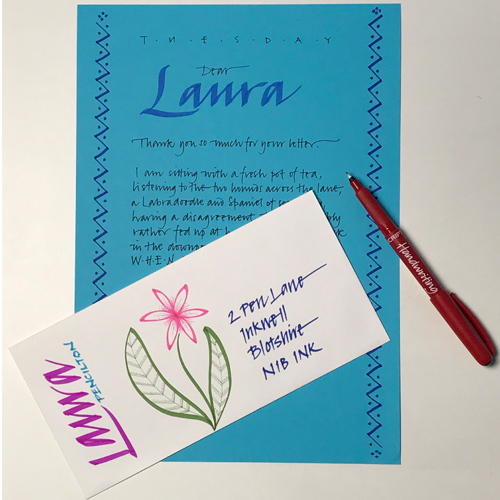
Expressively write the name of the person you’re sending your letter to along the short side of the envelope using the Flexi Marker. Then using the Callicreative Italic Marker in a different colour write their surname below.
Step 3 - Address your Letter
Write their address on the right hand side of the envelope, make sure it’s clear as this is the most important part for the Post Office!
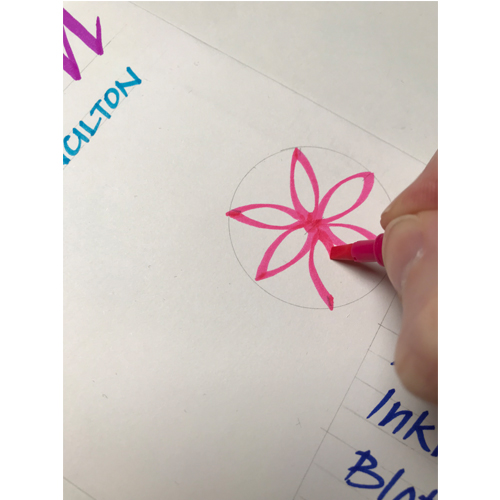
Step 4 - Add your Decoration
Draw out a circle, it doesn’t need to be too accurate, and mark off six points that are evenly spaced around the edge and the centre point. Draw the flower’s petals with the Italic end of the Duotip Marker and the smaller markings with the Fineliner tip.
Then draw the leaves, make these as swooshy as you like!
Take your rubber and erase your guidelines and write you letter (or add your contents to you envelope). If you are writing a letter you can decorate the edge of your paper with your Callicreative Italic Markers and some italic practise shapes. Here Christine has used a Flexi Creative Marker to write the name and a Manuscript Handwriting Pen for the letter’s content.
Everyone loves to receive a letter, particularly in a beautiful envelope.
Now you have tried this step-by-step tutorial, you will never want to address your envelope any other way!
Be sure to try out this tutorial and tag us in your post. Use #manuscriptpencompany and #manuscriptpens so we can share your posts.
To see more of Chrissie's work you can follow her on Instagram and remember to follow @manuscriptpenco on Social Media where we will be showcasing her work throughout the month.