We asked our Artist of the Month Abhay Singh to create a new step-by-step calligraphy tutorial for you all and he did not disappoint! Abhay has put together this exciting tutorial which will test your calligraphy skills. He combines two different calligraphy scripts in this step-by-step project for you to try out today!
Follow his steps below and create your very own masterpiece! Choose your colours of choice and you can use this technique for combining any letter, detail or word to your piece of artwork. Abhay chose Blackletter and Italic script to showcase various detail you can add to enhance your calligraphy.
So, what are you waiting for? Get your calligraphy pens and ink ready and lets go!
A list of products you will need:
- D Leonardt Roundhand Nib
- D Leonardt Tape Nib
- Ink
- Paper of your choice ideally 300GSM
- Ruler
- Rubber
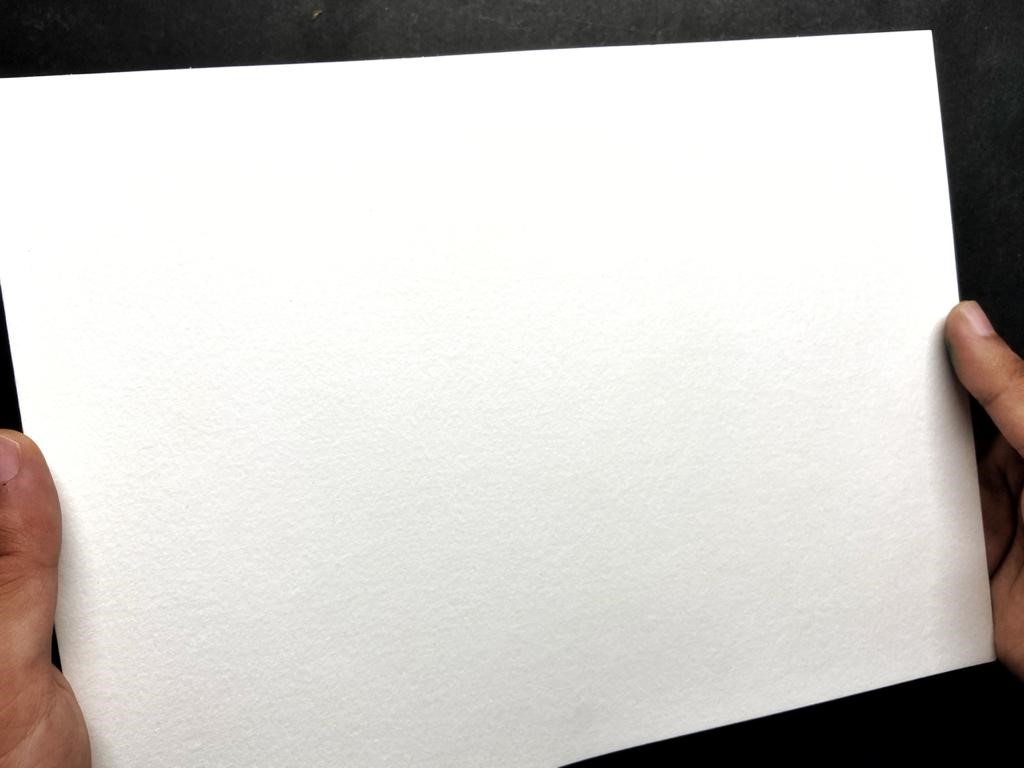
Step 1
Selection of Scripts & Paper
Select any two scripts, for this project I am going to choose Blackletter (Fraktur) Script and Italic Script. The paper should be thick enough to handle double strokes and I am going to use Canson XL Watercolor sheet
Step 2
Selection of tools
Select your tools based on the scripts you want to create, as i will be creating Blackletter and Italic so I will be using Manuscript Round Hand Nib (No.0) (4mm) for Fraktur Letters and Manuscript Tape Nib (1mm) for Italic Letters.
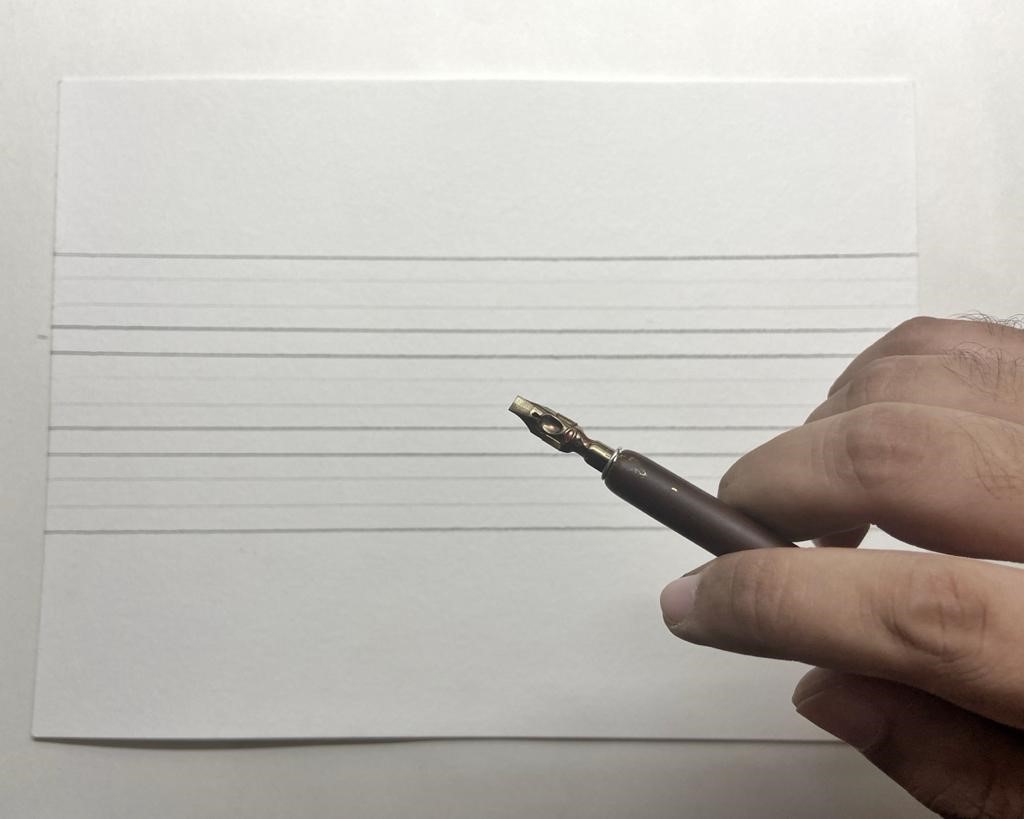
Step 3
Make your guidelines
Use ruler and draw the guidelines. The darker lines x height is 2cm for the Blackletters while the lighter lines inside of it has an x height of 5mm for italic letters.
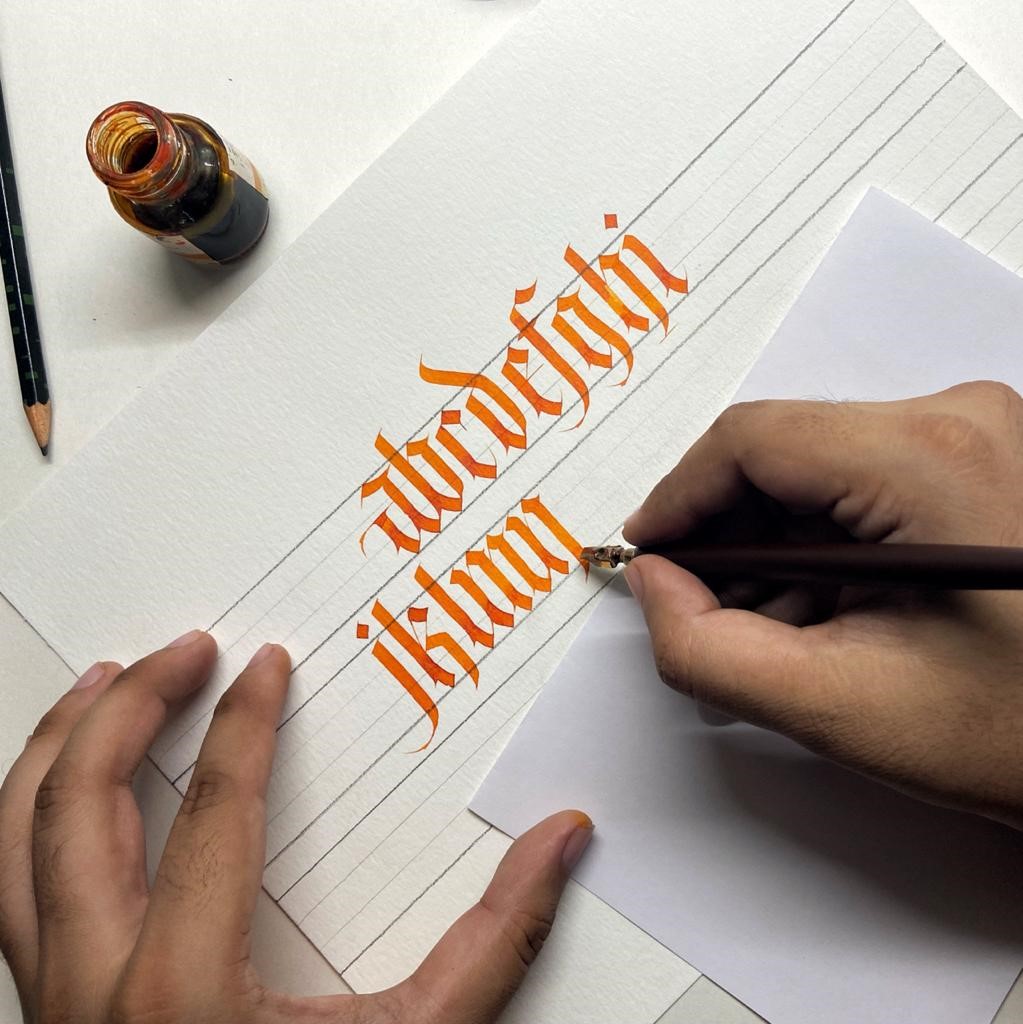
Step 4
Start with your first script
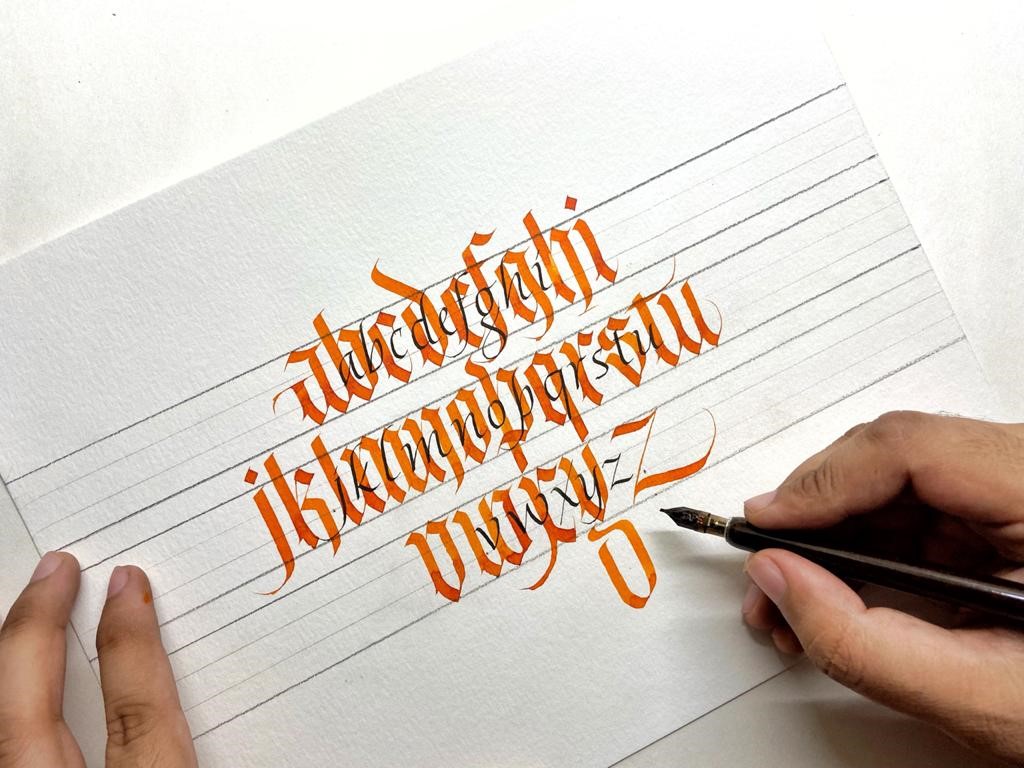
Start with your most "dominant" script and use contrasting colours for both scripts to really make your design pop. Here I have used Orange ink for Fraktur letters and I will be using Black ink for the Italic script.
Step 5
Add your second script
I chose Italic letters as my secondary script so after the Fraktur letters have dried, you can start writing your second letter choice. Youcan either write your italic letters over the fraktur letters or can write them in the space between the X-heights of the fraktur letters. I chose to write within the guidelines as you will see form the image below. However, there is no right or wrong way of doing this, it is purely dependent on your calligraphy style choices and preference.
Step 6
Erase your guidelines
Once your are complete (and your ink has dried) it's time to erase your guidelines! And now, your final piece is ready to display!
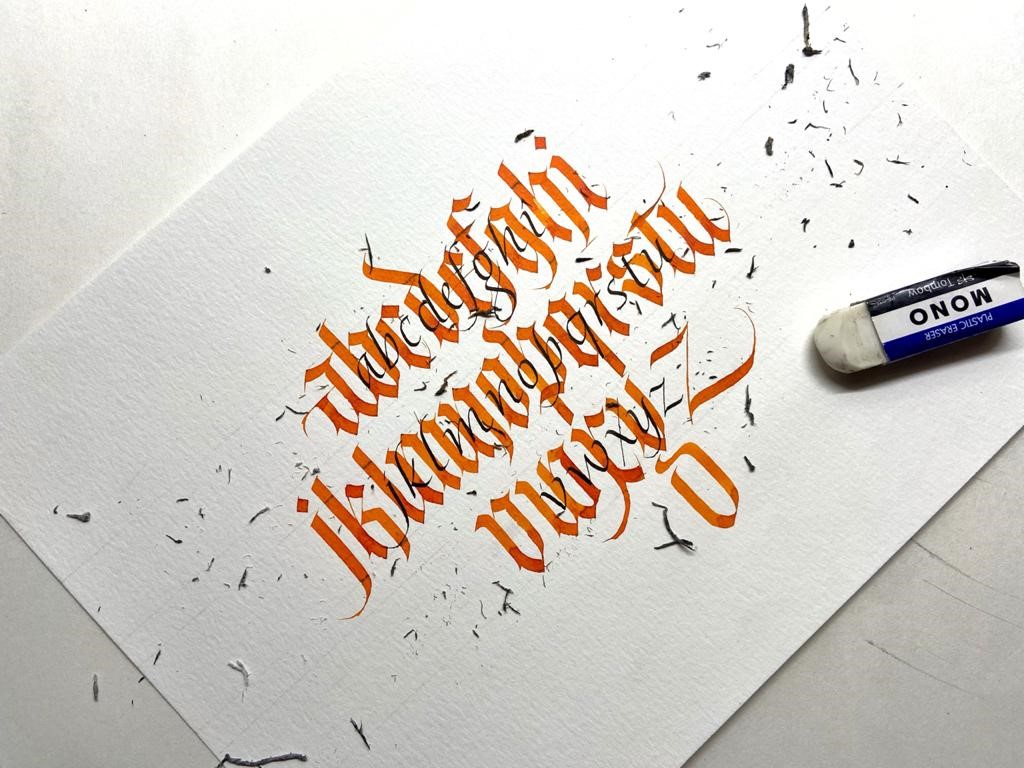
And there you have it, your artwork of multiple scripts is ready to be displayed! Give it a try and let us know how you get on!
Tag @abhaycalligraphy and @manuscriptpenco when you attempt this design and use #manuscriptpens. We would love to see and share what you create.
For more help and guidance with calligraphy and lettering, CLICK HERE for free downloads and help sheets!
To see more of Abhay's work you can follow him on Instagram and remember to follow @manuscriptpenco on Social Media where we will be showcasing his work throughout the month.
See more of Abhay's work in our Inspiration section HERE