RESOURCES
We're adding more resources here...
In the meantime please check out out Frequently Asked Questions or Contact our Experienced Customer Services team.
Helpful tips to get started with a Manuscript Fountain Pen
FAQS
I AM LEFT HANDED, WHAT NIBS CAN I USE?
If you are left handed, we have a versatile range of calligraphy products for you. We provide left hand nibs (nibs cut obliquely for Left Handers and for Arabic writing) in many different nib widths, for both dip pens and fountain pens. Calligraphy Fountain Pens
CALLIGRAPHY LEFT HAND NIB EXCHANGE
If you have a new Manuscript Calligraphy Fountain Pen set with straight cut nibs and wish, where possible, to exchange the unused nibs for left hand nibs (i.e. left oblique nibs suitable for left-handers and for Arabic writing), we offer this exchange free of charge and the only cost to you is for postage and packing. If you wish to make use of the left hand nib exchange for calligraphy fountain pens please download, complete and send back to us the Nib Exchange Leaflet. (Please note that the left hand nib exchange is not currently available for fountain pens in the Scribe Series or Master Pen)
HOW DO I USE AN INK CONVERTER?
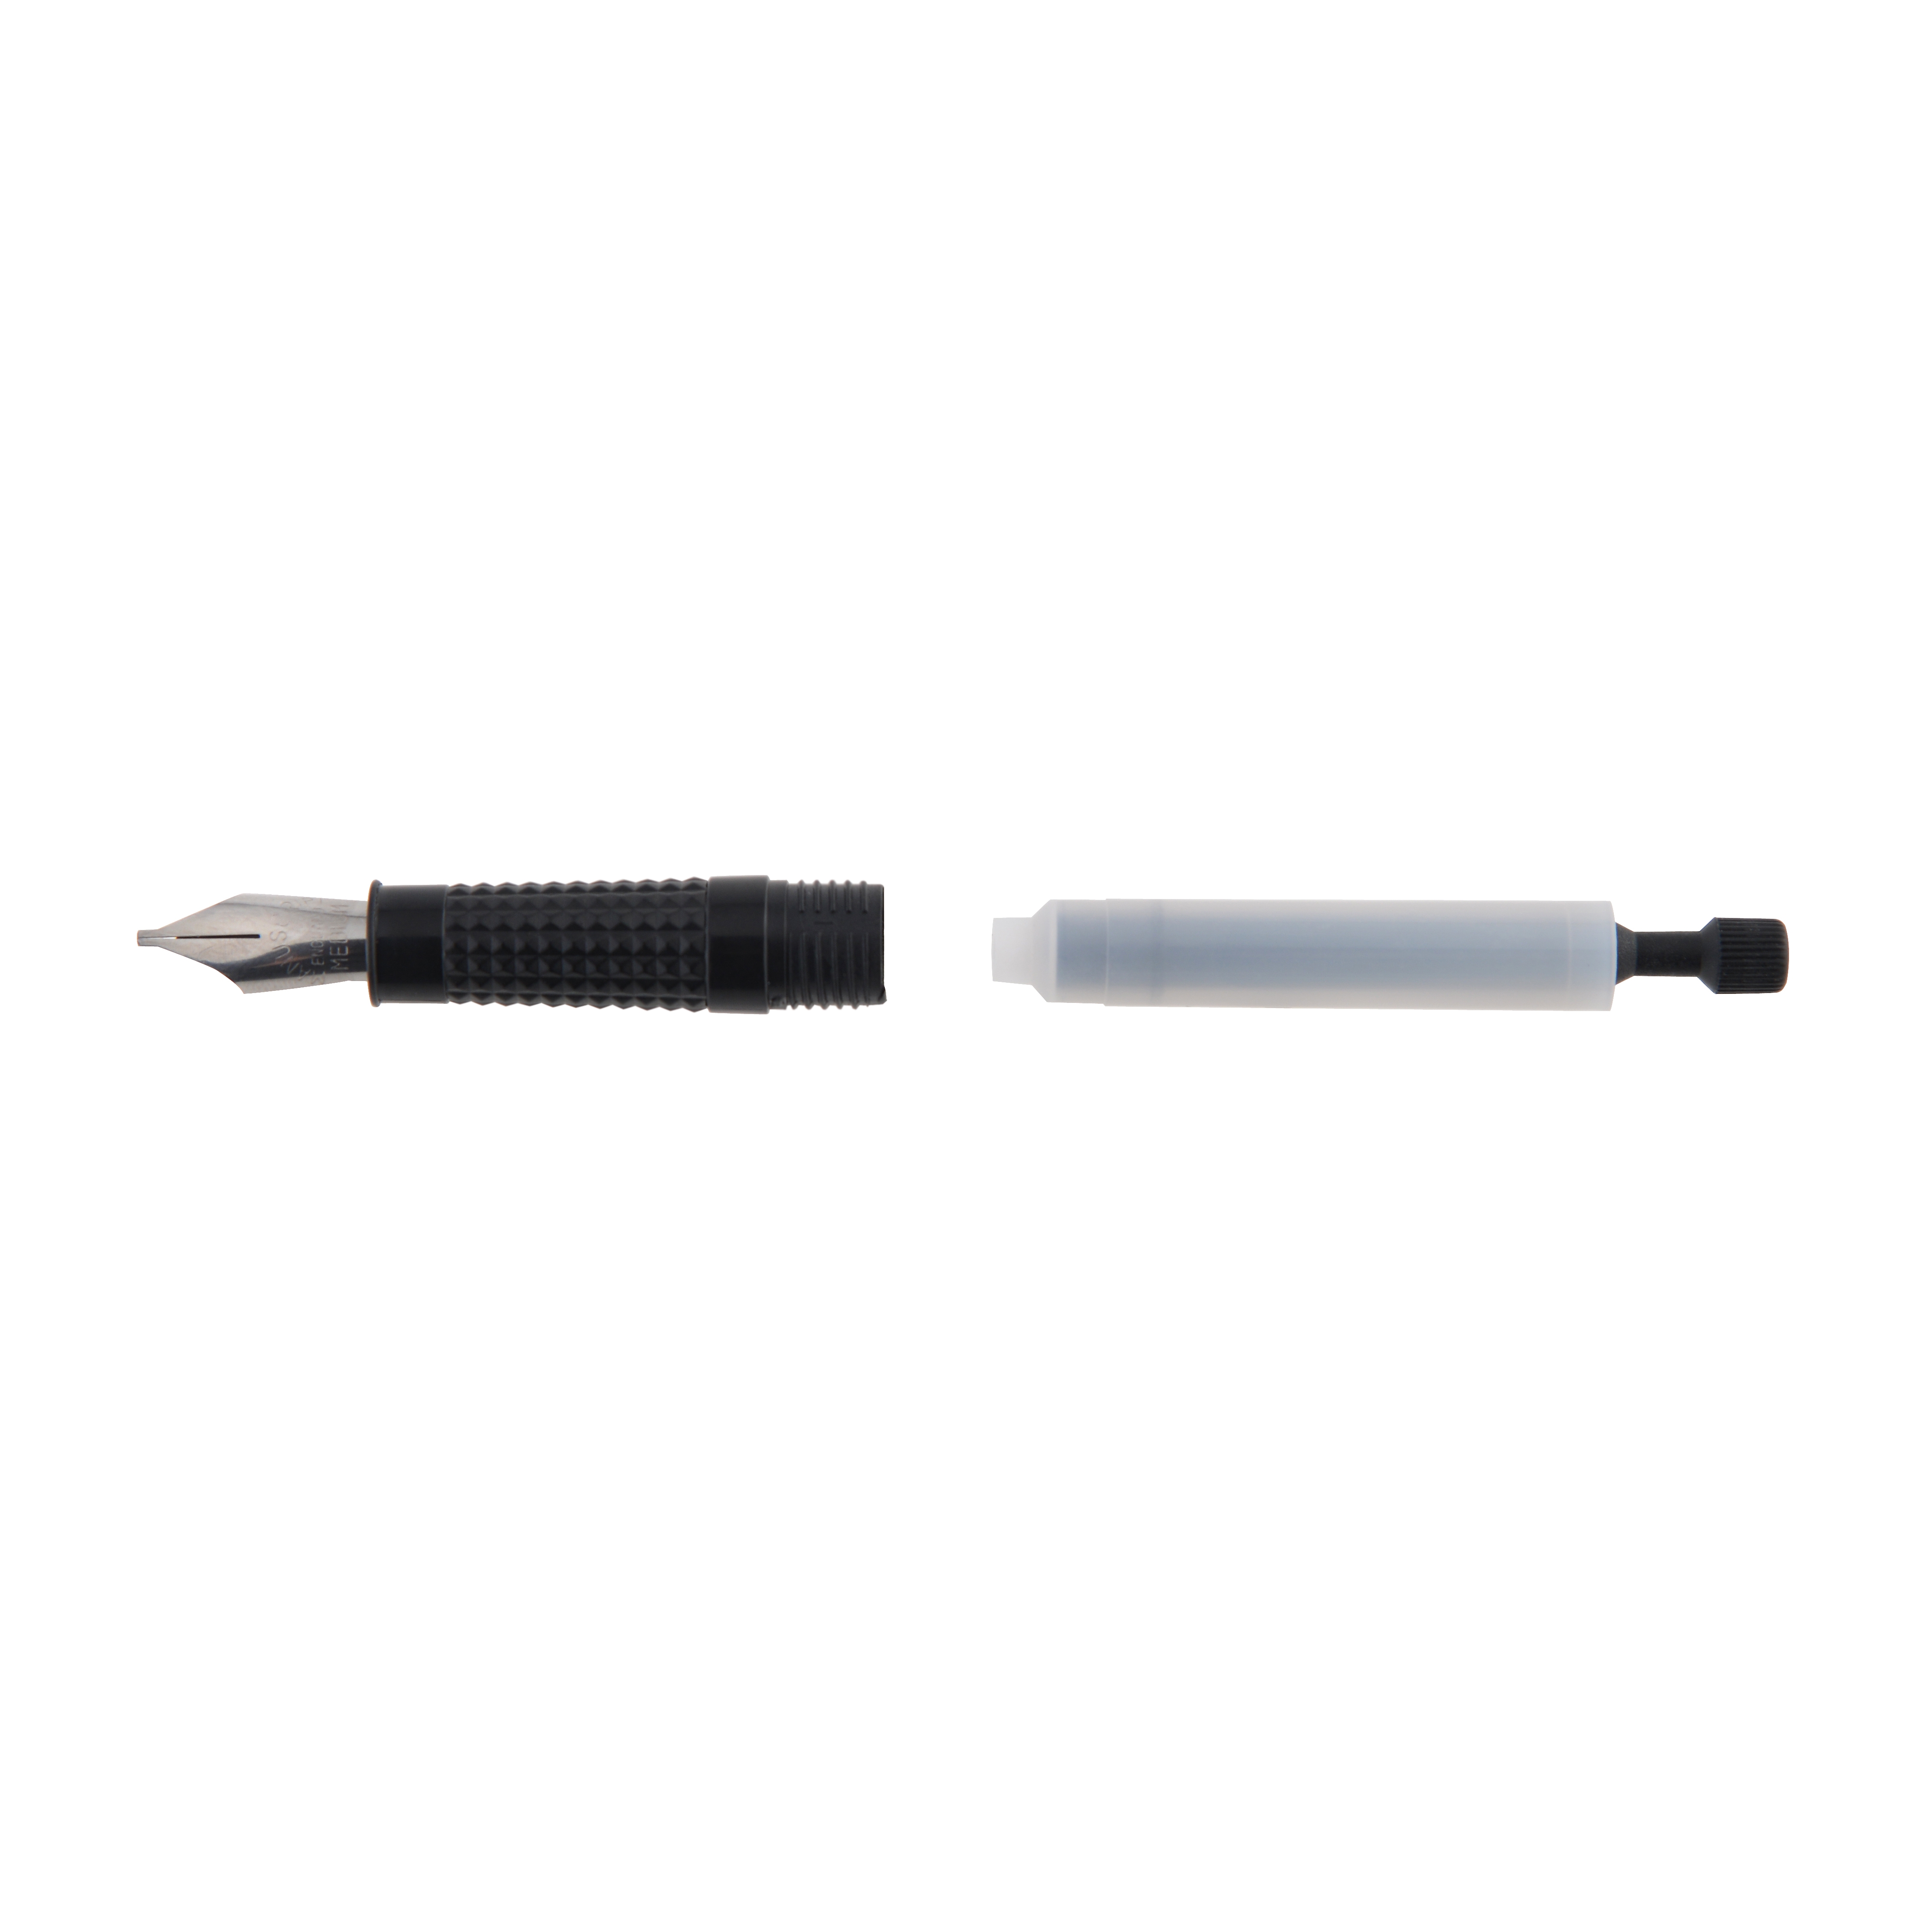
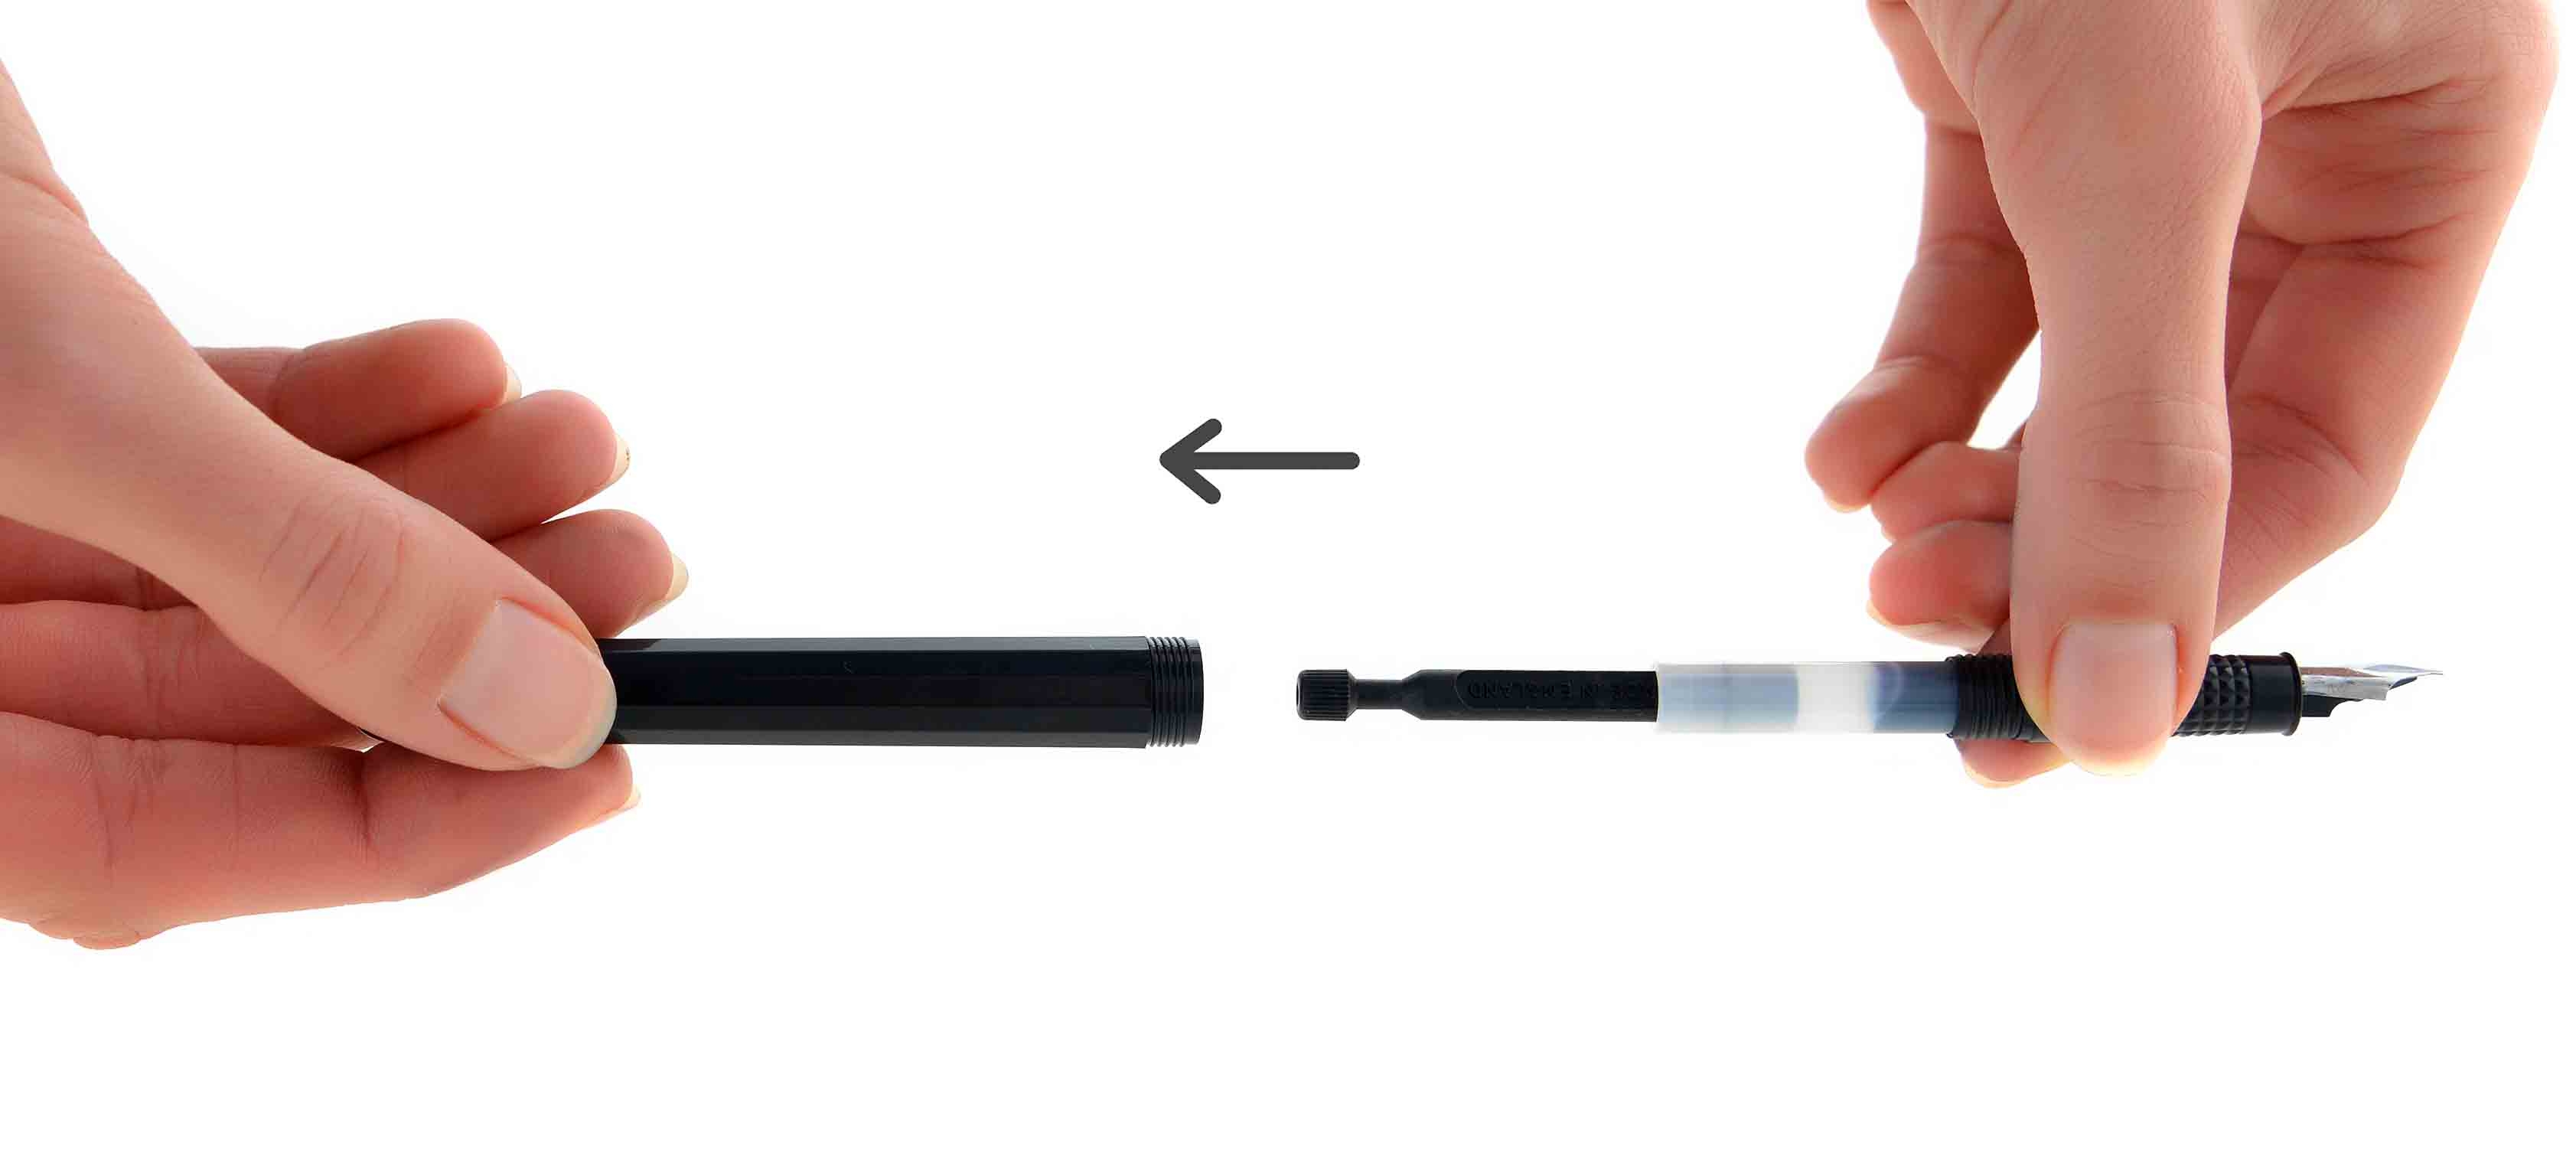
An Ink Converter is for use in a Fountain Pen only. If you are using a Manuscript Ink Converter ensure that your Fountain pen will accept international sized cartridges.What is an Ink Converter?An Ink converter works very much like a normal throwaway Ink cartridge. The key difference is that the converter can be refilled and used time and again.How do I use an Ink Converter?
1. Take the front end section of your fountain pen and remove the barrel.
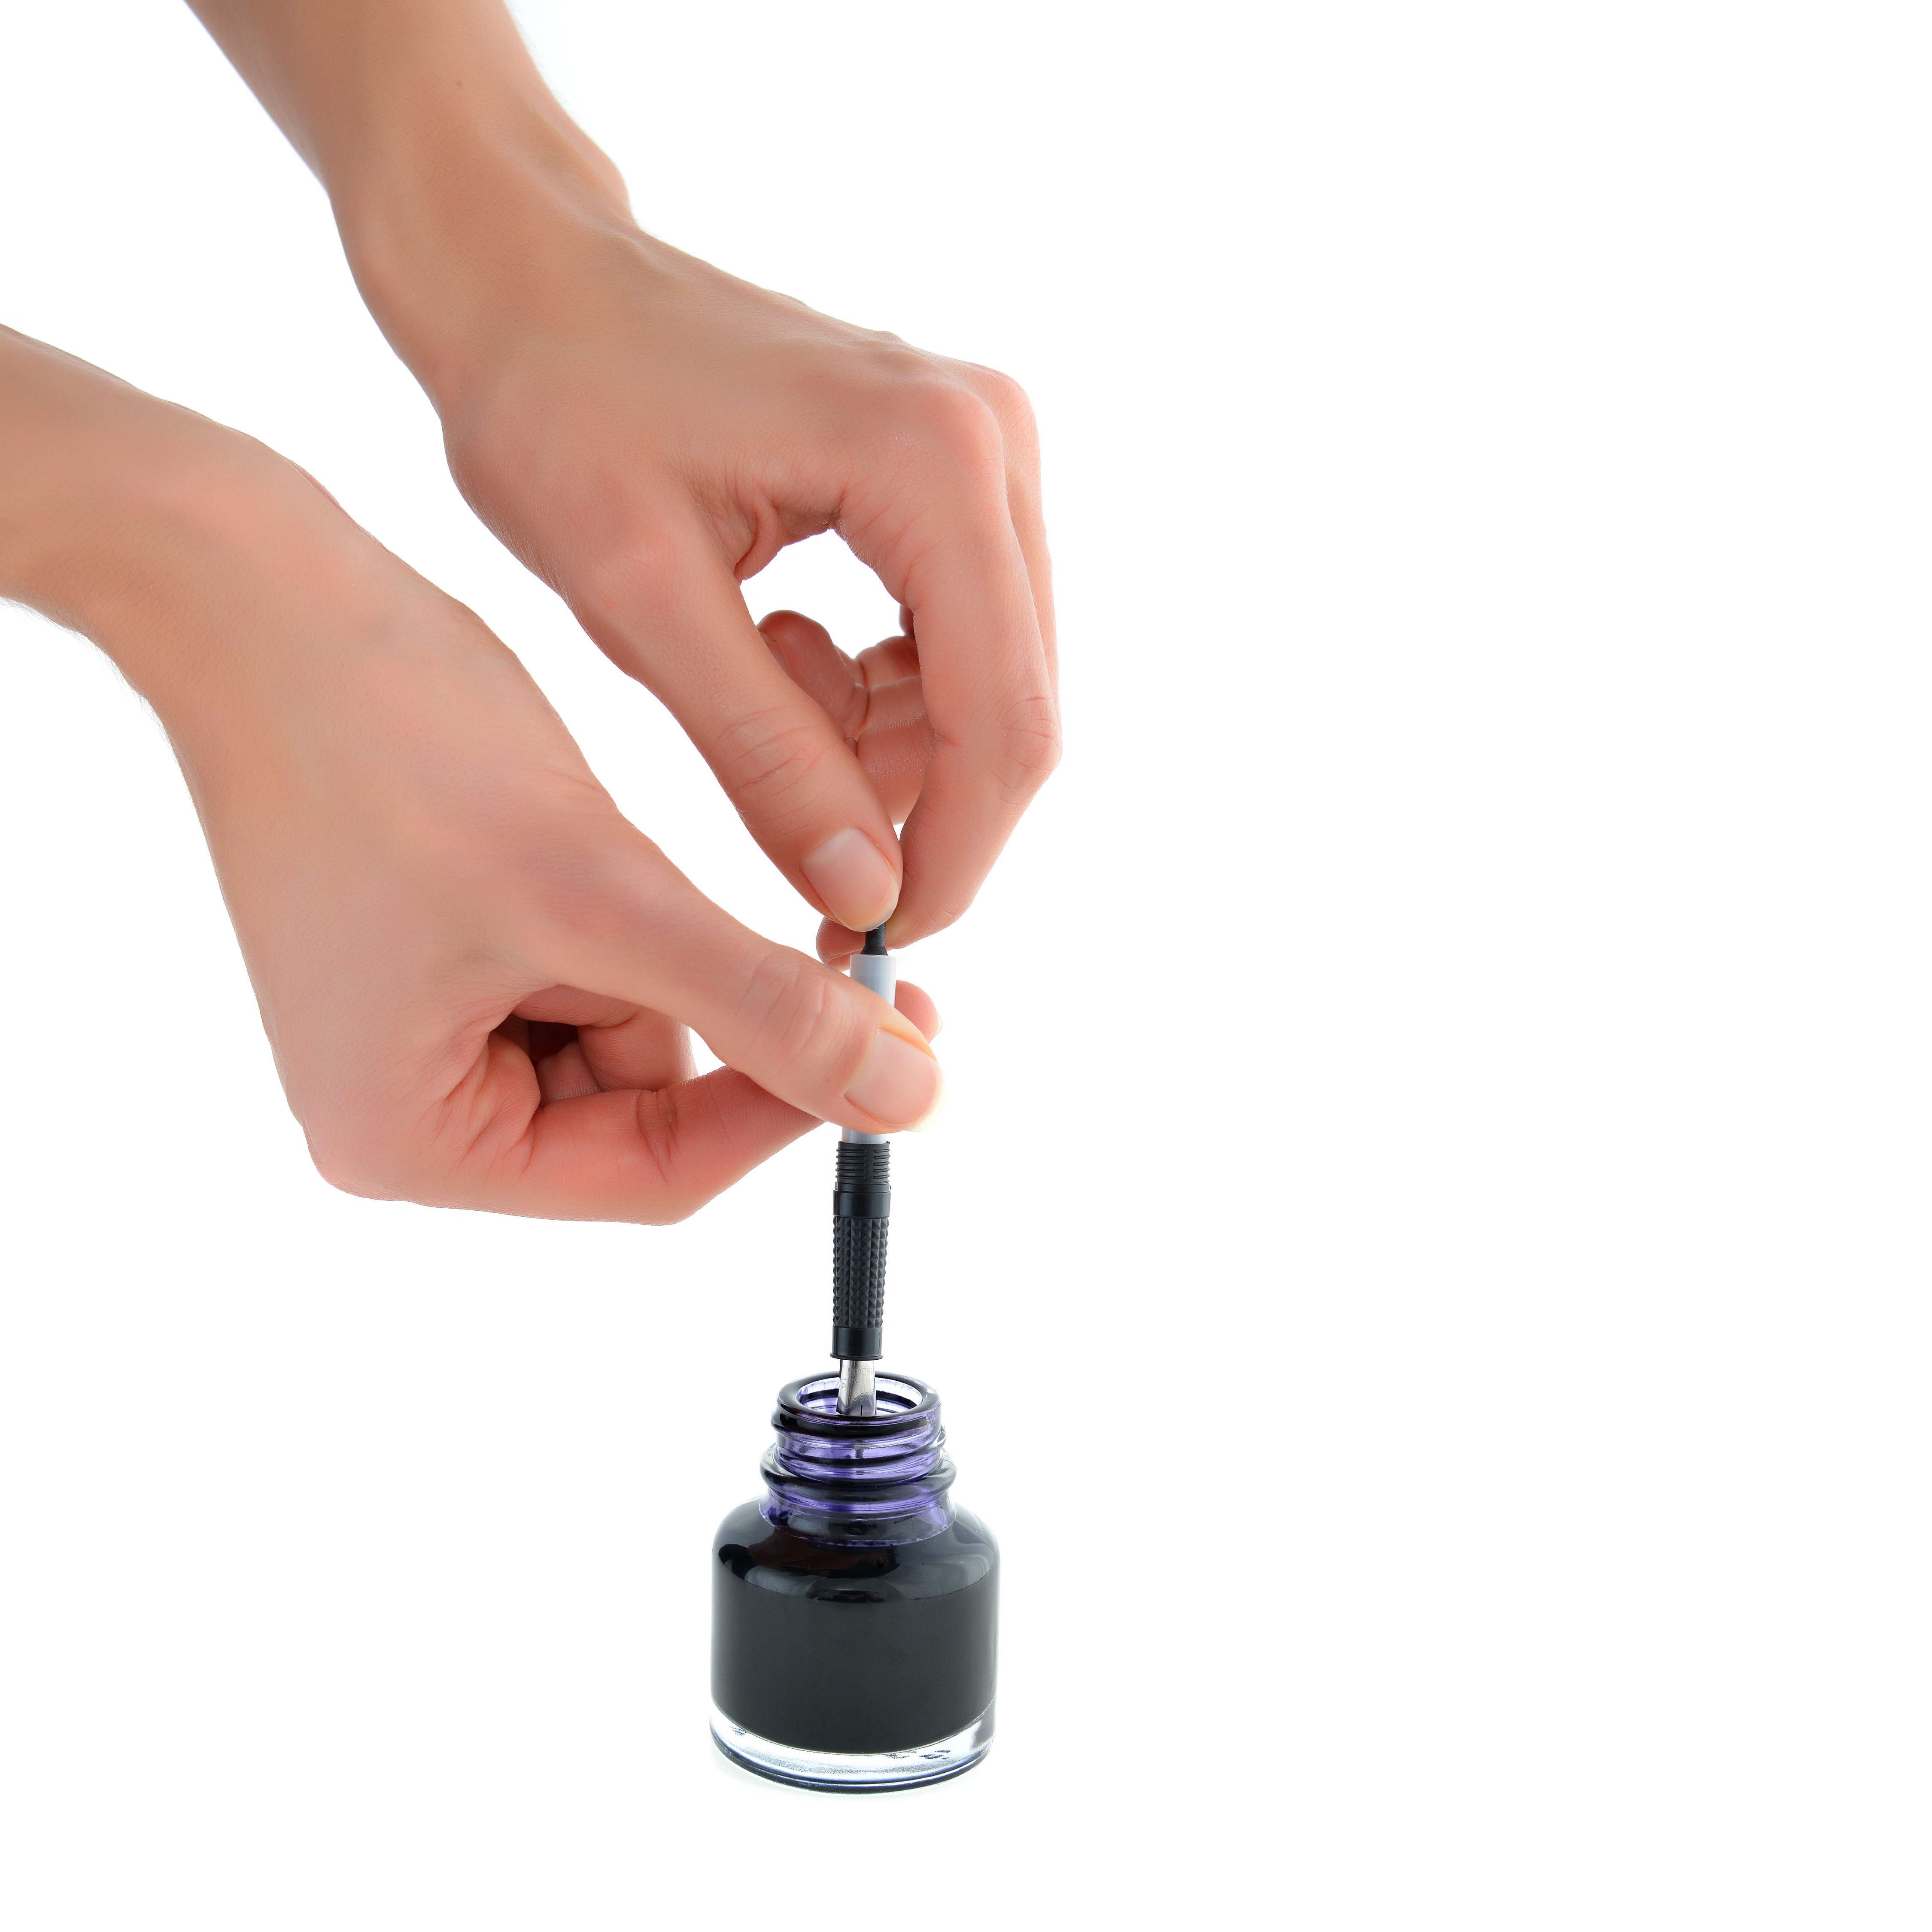
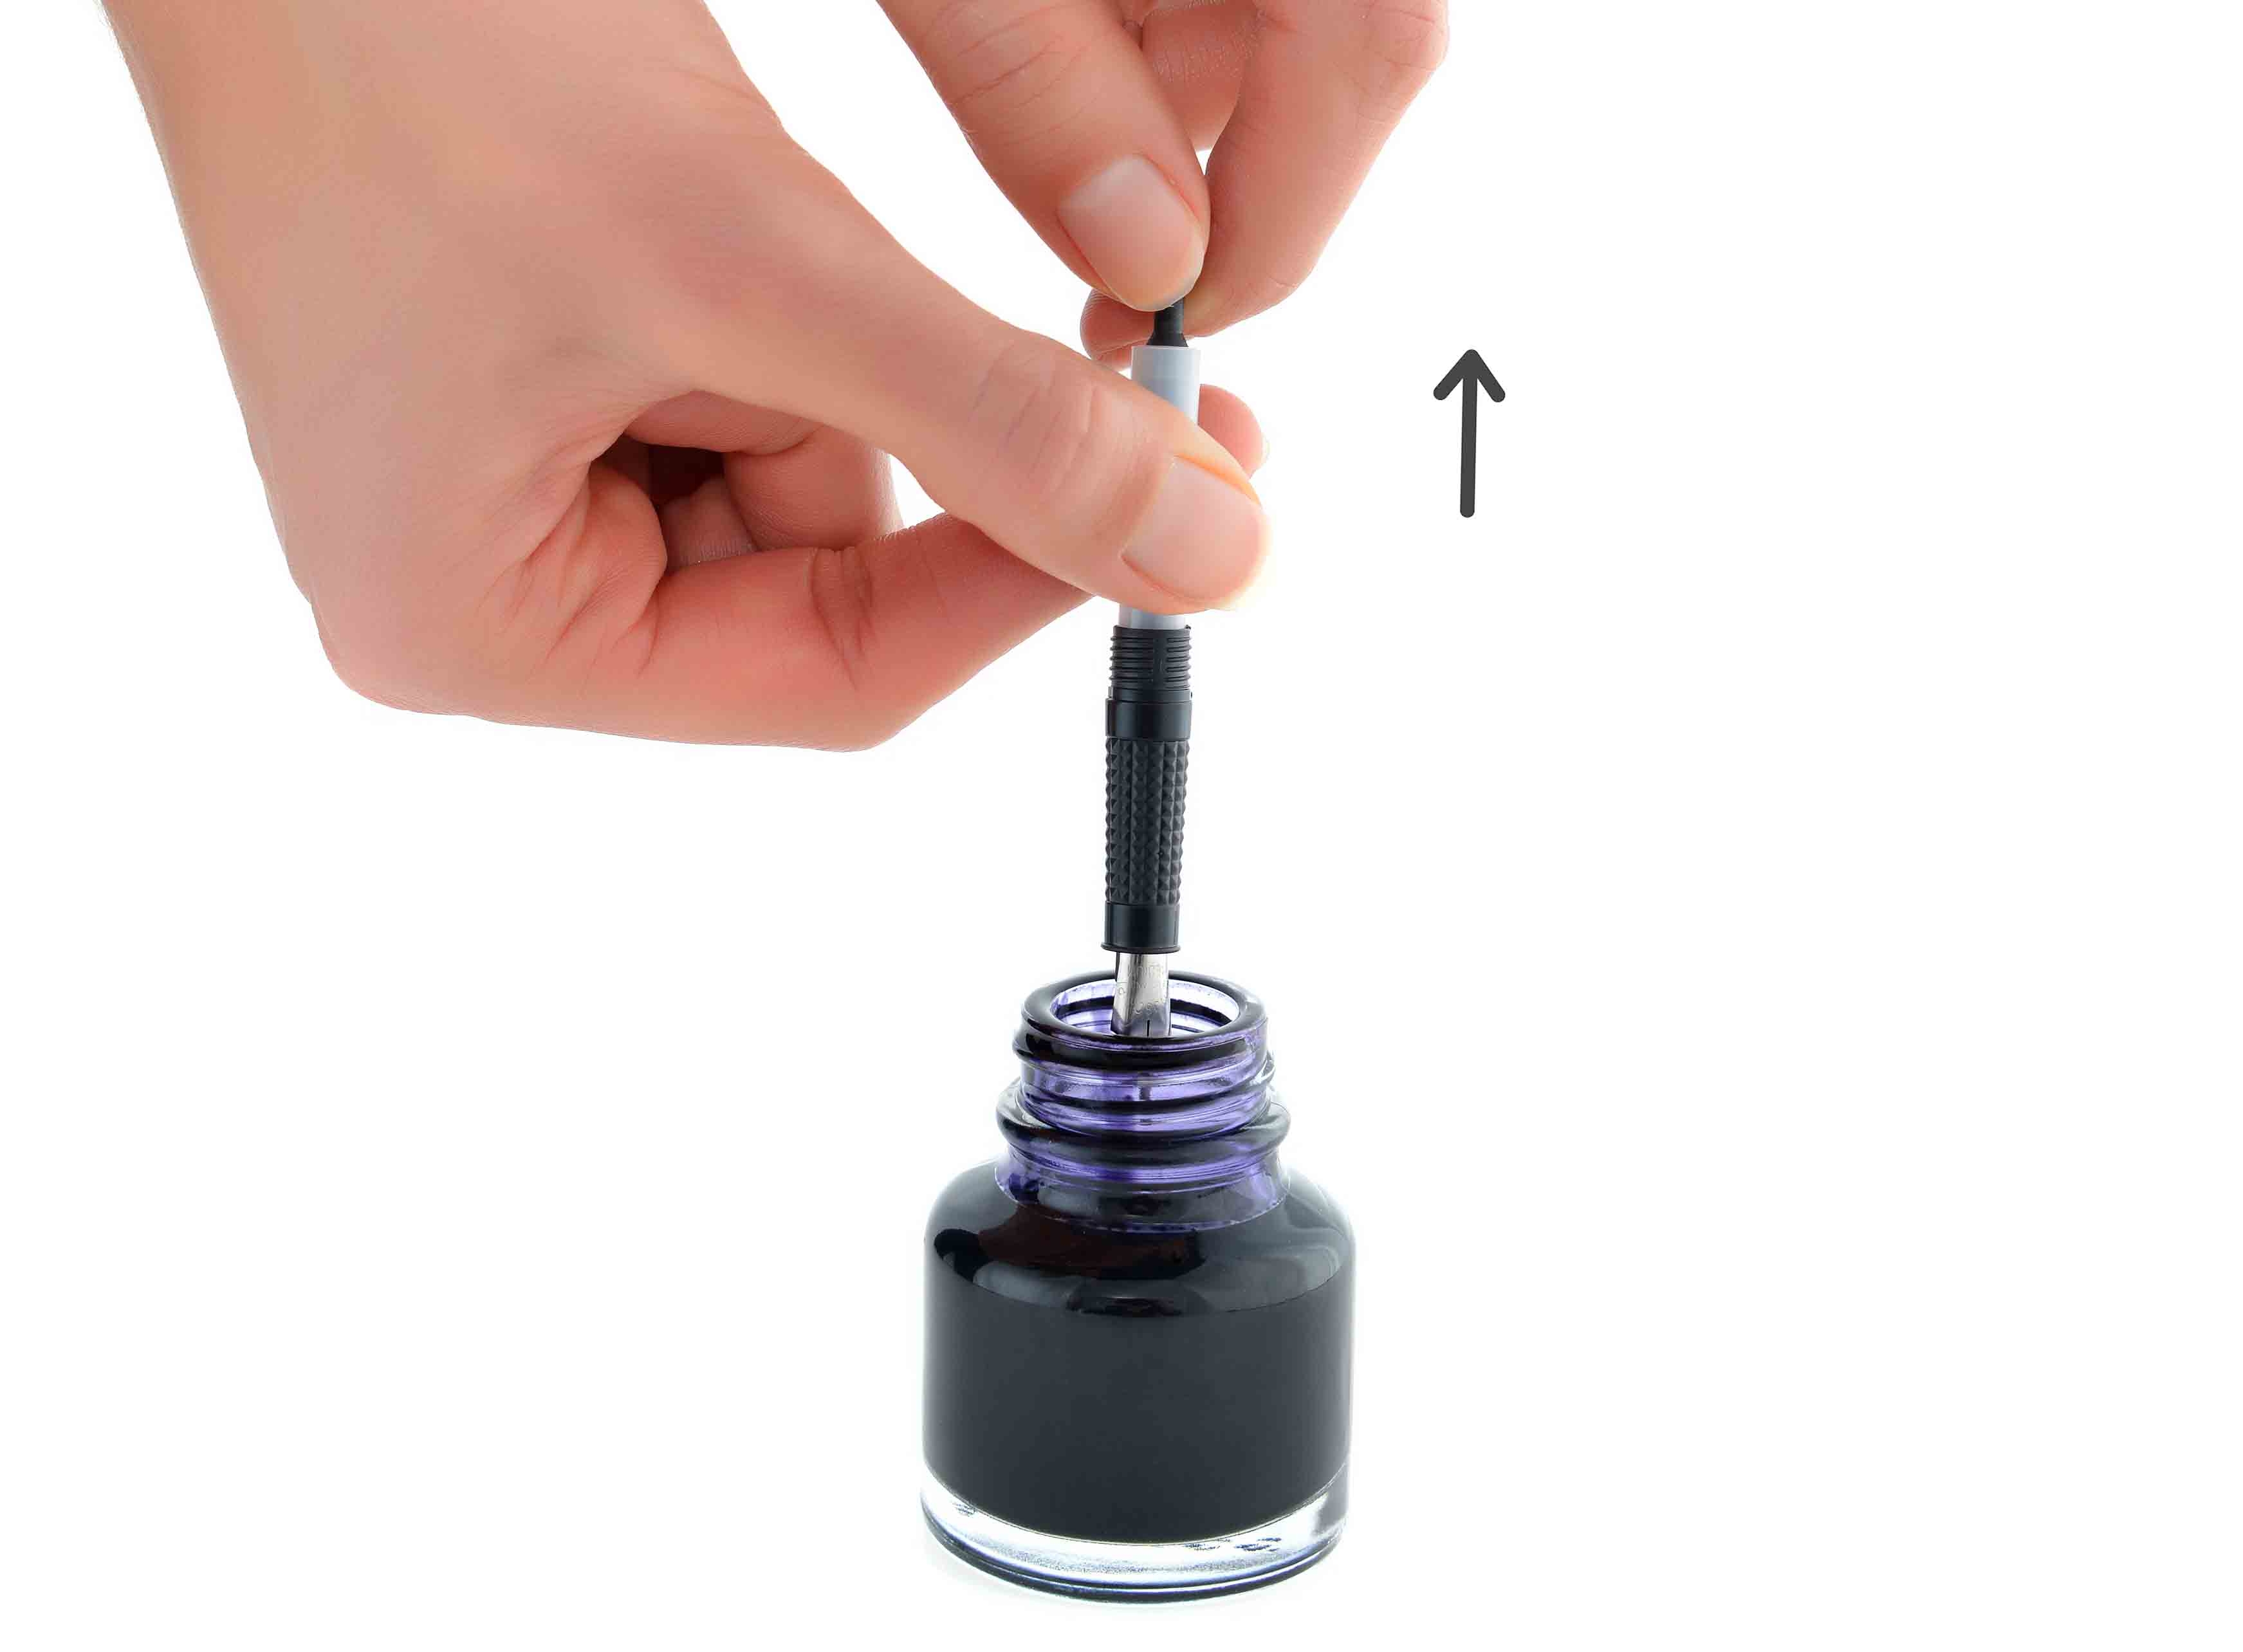
2. Using only fountain pen ink, dip your nib into the bottled ink.
3. Carefully pull the plunger back to draw the ink through and into the empty chamber of the Ink Converter.
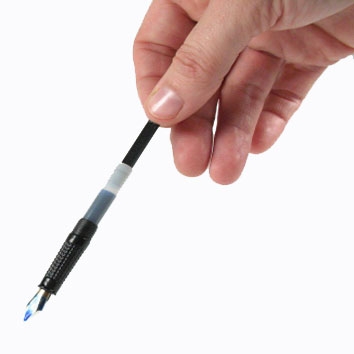
4. Your converter should now be full of ink and ready to be inserted back into the fountain pen.
5. With the Ink Converter still attached, carefully screw the front end section back into the barrel in a clockwise direction.
6. Finally, to draw the ink through the nib section take a scrap piece of paper and draw the nib downwards several times until you see the ink flowing through to the paper. Hints and tips:
- Ensure that the ink converter is pushed firmly up into place
- To encourage ink to come down to the nib: hold pen vertically with the tip of the nib pointing down over scrap paper and tap the tip of the nib repeatedly on the paper for up to 25 seconds until the ink comes through.
NOTE: If the pen does not start to write after this you can also try squeezing the ink converter gently and carefully over scrap paper until the ink comes down to the nib!
- Take care as there is danger some might spill! If you do create a blob of ink on the paper you can dip the nib into this to encourage flow.
HOW DO I LOAD MY FOUNTAIN PEN WITH AN INK CARTRIDGE?
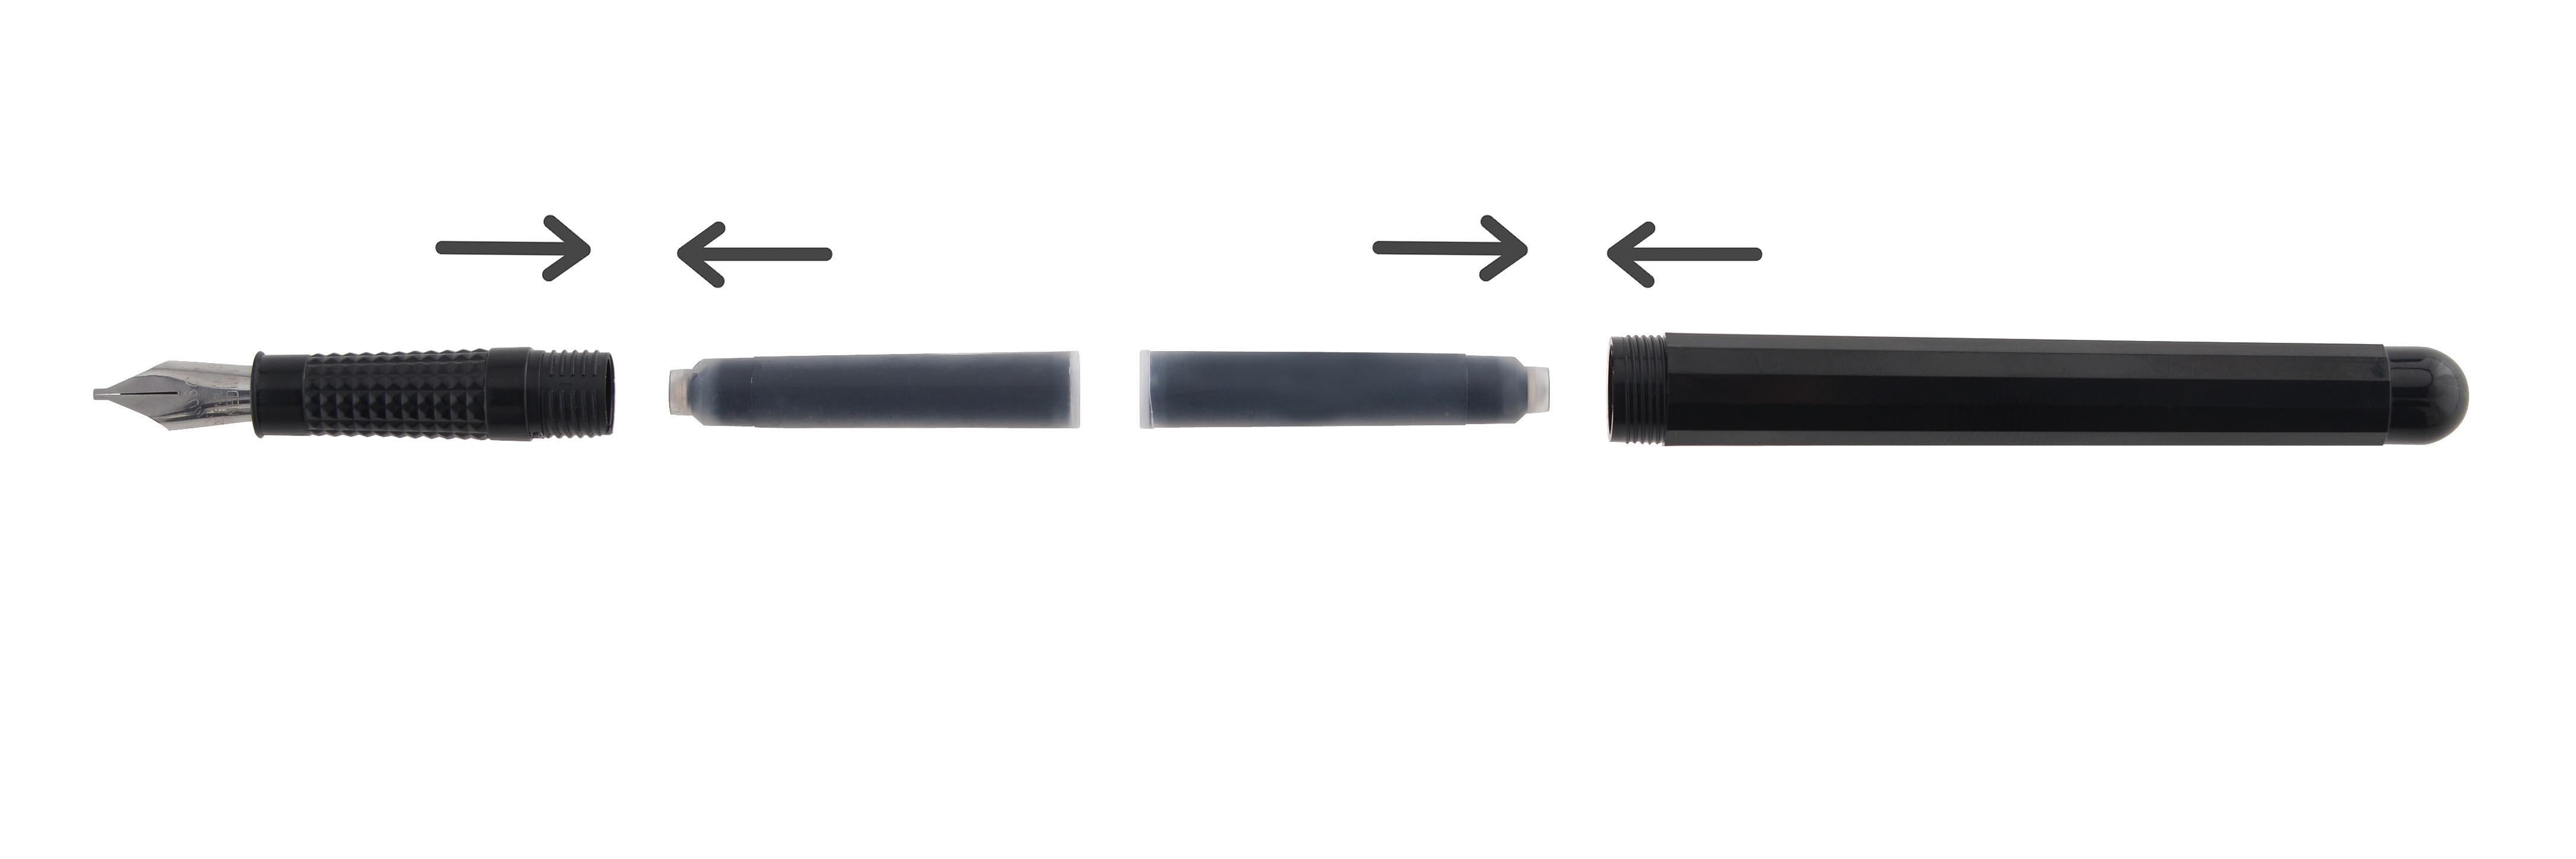
All Manuscript Fountain pens accept widely available International sized ink cartridges.How do I load my Fountain Pen with an Ink Cartridge?
1. Unscrew the pen barrel in a clockwise direction. Inside the barrel you will find two ink cartridges. (This is a general rule. In some cases you may find that the additional cartridges are available in the packaging for other pens)
2. Take one of the cartridges included and ensure that it is sat upright in the barrel, leaving the second cartridge in the barrel for support.
3. To pierce the cartridge, screw the pen barrel back into place in an anti clockwise direction.
4. Finally, draw the ink through the nib by stroking the tip across a scrap piece of paper until the ink flows through.
Hints and tips:
- Ensure the cartridge is pushed firmly up into place
- To encourage ink to come down to the nib: hold pen vertically with the tip of the nib pointing down over scrap paper and tap the tip of the nib repeatedly on the paper for up to 25 seconds until the ink comes through.
NOTE: If the pen does not start to write after this you can also try squeezing the cartridge gently and carefully over scrap paper until the ink comes down to the nib!
- Take care as there is danger some might spill! If you do create a blob of ink on the paper you can dip the nib into this to encourage flow.
HOW DO I ASSEMBLE MY DIP PEN?
Basic care and maintenance instructions for your dip nibs and reservoirs:
- Ensure your nib and reservoir are assembled correctly with the reservoir about 2 mm or 1⁄10 inch away from the tip of the pen nib
- Dip pen ink has more pigmentation than fountain pen ink and the nib and reservoir can get blocked if ink dries on them.
- At the end of each session and at any time if ink is not flowing properly wash nib and reservoir in lukewarm water until the ink is removed.
- We recommend you put the plug in the basin so that the nib and reservoir do not get washed down the drain! Then dry carefully with paper tissue and reassemble.
HOW DO I REMOVE THE NIB FROM MY QUILL PEN?
Removing Nibs from Quill
- The easiest way to change over the nib is to hold the tubular metal part firmly with one hand and remove the nib by grasping it with your index finger and thumb of the other hand and pulling it out of the tubular part.
Inserting a new nib
- Simply reverse this process and push the heel of the nib back into the tubular metal part of the quill
- The nib will stop when the heel reaches the indents in the tube.
WHAT DO I NEED TO GET STARTED IN CALLIGRAPHY?
Of all the arts and crafts, calligraphy needs probably the most easily accessible tools and materials.
Paper
- First of all you need paper!
- We recommend that you start by using practice or layout paper. This paper is particularly useful when learning calligraphy as it is easier to trace over any guides that you place underneath.
Pen
- When starting out in calligraphy we also recommend that you begin by practising with a broad-edge pen. This of course is your choice, however the Manuscript Callicreative Italic Marker or Beginner Calligraphy Fountain pen set is particularly suitable for this and will help you to understand the shape of the letters, without any fuss.
Ink
- Because we recommend starting out with a fountain pen you will need Non Waterproof, Fountain pen ink. Traditionally, Black, Blue and Sepia.
Pencil and Ruler
- Additional tools that are useful for drawing out guides for practice, is a sharp pencil with a hard lead (2h–4h) and a long ruler.
Sloping board
- Ideally you should be using a solid board that has been set to the correct angle and position for writing calligraphy.
- TIP! This may be a sophisticated large board with a slope that can be adjusted, or a piece of plywood which you prop up on a table so that the top edge rests on bricks or tins of baked beans, or the back of a large tray which rest in your lap and leans on the table edge.
HOW DO I USE A DIP PEN?
The instructions below simply guide you through the general set up and best use of a Dip Pen. Further information regarding creating calligraphy styles and techniques can be found in the ‘Your Manuscript’ resource pages.
- If your nib has a reservoir, make sure that this is fitted correctly with the reservoir about 2 mm or 1⁄10 inch away from the pen nib tip.
- Check that the rounded tip of the reservoir is about 2 mm from the very tip of the nib, and that it is actually touching the pen nib. Please note that if it is not touching then it cannot feed the ink into the pen tip and the pen will not write properly.
- Although it is called a dip pen, it is best not to actually dip; otherwise you will often get a blob of ink when you write your first letter.
TIP! Get a really cheap old paintbrush, and dip this in the ink. Now stroke it on the side of the pen with its reservoir attached; the ink will collect between the nib and the reservoir.
- Start your dip pen by using the very tip and going side to side to make the thinnest of strokes on a piece of scrap paper. If you try to make a thick stroke first then the pen probably will not write.
TIP! You will find that your pen works best if you slightly change your usual pen hold. Rather than have your pen resting in the V-shape between your thumb joint and first finger joint, move it up so that it balances just about the knuckle of your index finger.
HOW DO I SET UP MY WORKSPACE FOR CALLIGRAPHY?
Whilst you can create and write calligraphy anywhere that you are comfortable we do have some best practise recommendations from calligraphy expert Patricia Lovett;
- Set up a calligraphy board so that it is at an angle of about 45°.
- Make sure that your chair and the board (or table if it is resting on a table) is at a comfortable height for you; ideally your feet should be flat on the floor.
- Left Handed Tip! If you are left handed, turn the paper clockwise and keep moving it away as you write. Allow plenty of space for your arm to move towards the body.
- Layer your board with a pad of paper first, so that the writing surface isn’t hard and so cause you and your pen problems.
- Then layer a guard sheet across your board so that it is about an inch or 2.5 cm below where you write most comfortably.
- Your writing paper slides beneath this, and the tension as the guard sheet is stretched very slightly across your board keeps your paper secure.
- This means that you don’t need to pin or attach your paper to the board and your hand will stay at a comfortable writing position, whilst still allowing your writing paper to go up and down and to the left or right.
For more information or to find out more about Patricia Lovett please click here.
WHICH INK SHOULD I USE IN MY FOUNTAIN PEN?
For everyday writing it is advisable to use washable standard inks in your Fountain pen. The ink will flow easily and freely because of its thin consistency.For calligraphy projects we recommend the use of calligraphy inks. They are slightly thicker and denser than the standard inks but they guarantee a better writing and aesthetic performance. Using calligraphy inks you might experience that the ink dries faster compared to standard inks. Make sure you replace the pen cap after use and in case of difficulties in getting the ink to flow again just wash your nib under lukewarm water. Read the next FAQ for more info.Do not use waterproof ink with fountain pens: the highly pigmented ink will clog the nib.
HOW DO I GET THE INK TO FLOW THROUGH MY FOUNTAIN PEN?
- Tap your nib gently on paper drawing the pen backwards & forwards across the paper several times to encourage flow
- In case of difficulties in getting the ink to flow again just wash your nib under lukewarm water
- Sometimes it is necessary to start your pen by gently squeezing the ink cartridge or if you are using a Converter push the plunger until a little ink appears on the underside of the nib.Using calligraphy inks you might experience that the ink dries faster compared to standard inks.
Make sure you replace the pen cap after use and in case of difficulties in getting the ink to flow repeat the above steps.
For everyday writing we recommend the use of standard washable ink.
HOW DO I CLEAN MY FOUNTAIN PEN?
Nibs only need to be cleaned after prolonged continuous use or when they are being changed. It also helps to clean the nib before changing cartridge / ink colour. Nibs do not need to be cleaned frequently provided that the cap is replaced on the pen after use each time. Frequent cleaning may hinder the ink flow as the surface has been treated to improve ink flow and washing will eventually remove the treatment.If you are having difficulties in getting the ink to flow:
- Tap your nib gently on paper drawing the pen backwards & forwards across the paper several times to encourage flow.
- In case of difficulties in getting the ink to flow again just wash your nib under lukewarm water.
- Sometimes it is necessary to start your pen by gently squeezing the ink cartridge or if you are using a Converter push the plunger until a little ink appears on the underside of the nib.
Using calligraphy inks you might experience that the ink dries faster compared to standard inks. Make sure you replace the pen cap after use and in case of difficulties in getting the ink to flow repeat the above steps.For everyday writing we recommend the use of standard washable ink.
MY FOUNTAIN PEN IS NOT WRITING PROPERLY AND I HAVE CLEANED THE NIB
Using calligraphy inks you might experience that the ink dries faster compared to standard inks. Make sure you replace the pen cap after use and in case of difficulties in getting the ink to flow repeat the above steps.For everyday writing we recommend the use of standard washable ink.In case you are still encountering issues please send the pen back to us. We will replace it straight away.
Contact us for any queries: manuscript@manuscriptpen.com
WHICH NIB SHOULD I CHOOSE?
At Manuscript we create a vast range of nibs for a multitude of purposes.However there is a general theme to most nibs and excluding specialist nibs for Copperplate and Illumination, the majority of calligraphy nibs work for all styles therefore there is only really one kind of nib for calligraphy - square ended/cut. Available in different point sizes, you will need to make your selection based on the font size you wish to achieve e.g. Fine, Medium, Broad.Italic nibs are narrower calligraphy nibs that can be used for Italic handwriting or small sized calligraphy in all styles not just italic.
HOW TO USE A CHINESE CALLIGRAPHY BRUSH
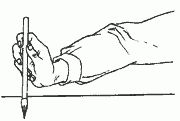
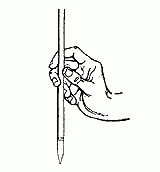
Besides the fingers, one must use the wrist and elbow to write Chinese characters. The wrist is crucial and must be used with agility. You use the wrist to manipulate the tip of the brush. The four positions of the wrist are: rest, cushion, lift and suspend.
1. Rest the wrist of your right hand on the table. This will enable you to use your fingers well. Employ this method when you are writing very small characters-as small as the head of a fly, the Chinese say.
2. Cushion the wrist of your right hand. Usually you cushion it with your left thumb or your left wrist. This lifts your right wrist. This method is very often used for writing ordinary small characters.
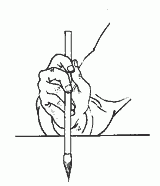
3. Lift your right wrist from the table. Some people also call it suspending the wrist. It is used to write medium-sized characters.
4. The last position is to suspend both the wrist and the elbow. Neither touches the table. This method is used to write big characters.
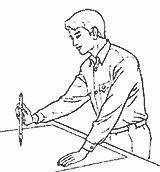
5. These four wrist positions are only relative if you intend to raise your script to the level of art, you must practice the suspended-wrist position from the very beginning. Would-be calligraphers must not be afraid of difficulty. They must acquire this basic skill.
HOW DO I USE A COOL MELT WAX GUN?
- Insert Manuscript 8mm (5/16”) diameter wax sticks through tunnel at the back of the Cool Melt Wax Gun.
- Plug cord into socket & wait 5 minutes to heat up wax. Apply gentle pressure on trigger, whilst pushing wax stick with thumb.
- Release trigger to stop flow of wax.
- Press your seal into the wax & hold down for a few seconds.
- Remove slowly.
- To see a video demonstration of Sealing click here.
Caution: Take care when using a naked flame and hot wax.
HOW DO I USE WICK WAX?
- Light the wick & allow the melting wax to drip into a small pool on to the surface you wish to be sealed.
- Let the wax cool for a few seconds before gently pressing the seal into the wax.
- Apply pressure for a few seconds before removing the seal.
CAUTION: Take care when using a naked flame and hot wax. Vapours could ignite.To avoid a fire hazard please follow guidelines below;
- Hold lit wick wax at least 3inches/7.5mm and at a 90 degree angle from paper
- Whilst lit, rotate the wick wax continuously
- Extinguish flame using water
- Use 6-8 drops of wick wax and then lay your coin down
- Use 8-10 drops of gun wax and then lay your coin down
HOW DO I CHANGE THE SEALING COIN ON MY SEALING HANDLE?
Changing the coin design in Manuscript’s interchangeable sealing handles could not be easier;Taking the sealing handle, place your fingers around the brass ferrule. This brass ring or band simply holds the brass coin design in place.
- Then, simply turn the brass ferrule in an anti-clockwise direction until the ferrule comes off the handle
- Push out the coin design that you no longer wish to use from the ferrule
- Then selecting the new coin design, insert the coin into the ferrule with the design facing upwards
- Place the ferrule back on to the head of the sealing handle
- Begin to screw the ferrule back on to the handle in a clockwise direction until the new coin design and ferrule are securely attached.

