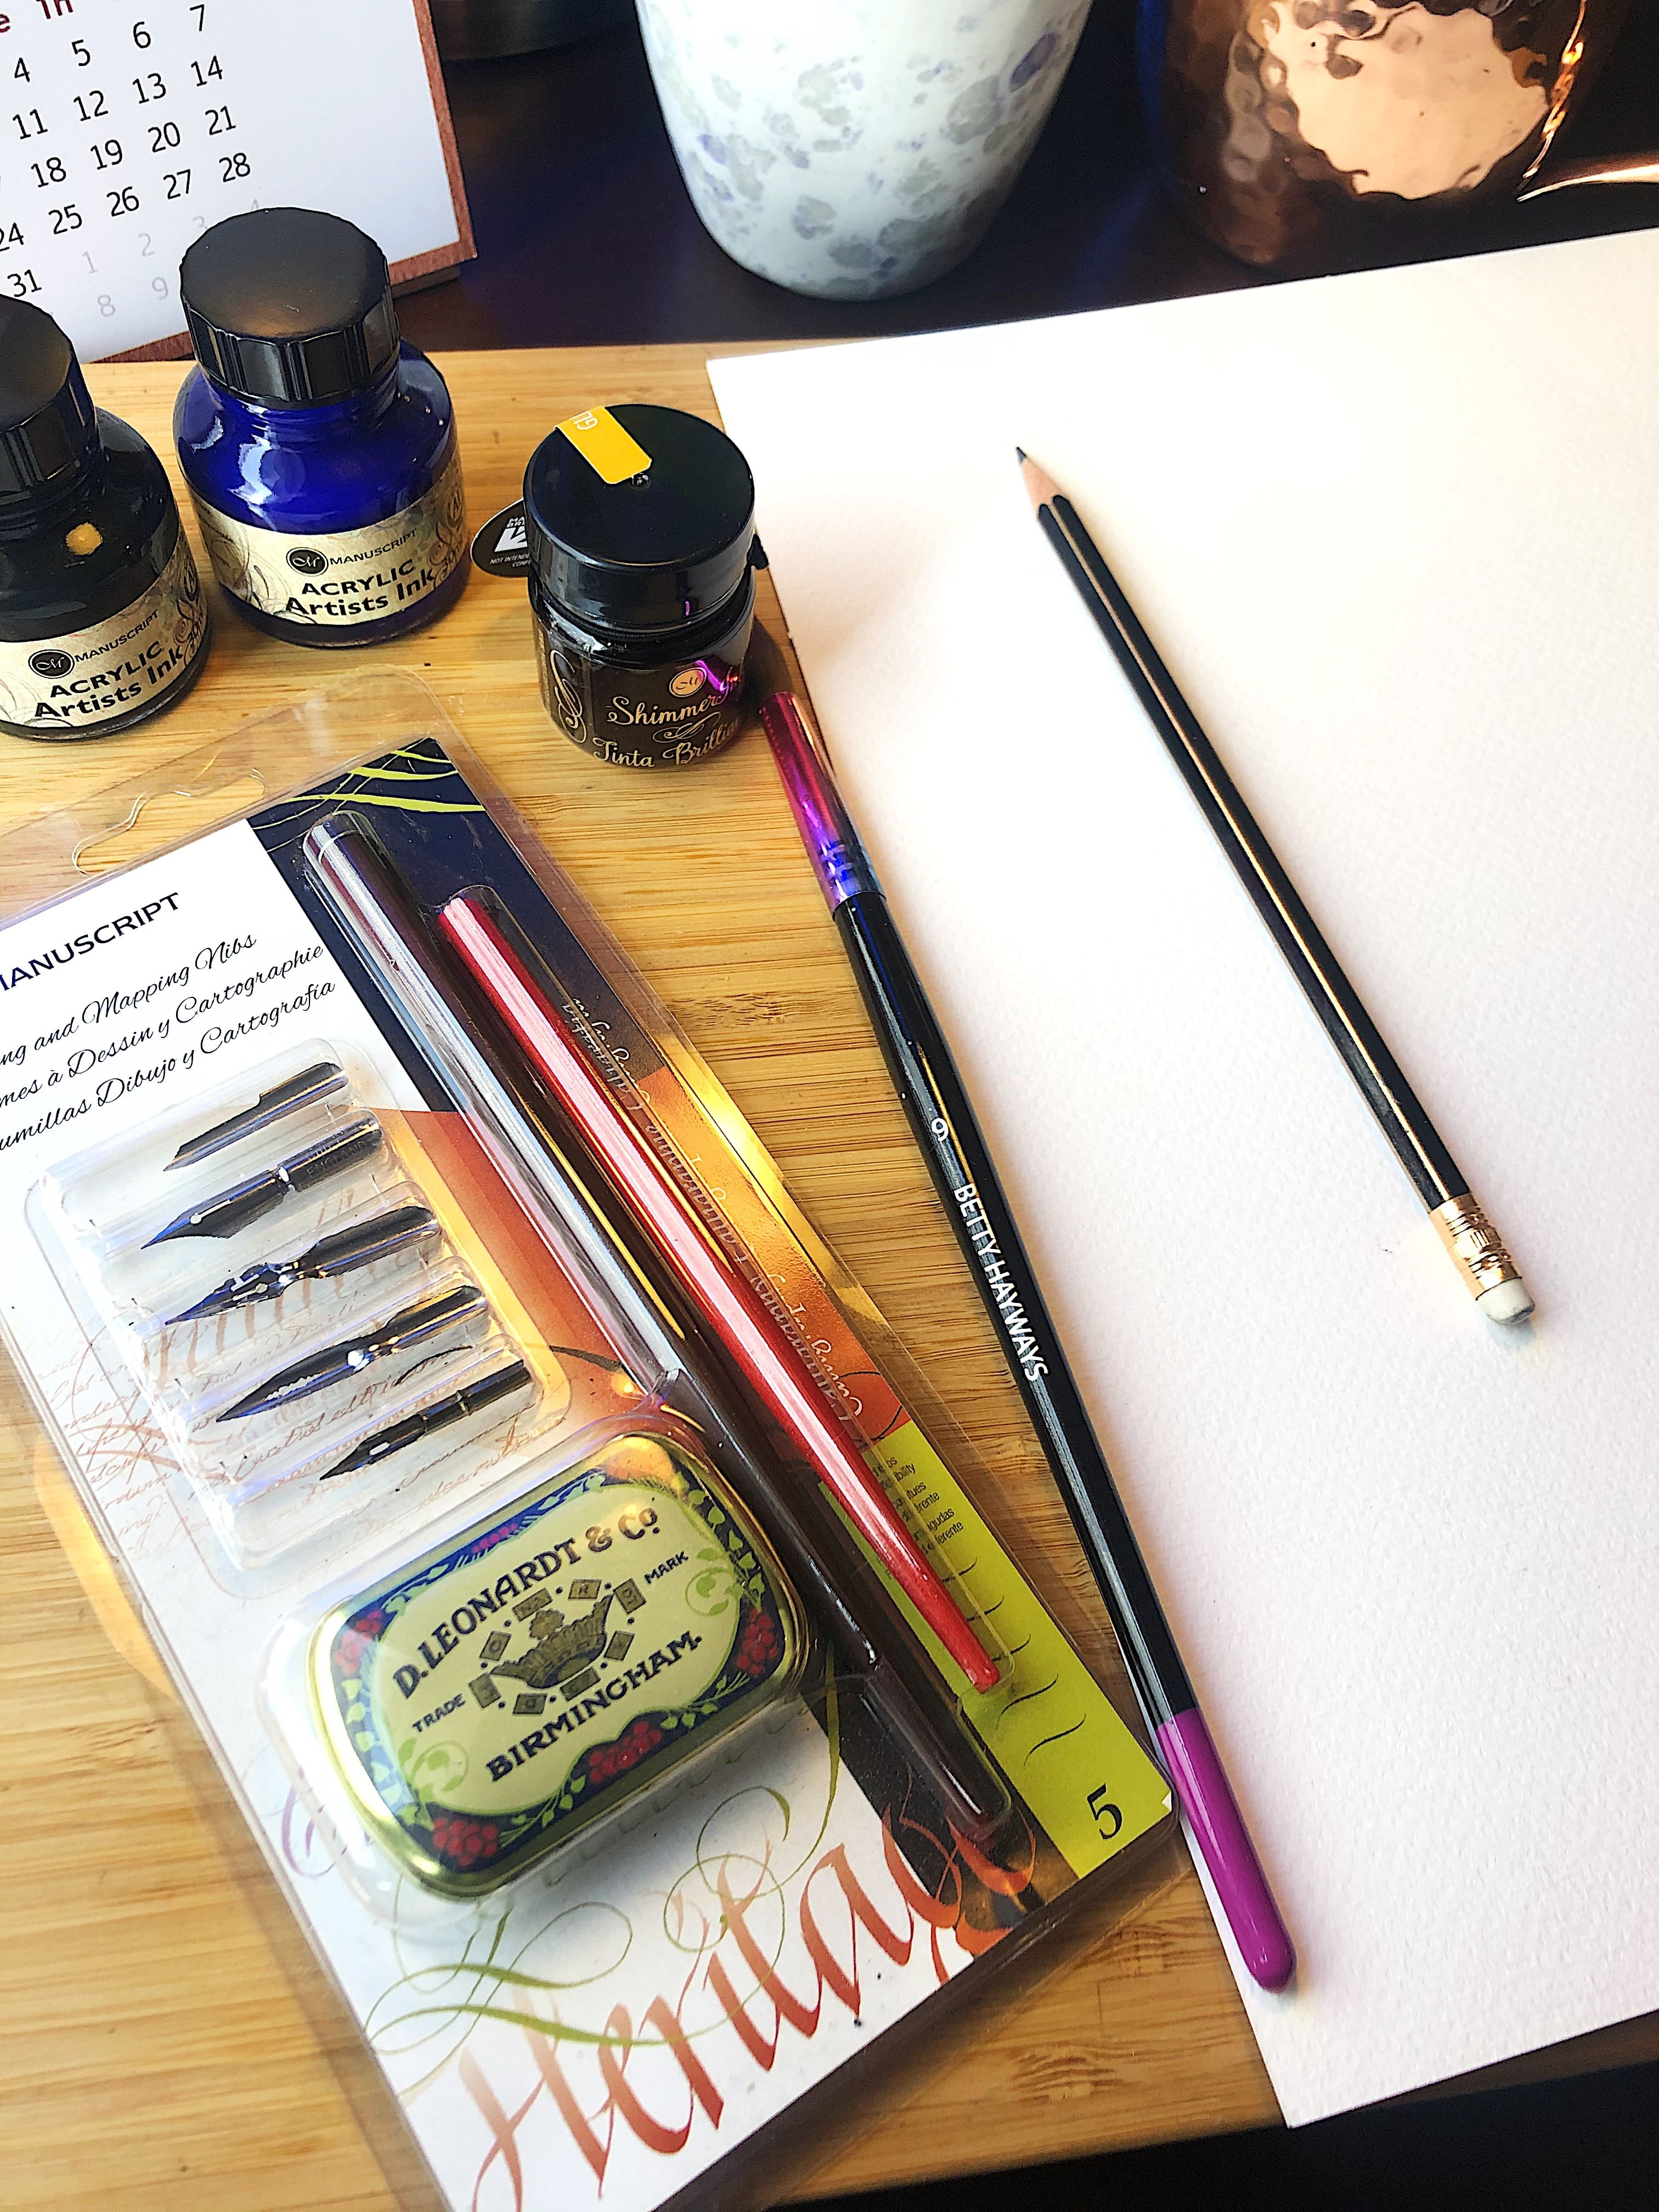
Illustration with a nib is a rarity, but there are some fantastic artists worldwide who, instead of grabbing their coloured pencils, choose to use fine-pointed nibs to create fine detail and accurate lines.
By using a nib, the our artist of the month Payal Sinha, is choosing to have more control over her work, be able to create bold lines using a calligraphy ink – like the fantastic Manuscript black calligraphy ink on show here. Payal gives you a step-by-step on how she created her artwork below.
As we seem to have non-stop rain at the moment, I’ve channelled my own inner sunshine to create a beautiful piece of a whale diving back into the sea.
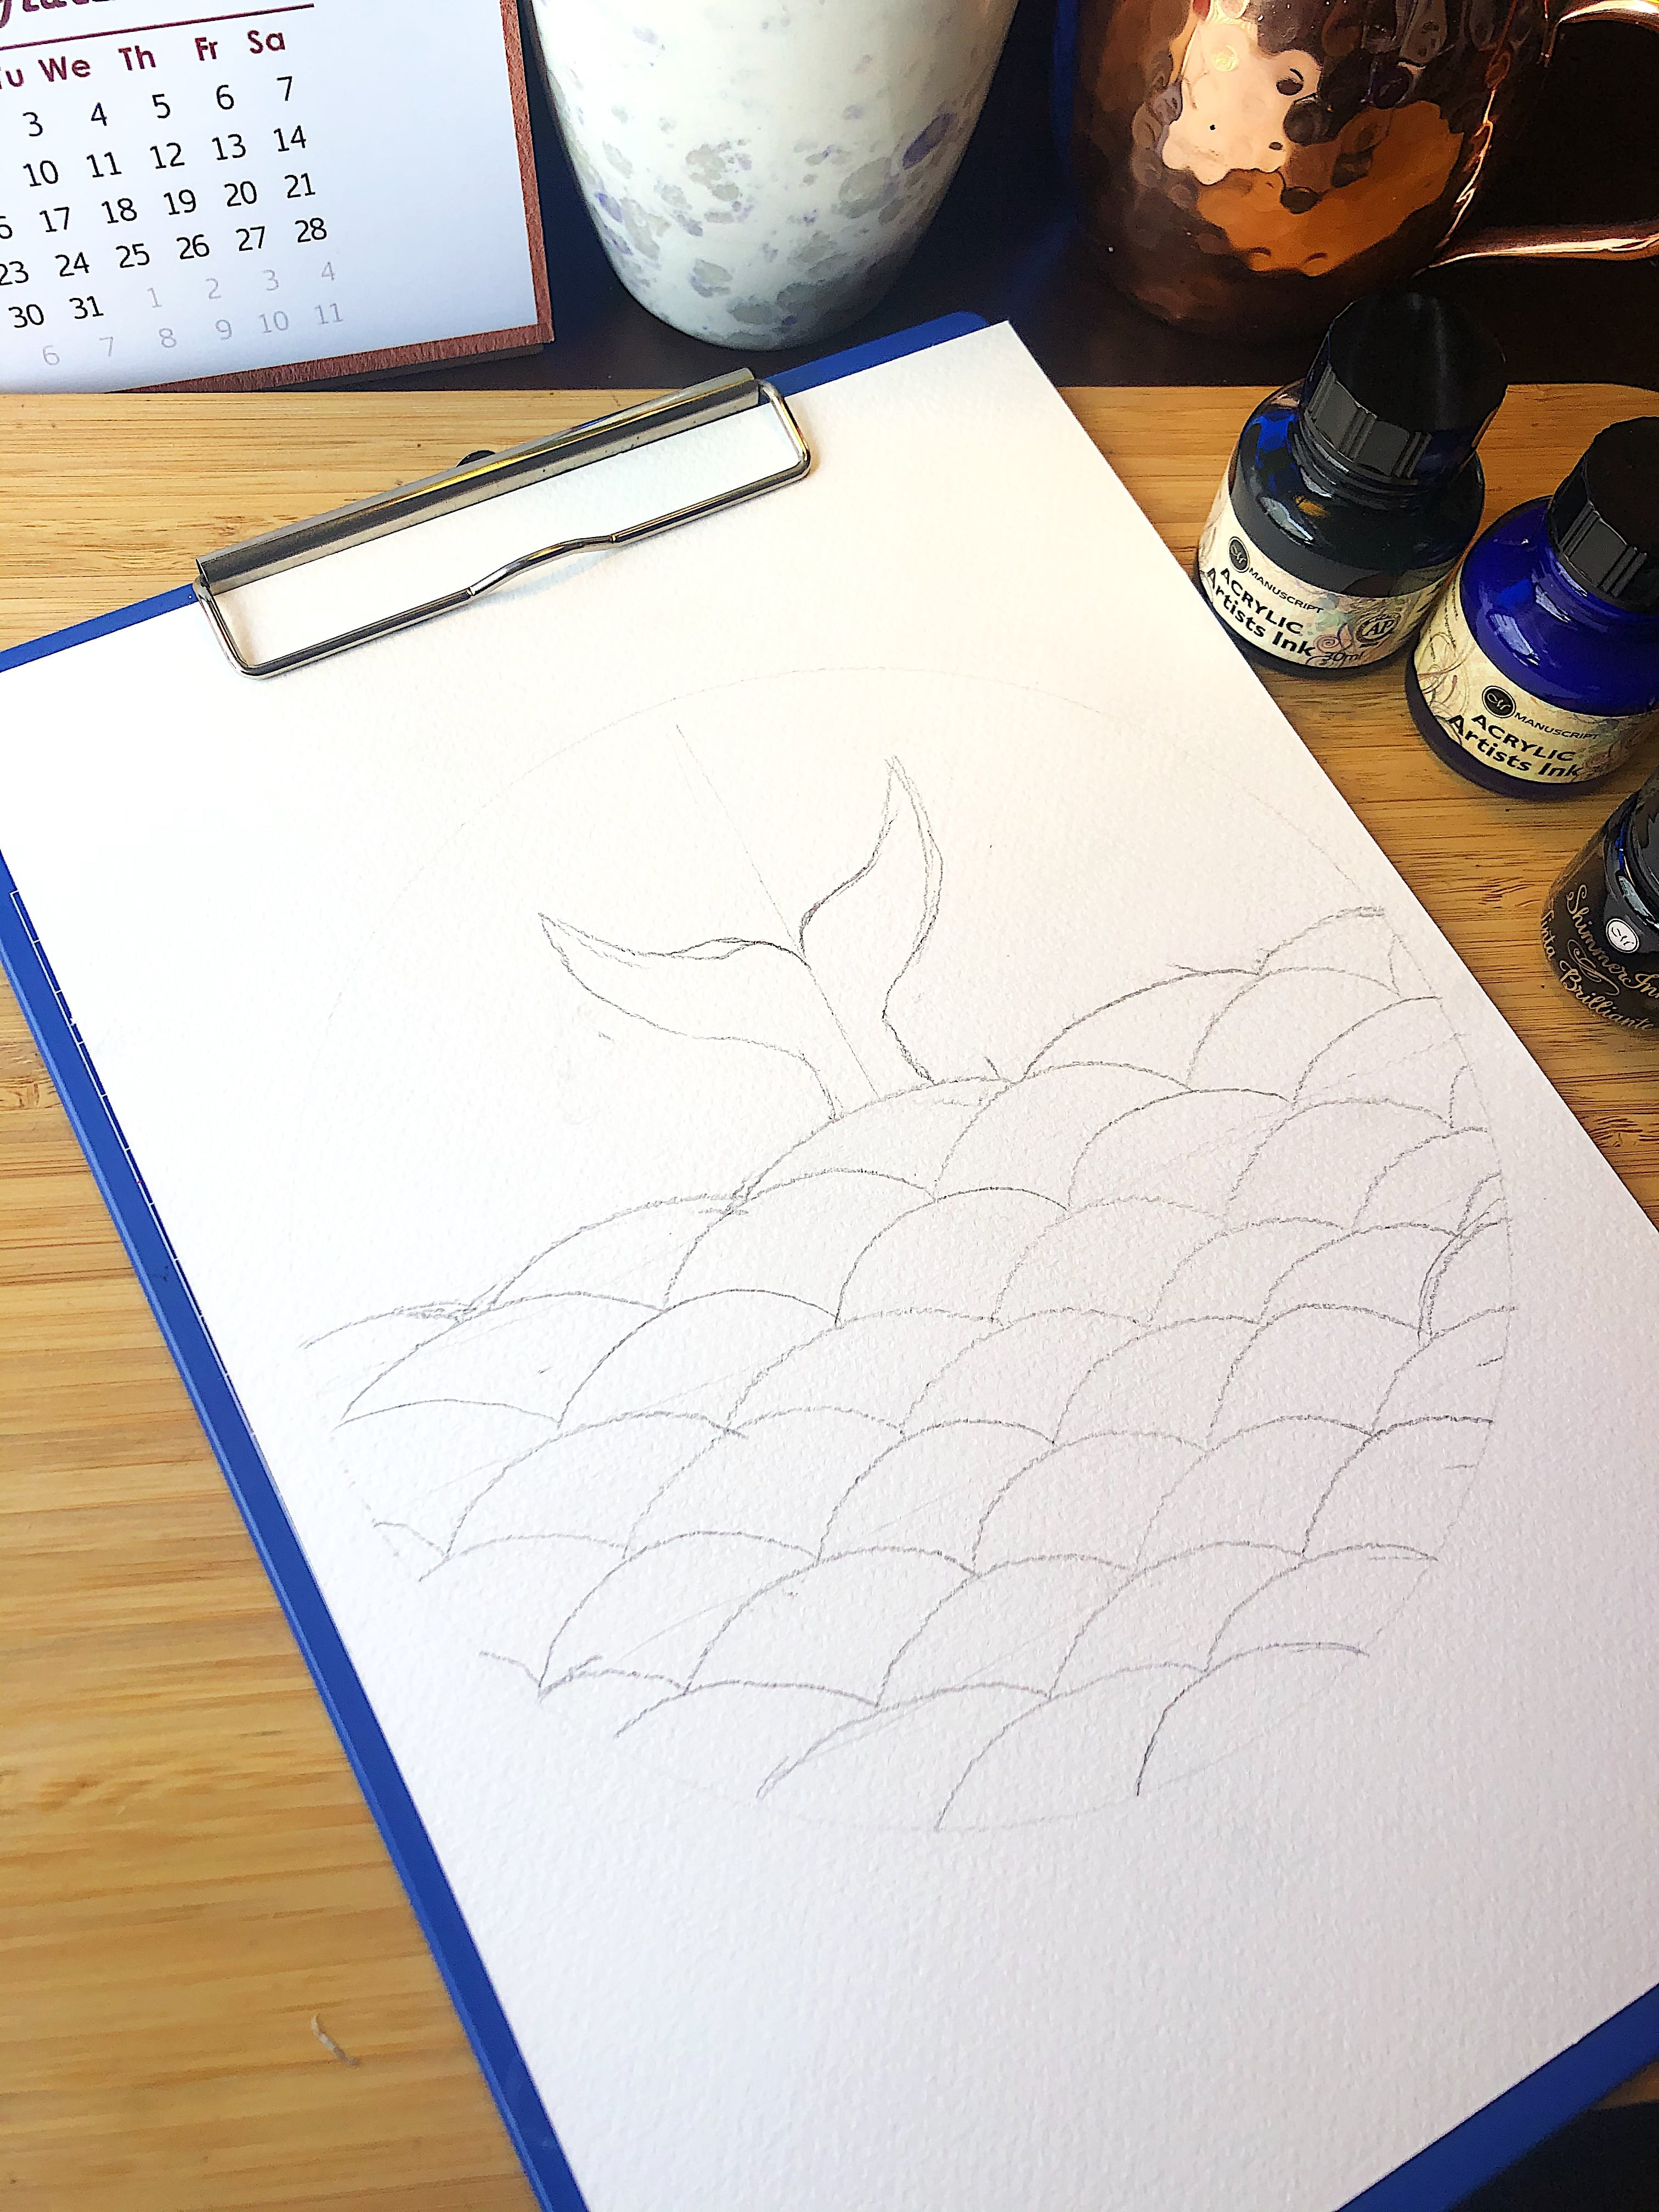
To start this piece, and illustration pieces using ink, I began with a pencil outline of exactly what I was going to draw. This doesn’t need to be as detailed as I have done here, but if you know what style you’re aiming for, the more detail you can add the better.
Following my outline, I began water-colouring with a mustard skyline to represent a sunset. It didn’t matter whether the laydown was uneven here, I think the darker patches give a fantastic cloud-like finish.
Left to dry, you may find that this needs a second coat but it depends on what you’re looking to achieve. A thinner wash will lose its vibrancy but offer you the chance to add small details later whilst a thicker wash will give texture.
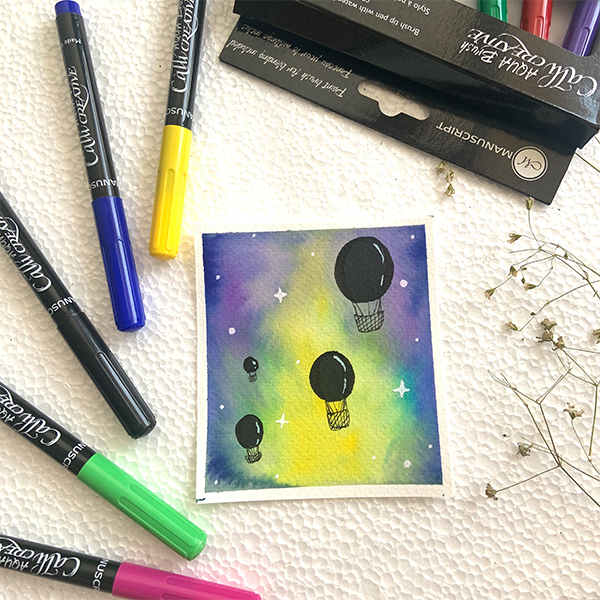
Then, and this is the best part, you can get to work with your inks. I’ve used a selection of colours here, but even if you only use one colour, you can create dramatic artworks.
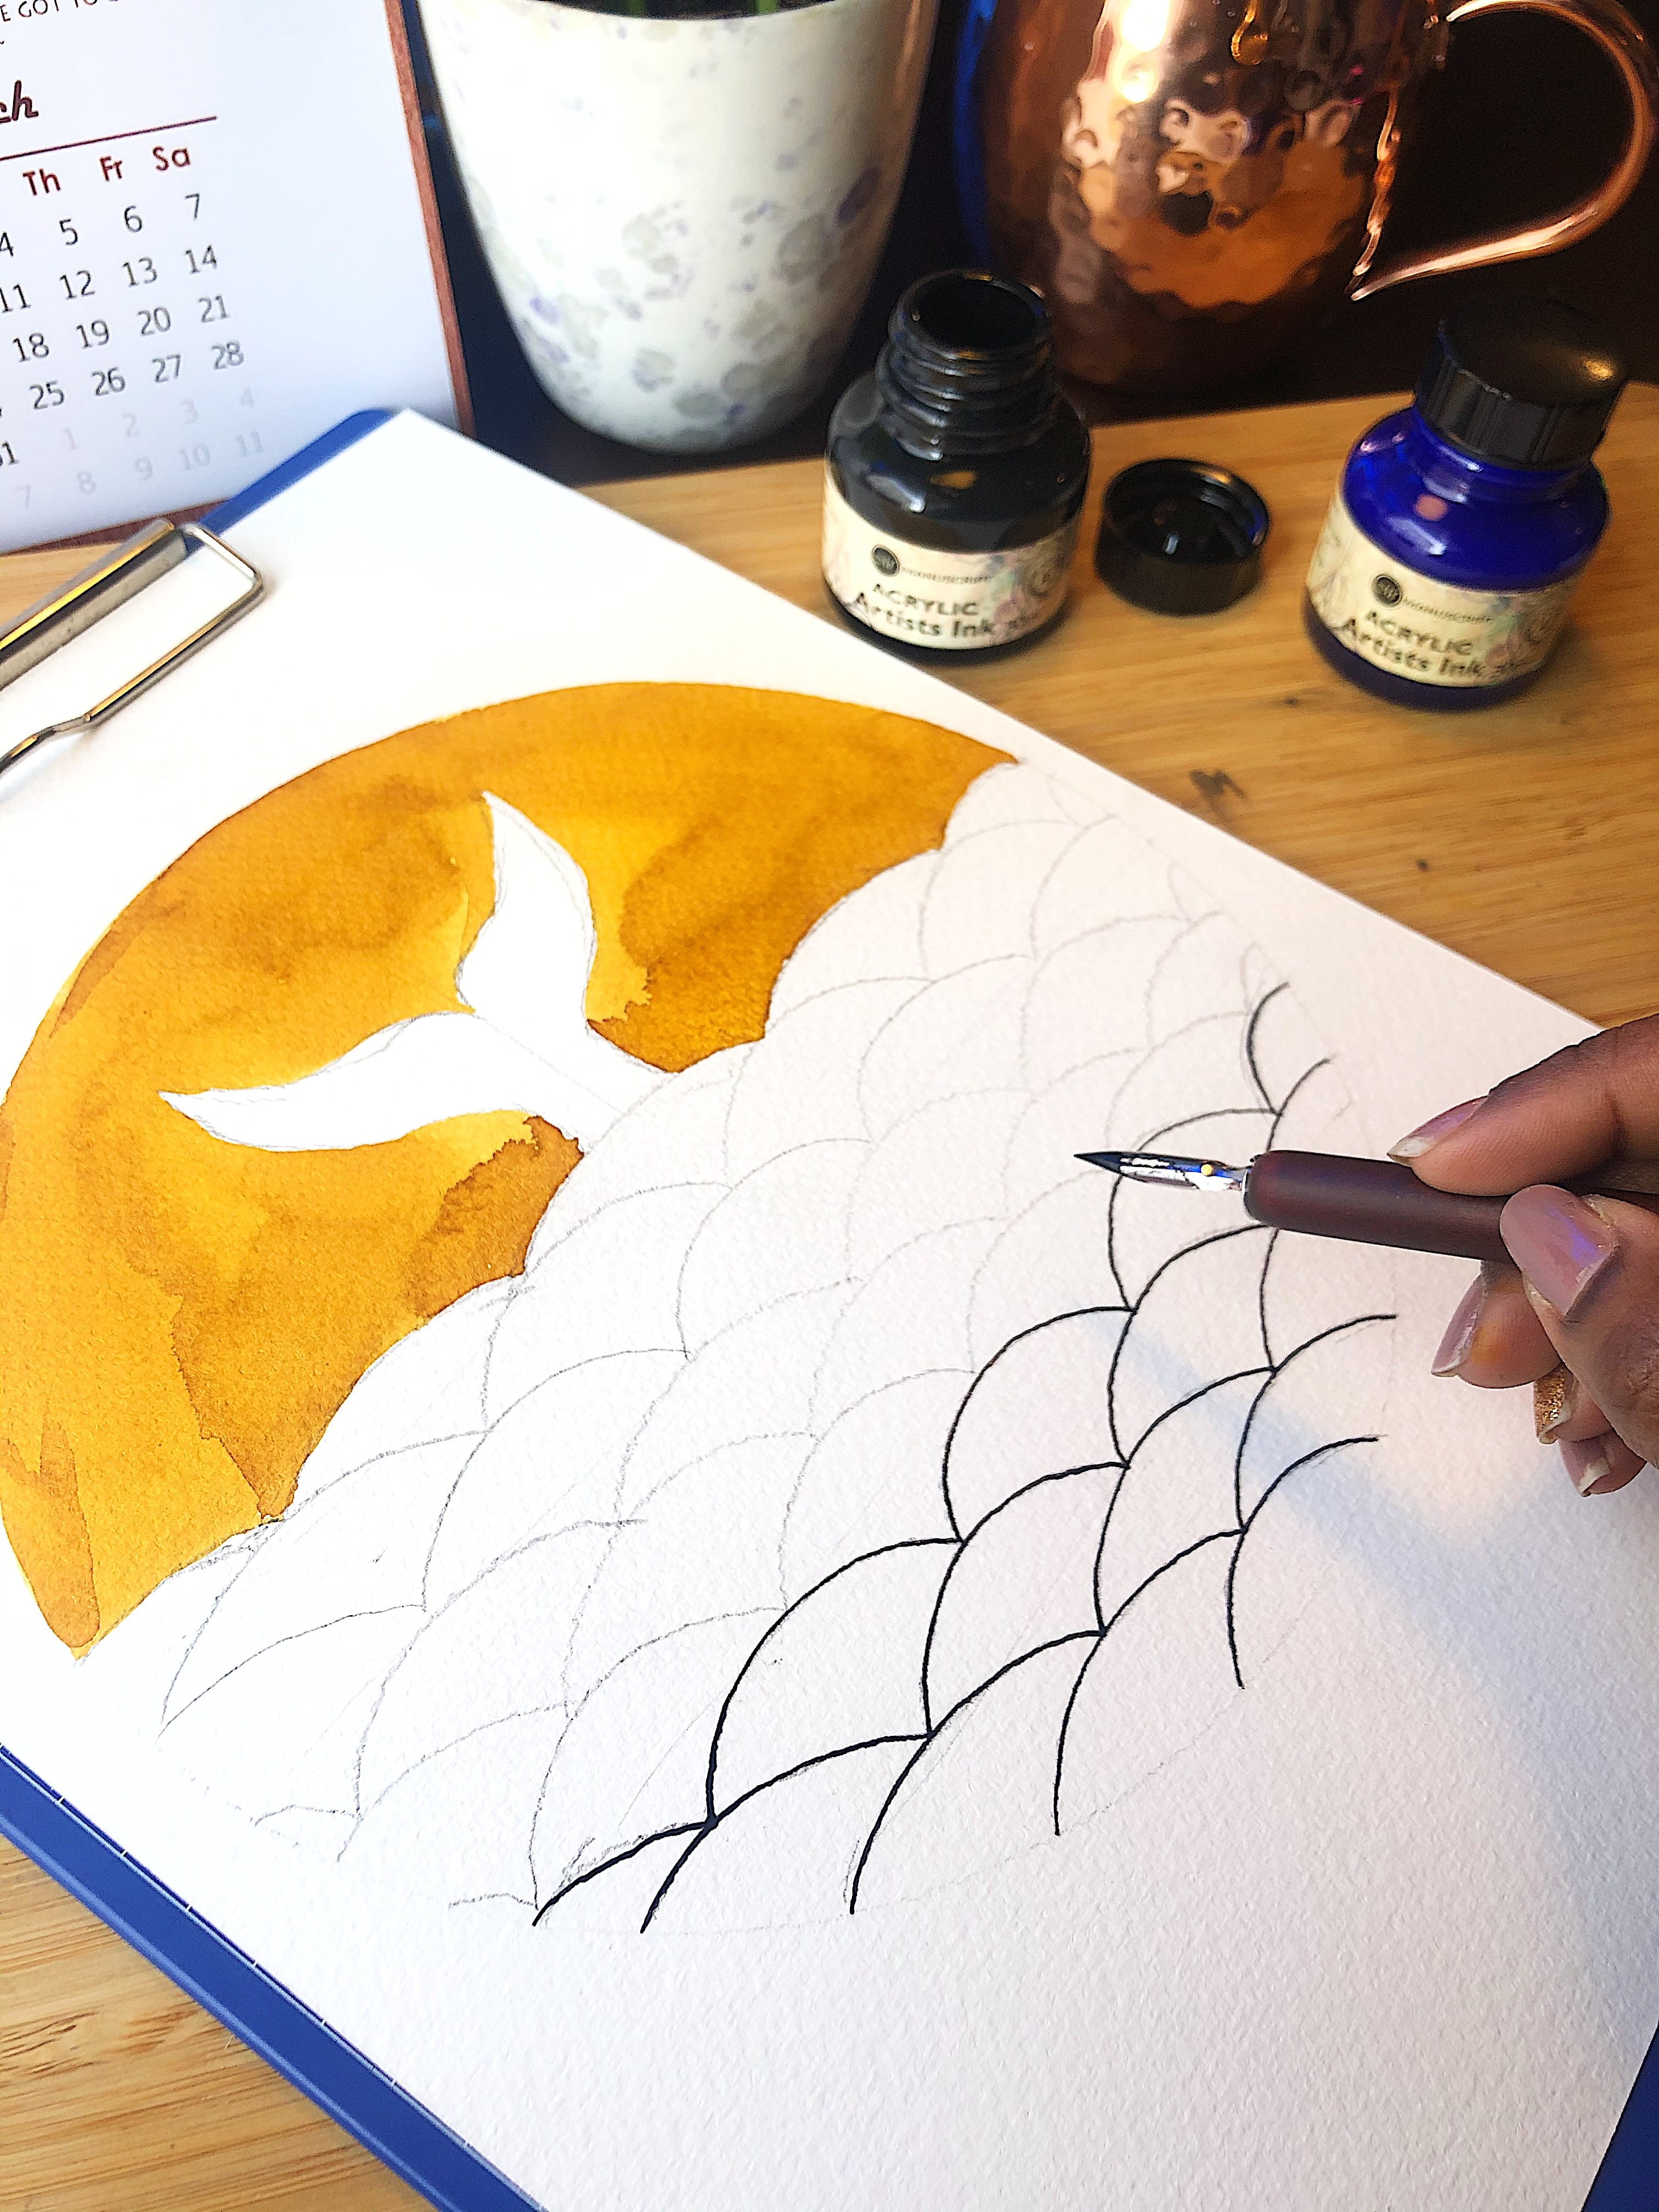
Like working with pencil, I started working on outline of waves and the whale’s tail, with the former in blue and our giant marine mammal in black.
Take your time with this, as this will make or break your piece!
Once your outline is dry, it’s time to start adding the outline – this is where it gets interesting.
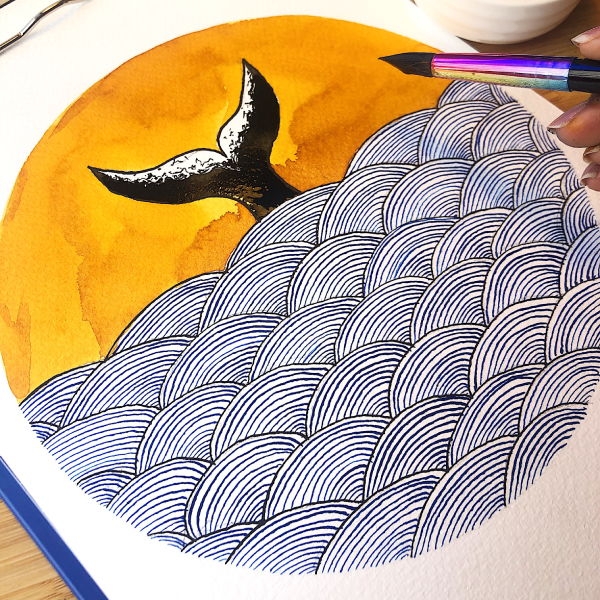
The fun bit of this piece is the repetitive pattern in the waves. By doing a rounded piece in each wave, I’ve created a real sense of movement. In turn, this creates a sense of movement in the whale’s tail too!
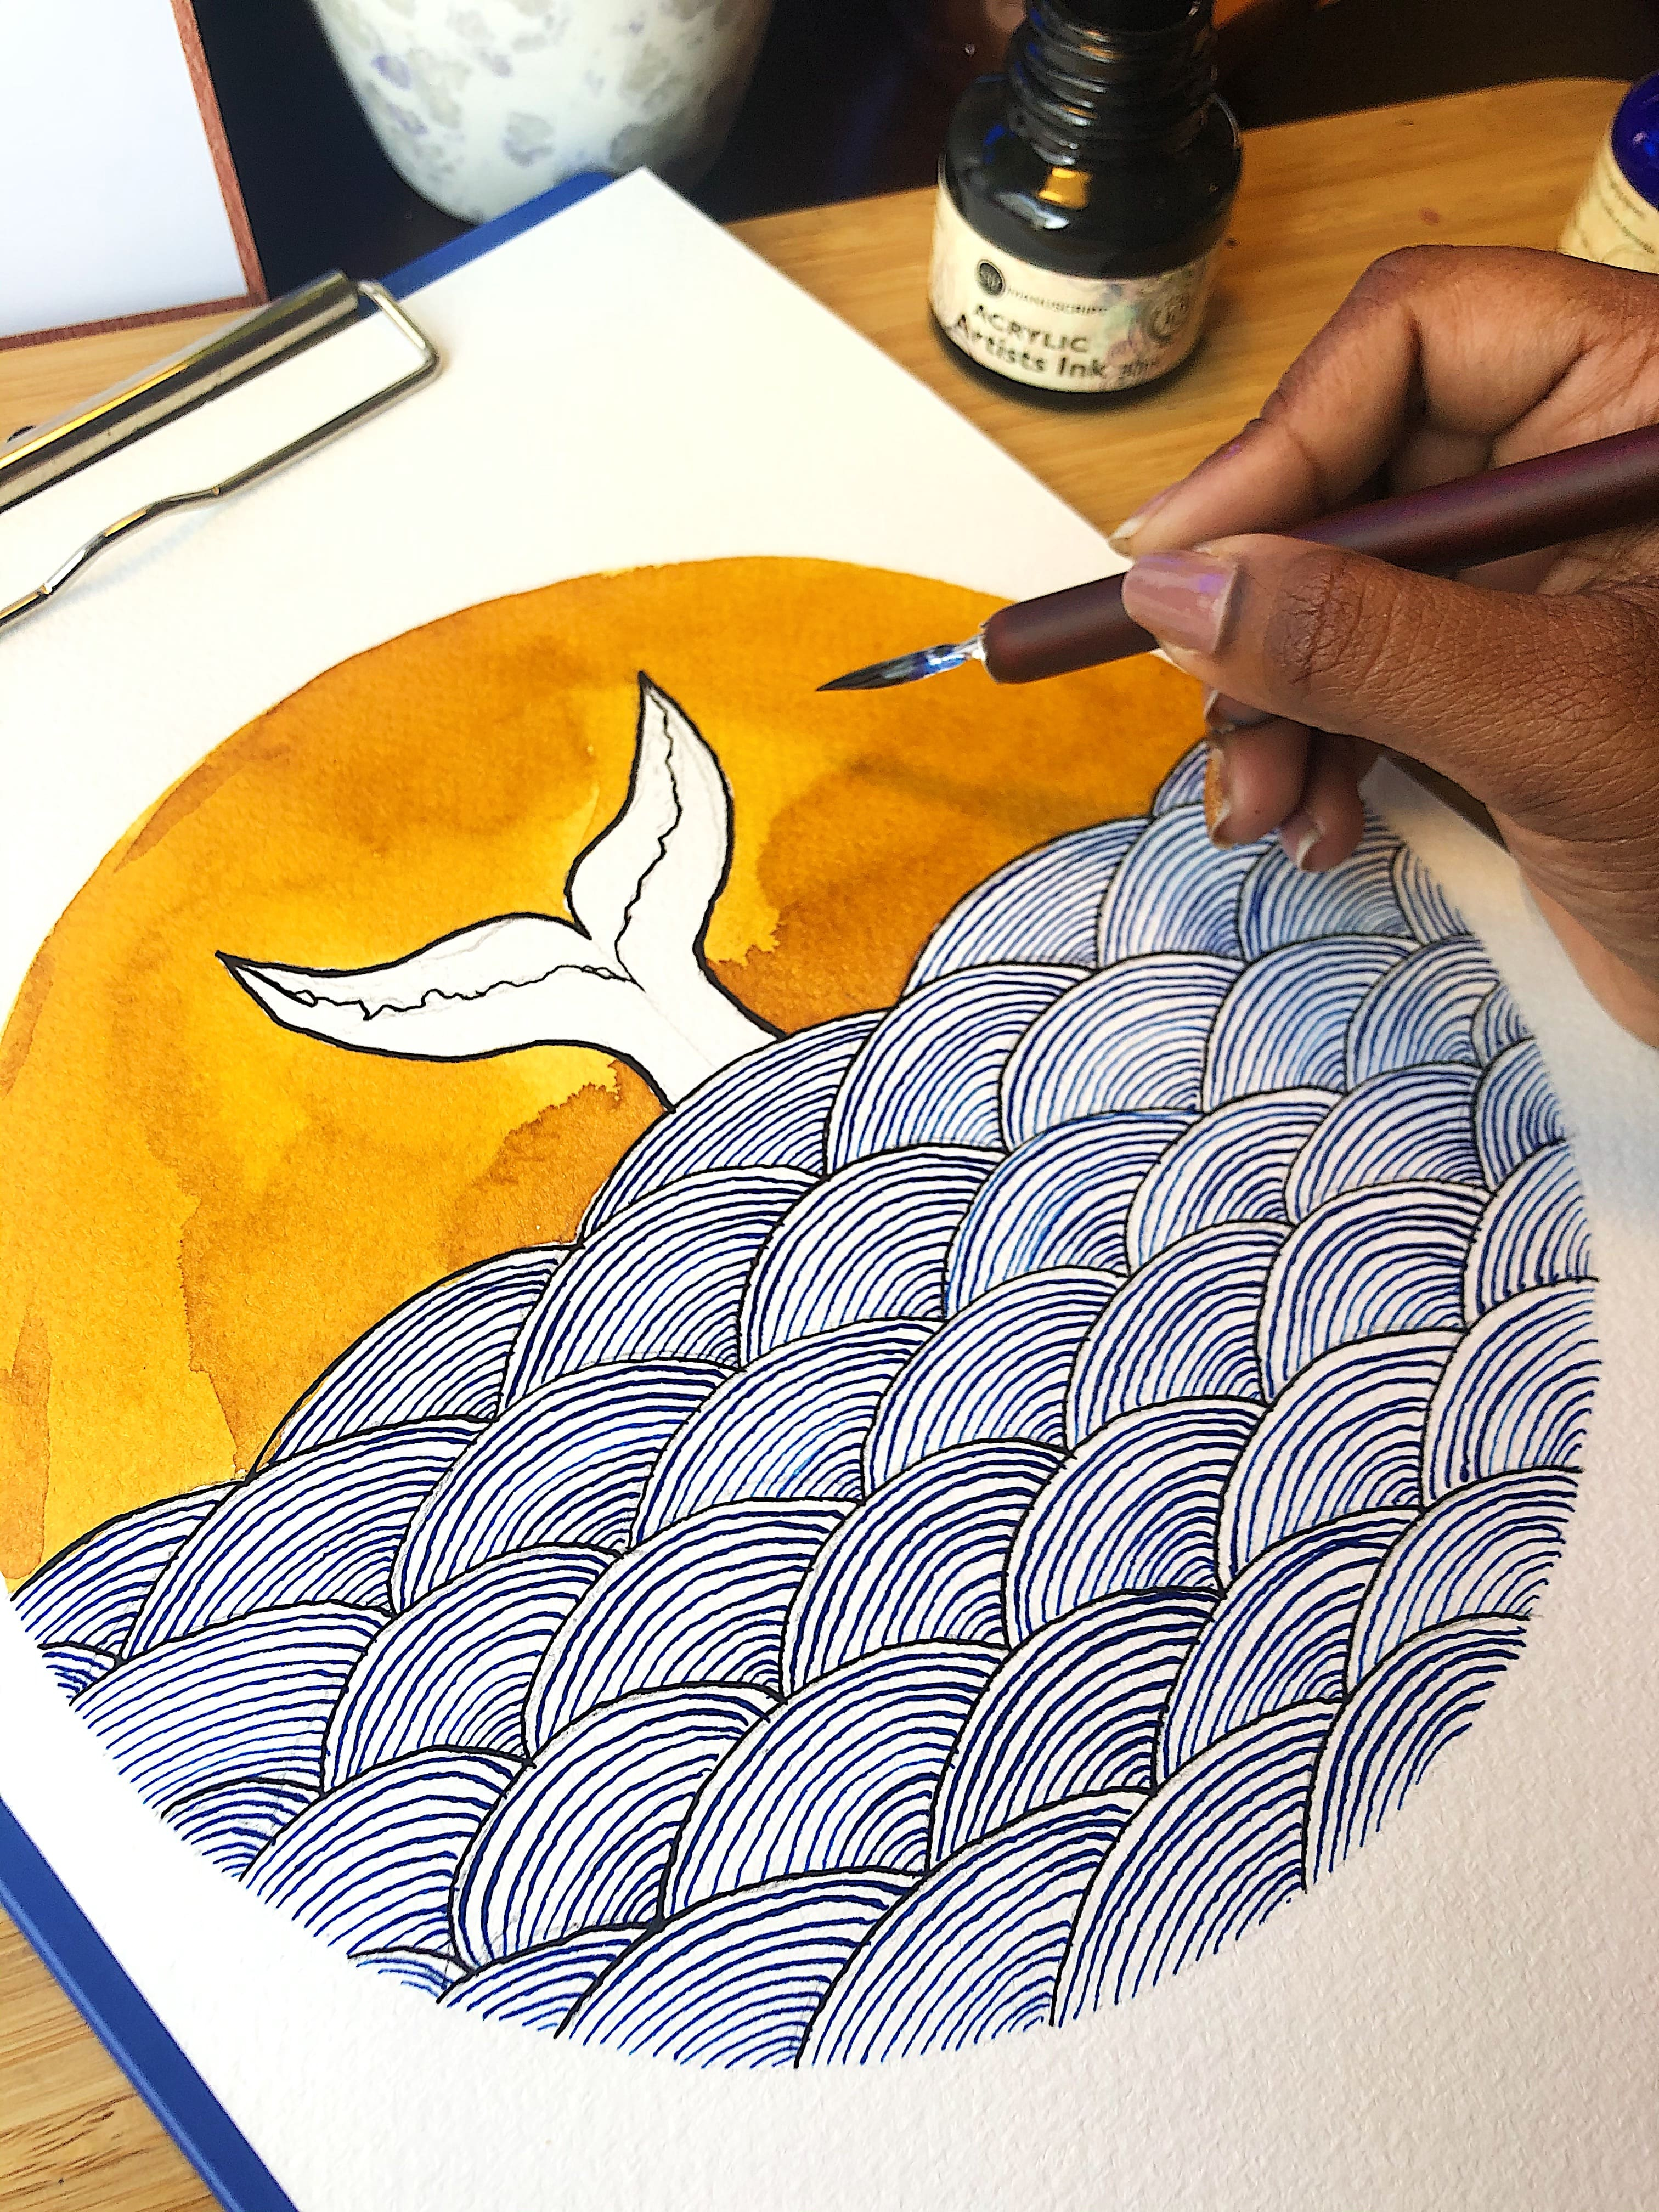
You’ll see that I’ve worked in some additional shape in the tail. This is the joy in working slowly, as you see the piece forming, you can add additional detail, shape and texture.
In the tail, I’ve used the initial shape again before using a speckling effect to dampen the effect of my new shape. This adds a real naturalistic feel to the piece, whilst blending the colours into each other.
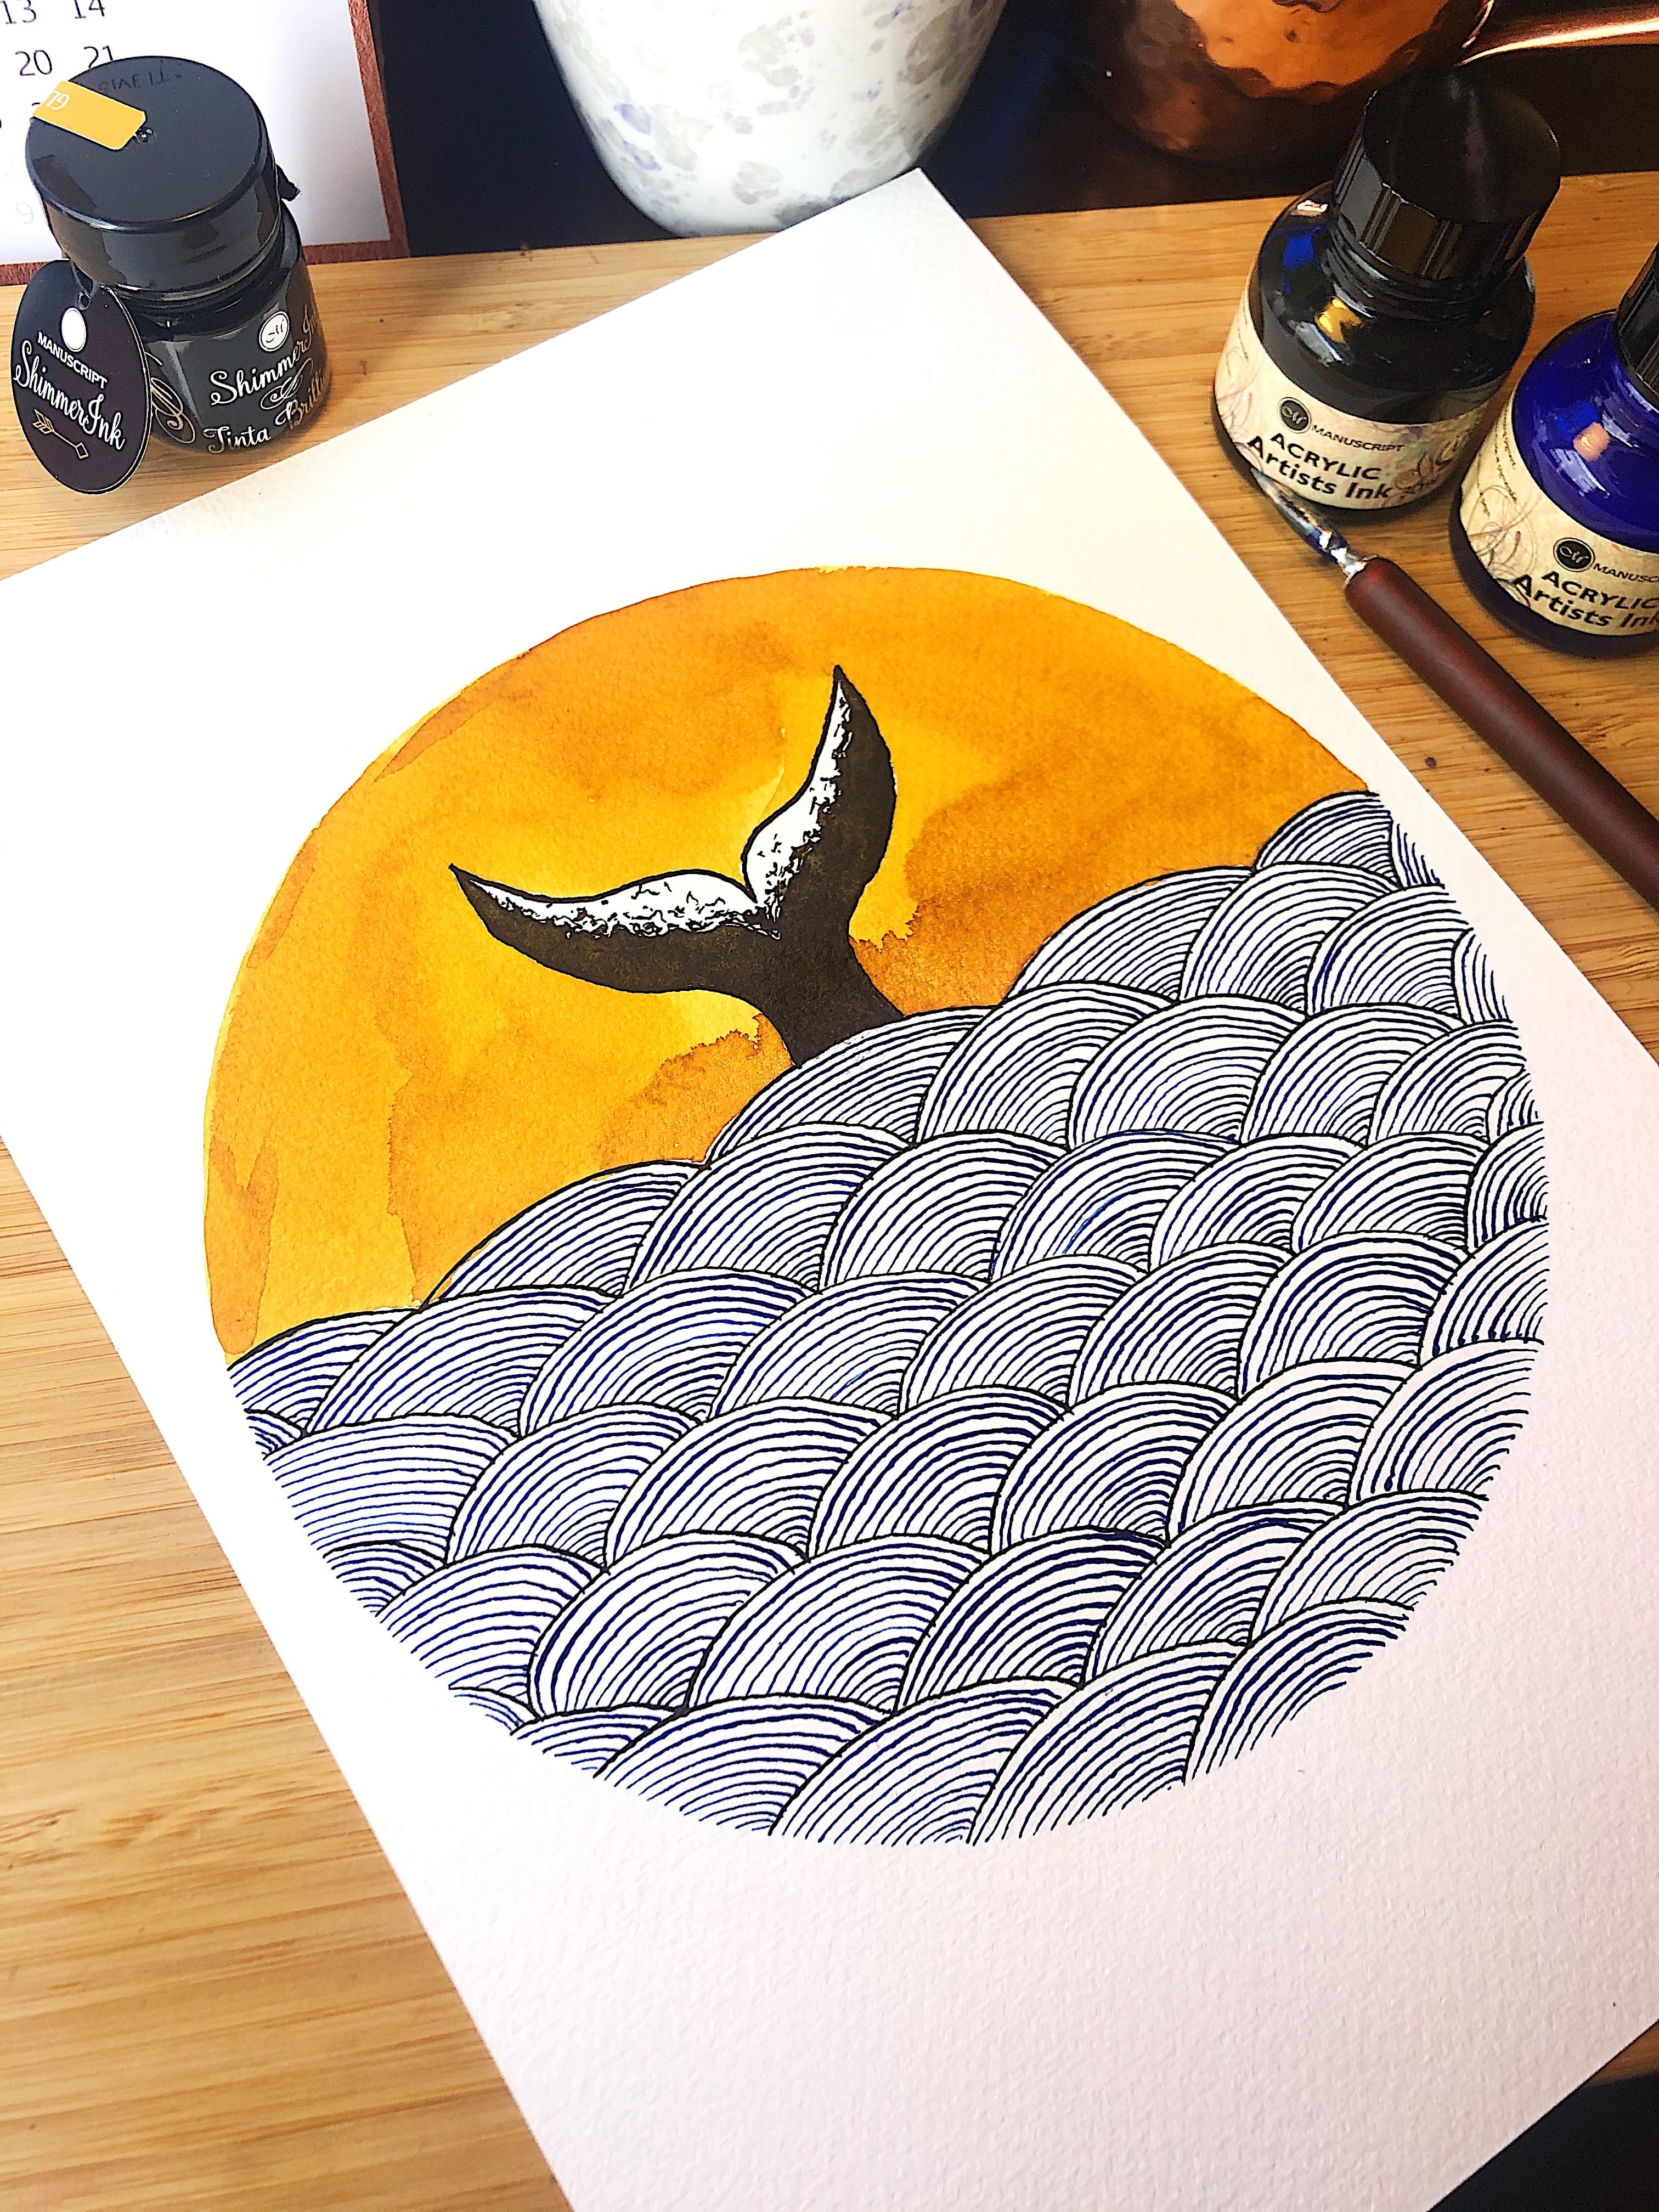
If you want to, you could do a slow gradient of fading ink from top to bottom. I prefer my pieces to be more vibrant.
Now step back and take a look at your final piece; brilliant isn’t it? The fine point has created a really clean piece whilst the pigment-rich inks have created a really bold outline.
Did you enjoy Payal’s step-by-step? What do you think of her piece? You can recreate Payal's artwork and shop for your supplies using the links below:
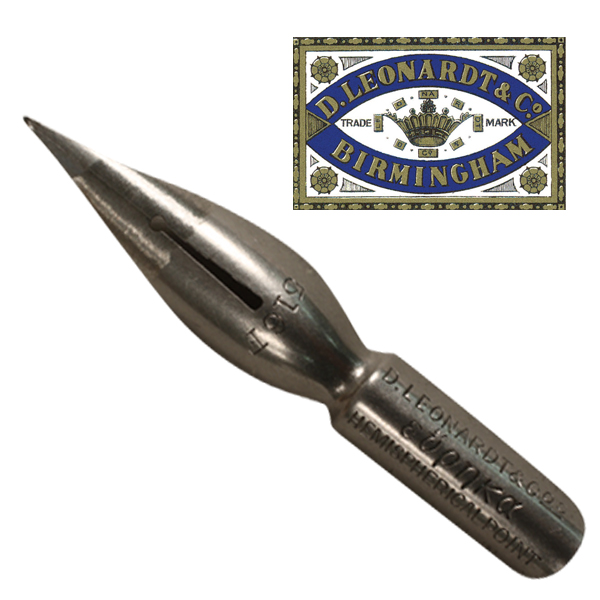
Leonard Drawing and Mapping Set