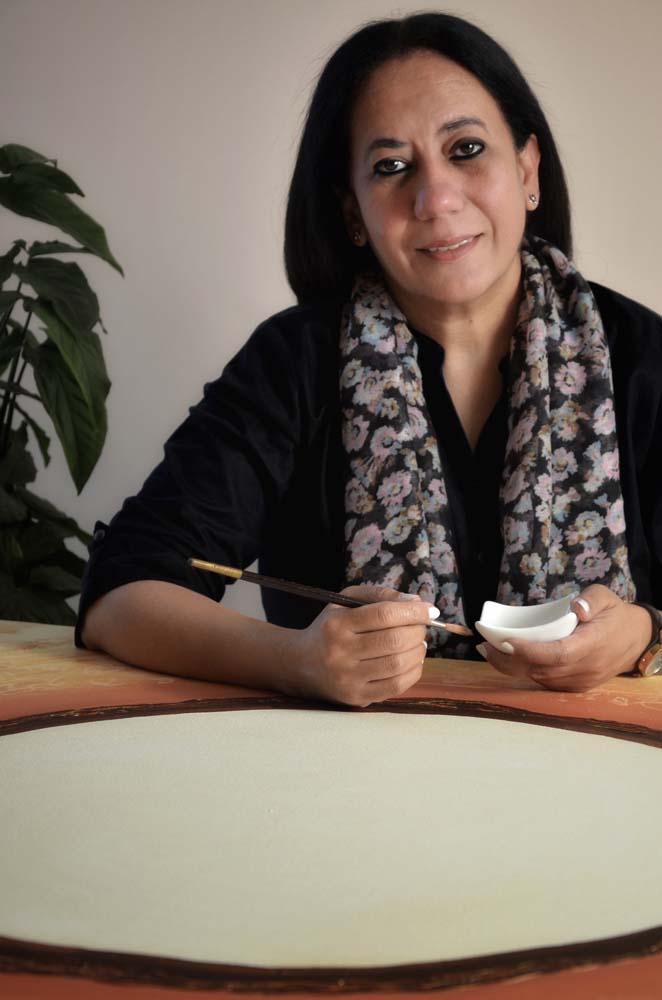
We asked our Artist of the Month Diane Foisy to create a new DIY tutorial for you all and she did not disappoint! Diane has put together this calligraphy poem project for you that will give you some top tips when creating a long calligraphic piece.
So, what are you waiting for? Get your pens ready and lets go!
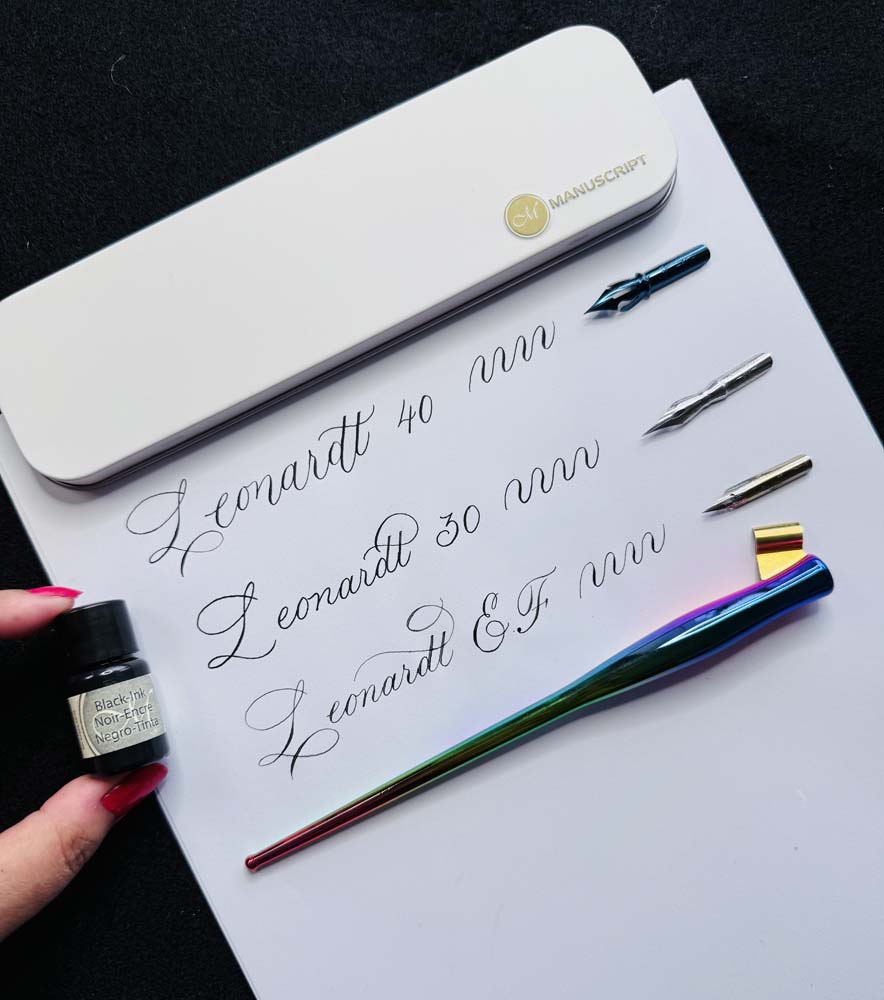
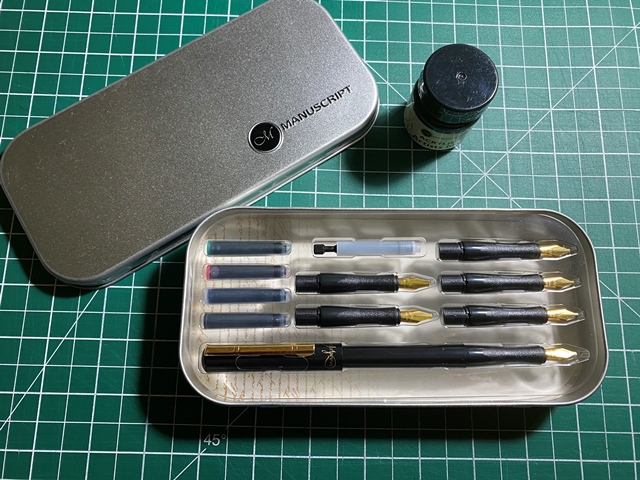
The Tools you need to get started:
- Manuscript Fountain Pen
- Manuscript Ink of Choice
- Pad of lined Paper legal size
- Pencil
- Eraser
- Ruler
- Transparent Tape
The finished piece will be 14” x 23”
Part 1 - Create your draft
- Start by drawing a pencil line ¼” from the edge of the writing pad
- Prepare your pen with a 3B nib
- Start off the first line of the poem, create a rough ‘A’ shape to allow room for the finished ‘A’ to fit into the poem - done with the 3B nib
- If you only have 1 Manuscript pen, then switch the nib to the medium nib. We recommend having a few Manuscript pens at hand each having the nibs ready for the project. In this case it would be a pen with a 3B nib and another pen with a medium nib
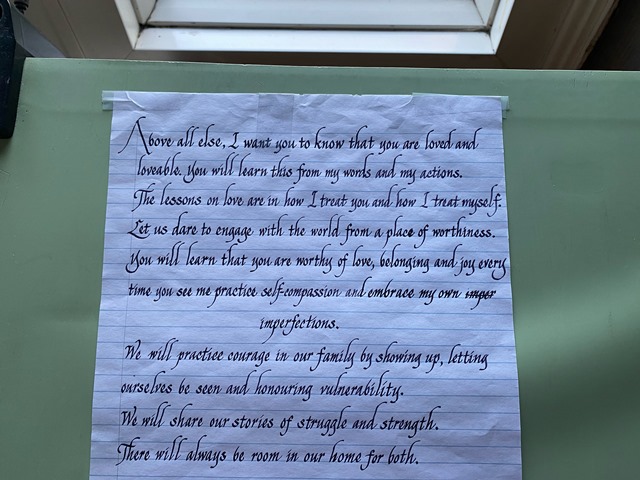
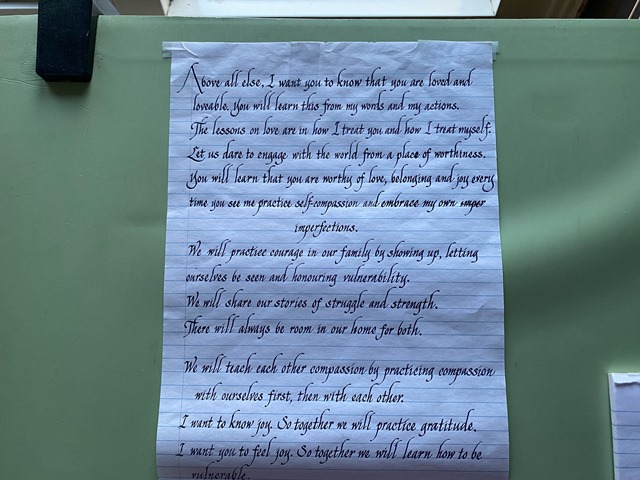
- With the medium nib, apply the Chancery style and write out the complete poem, or the body of text on the line paper - this is your draft
- Proof read your draft to be sure it is perfectly written before you proceed to complete your finished poem
Part 2 - Creating your finished poem
- Measure the Parchment Paper to size for the finished poem. Diane always makes it a little bigger, as it is easier to trim it down to size once finished.
- Cut the paper.
- Take your light box out.
- Option: Tape your draft to the backside of your cut parchment paper.
- Diane prefers to move the draft freely behind the parchment paper, as she decides where the placement of the lines will go
- Begin executing the Chancery calligraphy style.
- Now that you can see through it, you can see where to make flourishes and drop bigger loops in the open spaces. This adds to the piece beautifully, without creating distractions….it will read well if you only place the flourishes in the open spaces
- Now that you’re done with the body of the poem, you are ready to change to your 3B nib.
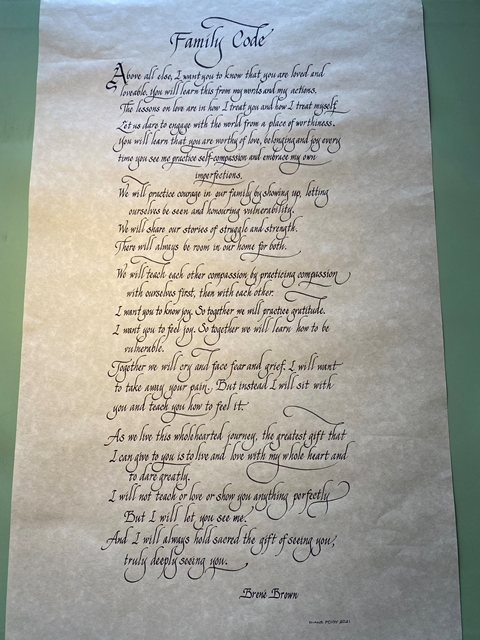
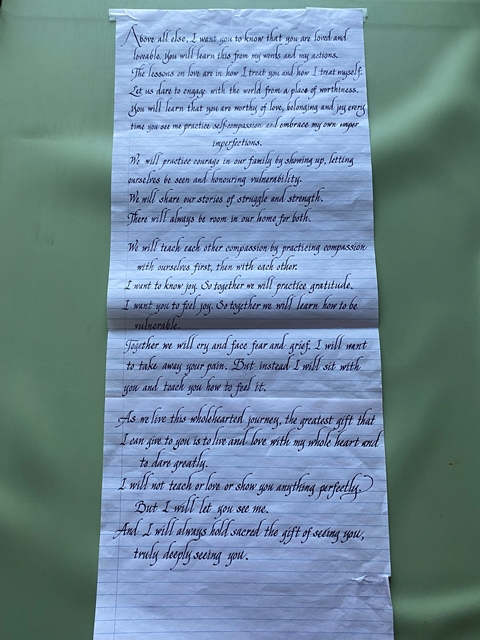
- Create a second draft of the title in a nice large Chancery Style. Here the title is Family Code. Diane did a draft of that, and can now place it at the top of the poem and you can see where to place it so that it is perfectly centred at the top.
- Inscribe the title at the top.
- In this particular piece, Diane wanted the ‘A’ (first letter of the poem) to stand out. The client didn’t want to add any colour, so in black ink only, to make it stand out, Diane used a Gothic letter ‘A’.
- Now you need to add the author of the poem, and it needs to be much smaller than the body of text. You can do two things, you can use a smaller nib, fine nib or just make it much smaller using the same medium nib. Diane made it much smaller using the same medium nib. In this case, the author of the poem is Brené Brown. Do a draft of that name, and then you can place it perfectly at the bottom left.
- It’s important to ask the client permission to add your name as the calligraphy artist.
- Place that draft at the very bottom of the poem to the far right to compare to the finished piece.
There you have it! The full step by step instructions on how to complete a favourite poem in Chancery using the wonderful Manuscript Pens and nibs! You can do this for yourself, a friend, or a family member. Christmas is around the corner, and these make excellent gifts!
To see more of Diane's work you can follow her on Instagram or visit her website for helpful calligraphy videos. Remember to follow @manuscriptpenco on Social Media where we will be showcasing her work throughout the month.