We asked our Artist of the Month Tarandeep, to create a new DIY tutorial for you all and she did not disappoint! She has created a great step-by-step tutorial on how to create your own ribbon letters, perfect for beginners. This style is ideal for seasonal artwork such as Christmas.
So, what are you waiting for? Get your tools ready and lets go!
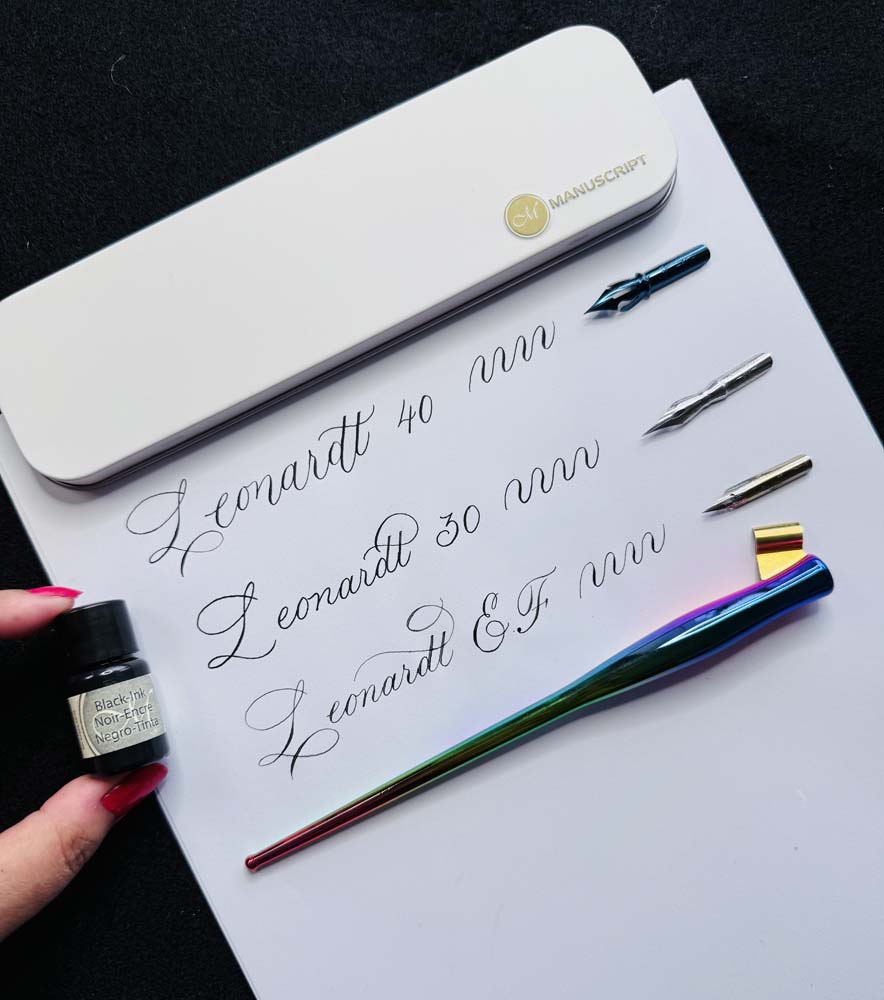
The Tools you need to get started:
- Pencil
- Duotip Markers
- Callicreative Metallic Markers
- Card or paper of choice
- Rubber - optional
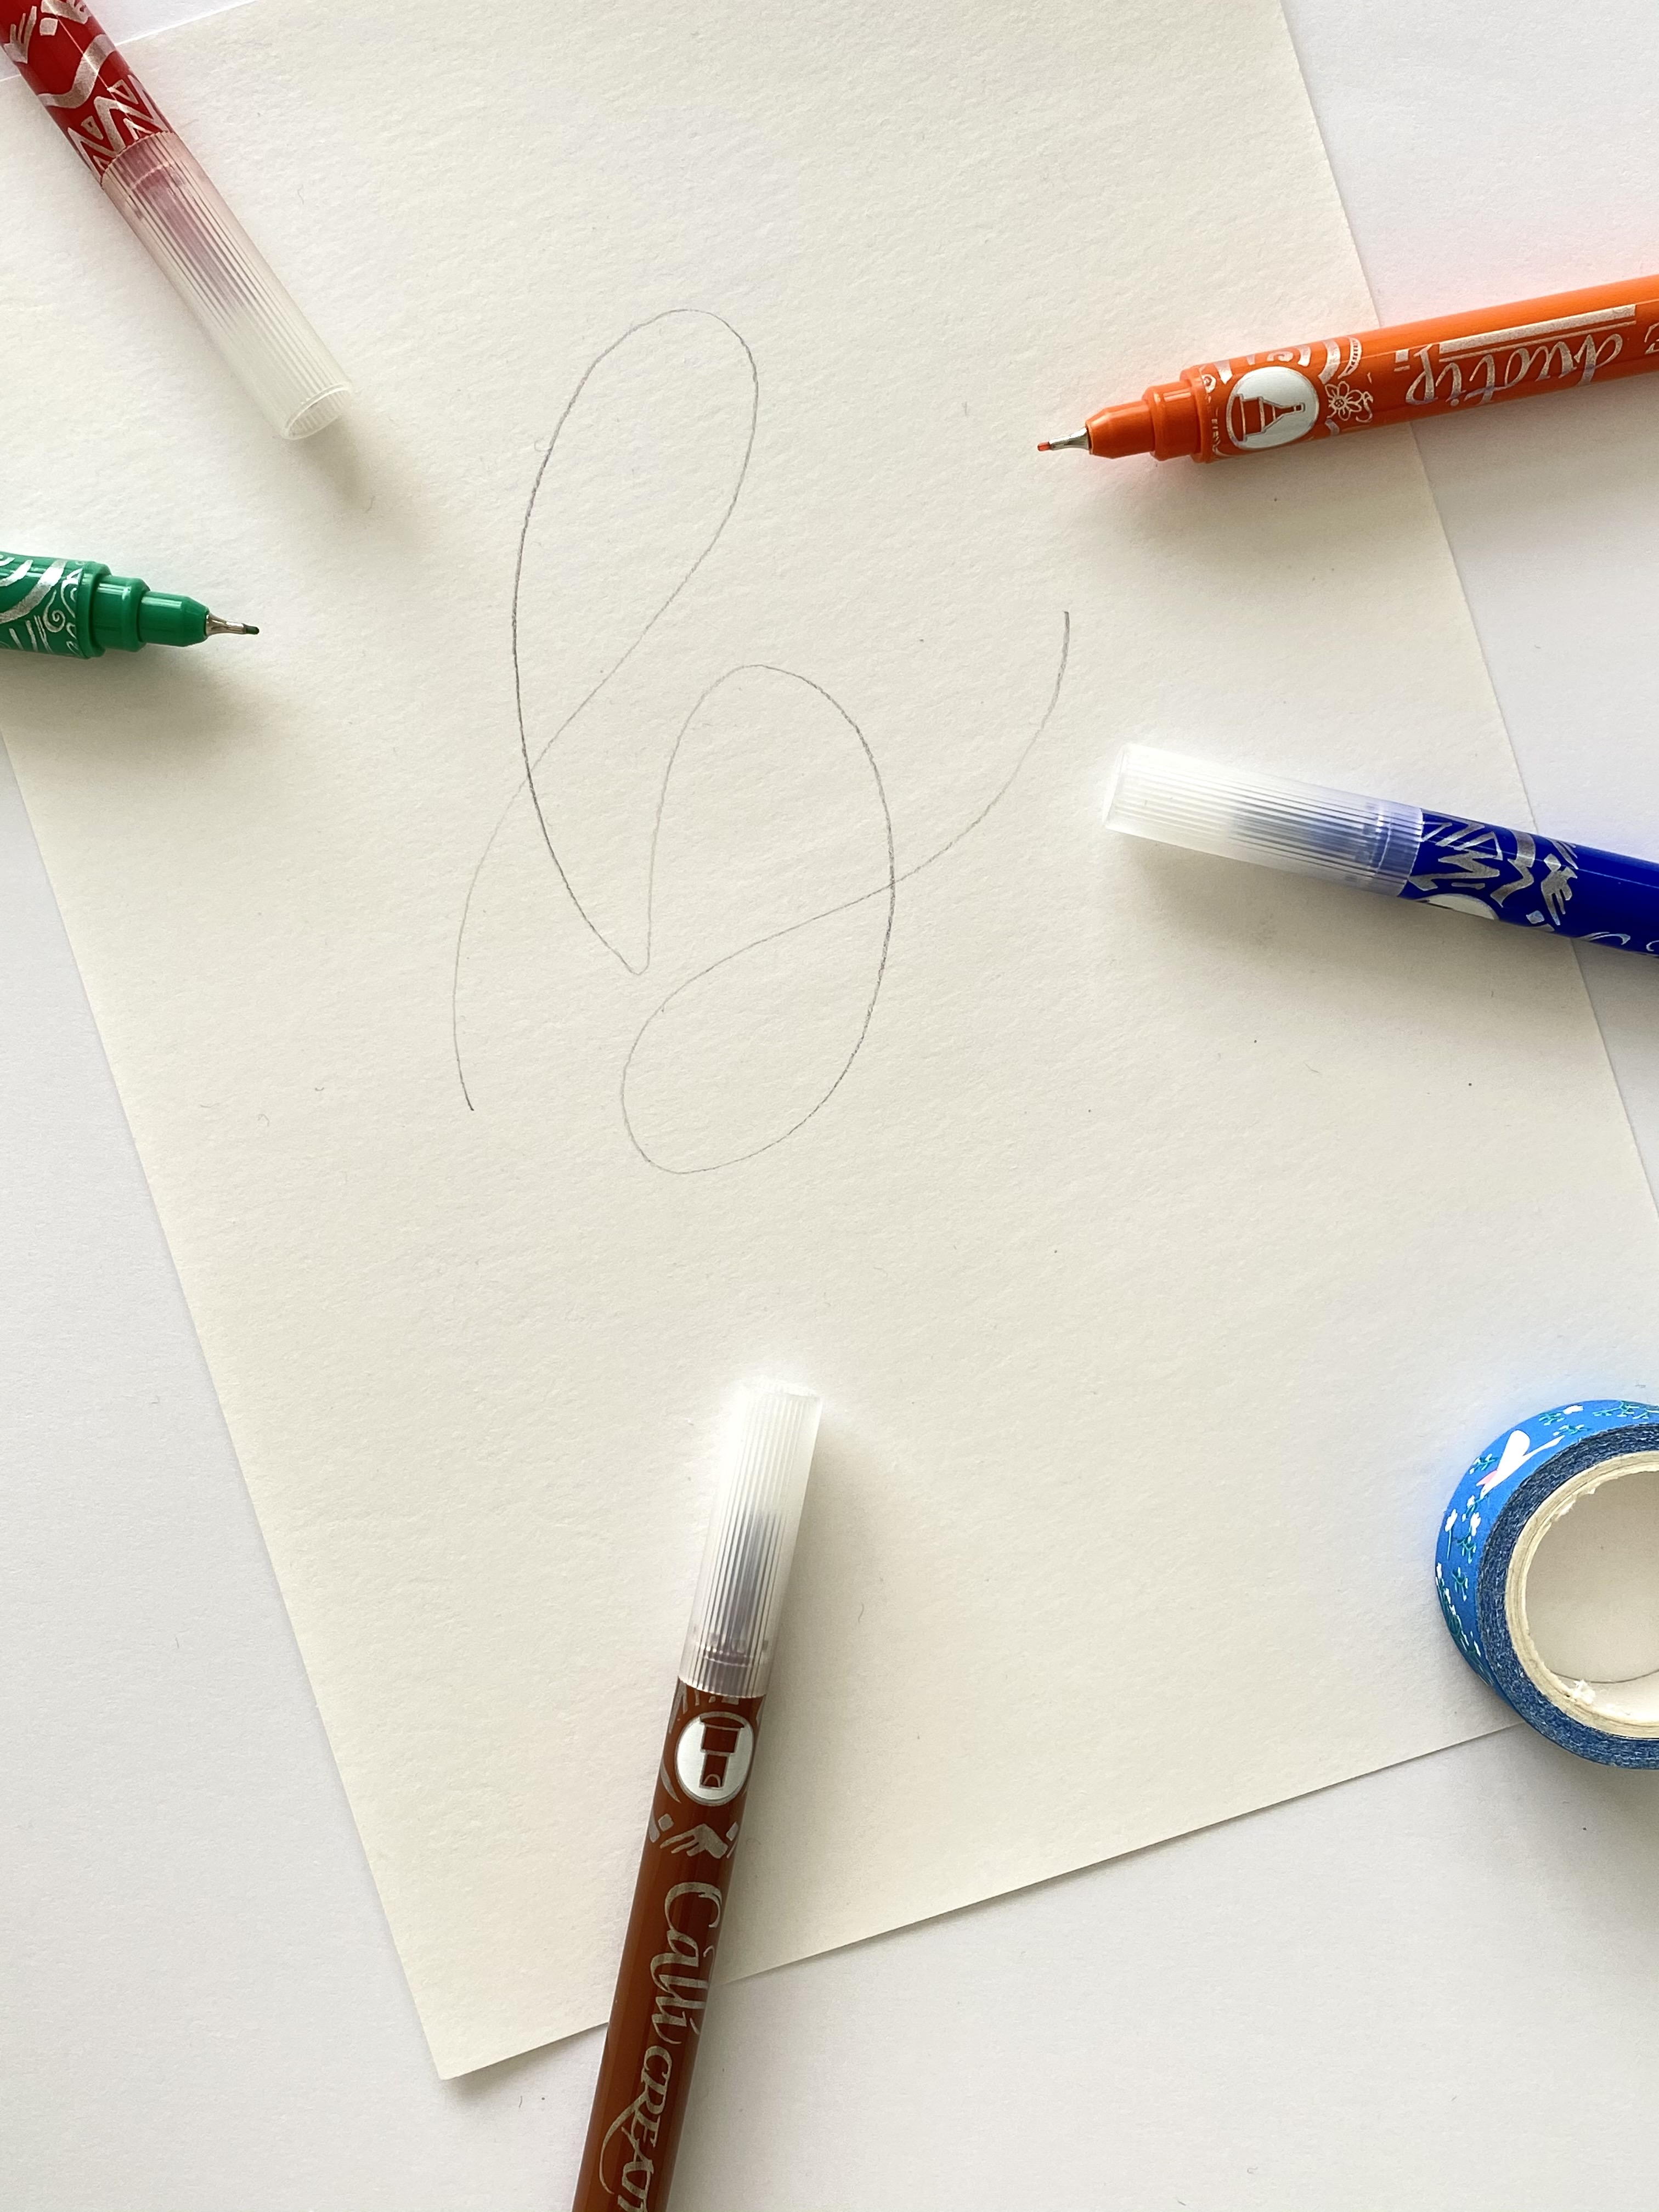
Step 1 - Sketch your letter
To do this step, imagine you have a ribbon and you are creating letter with the ribbon. For this, use a pencil so that you can make changes if you want. As you sketch, you will notice your hand going up or downwards. Take a mental note of this or add small arrows to indicate the direction for further steps.
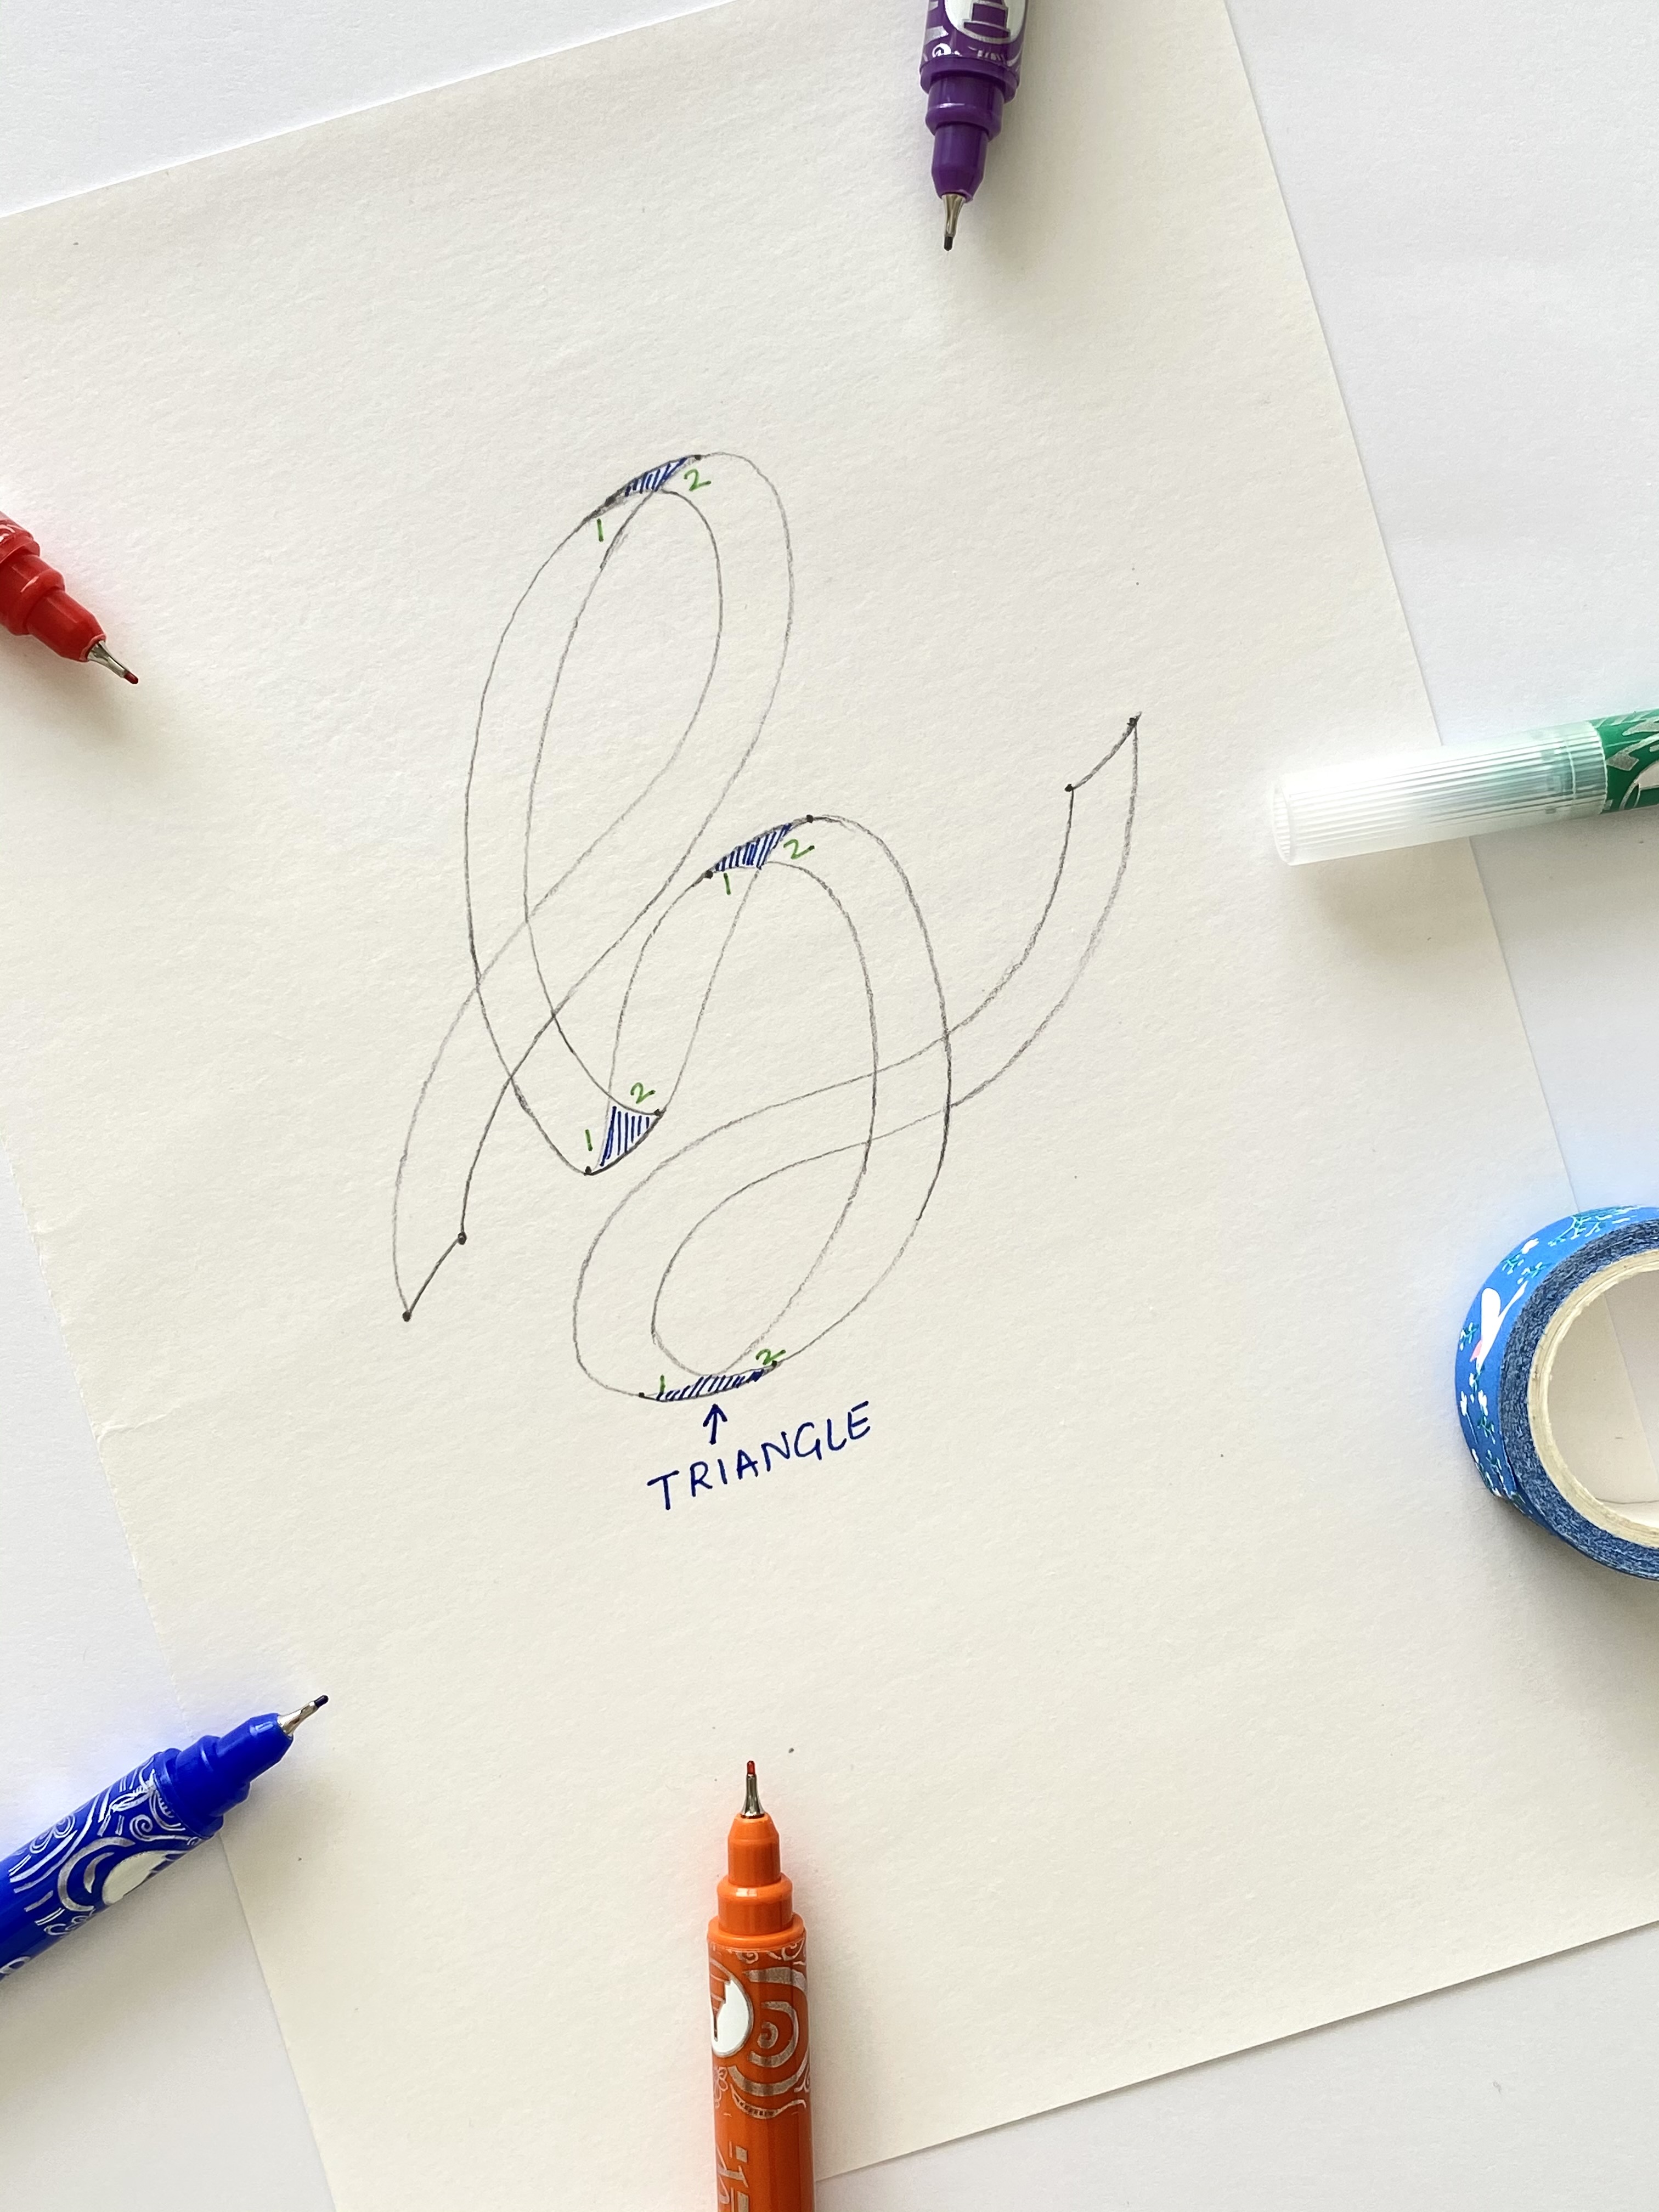
Step 2 - Sketch your letter, again
For this you need two points:
- Points of transition- The point where you transition from an upstroke to a downstroke or vice versa.
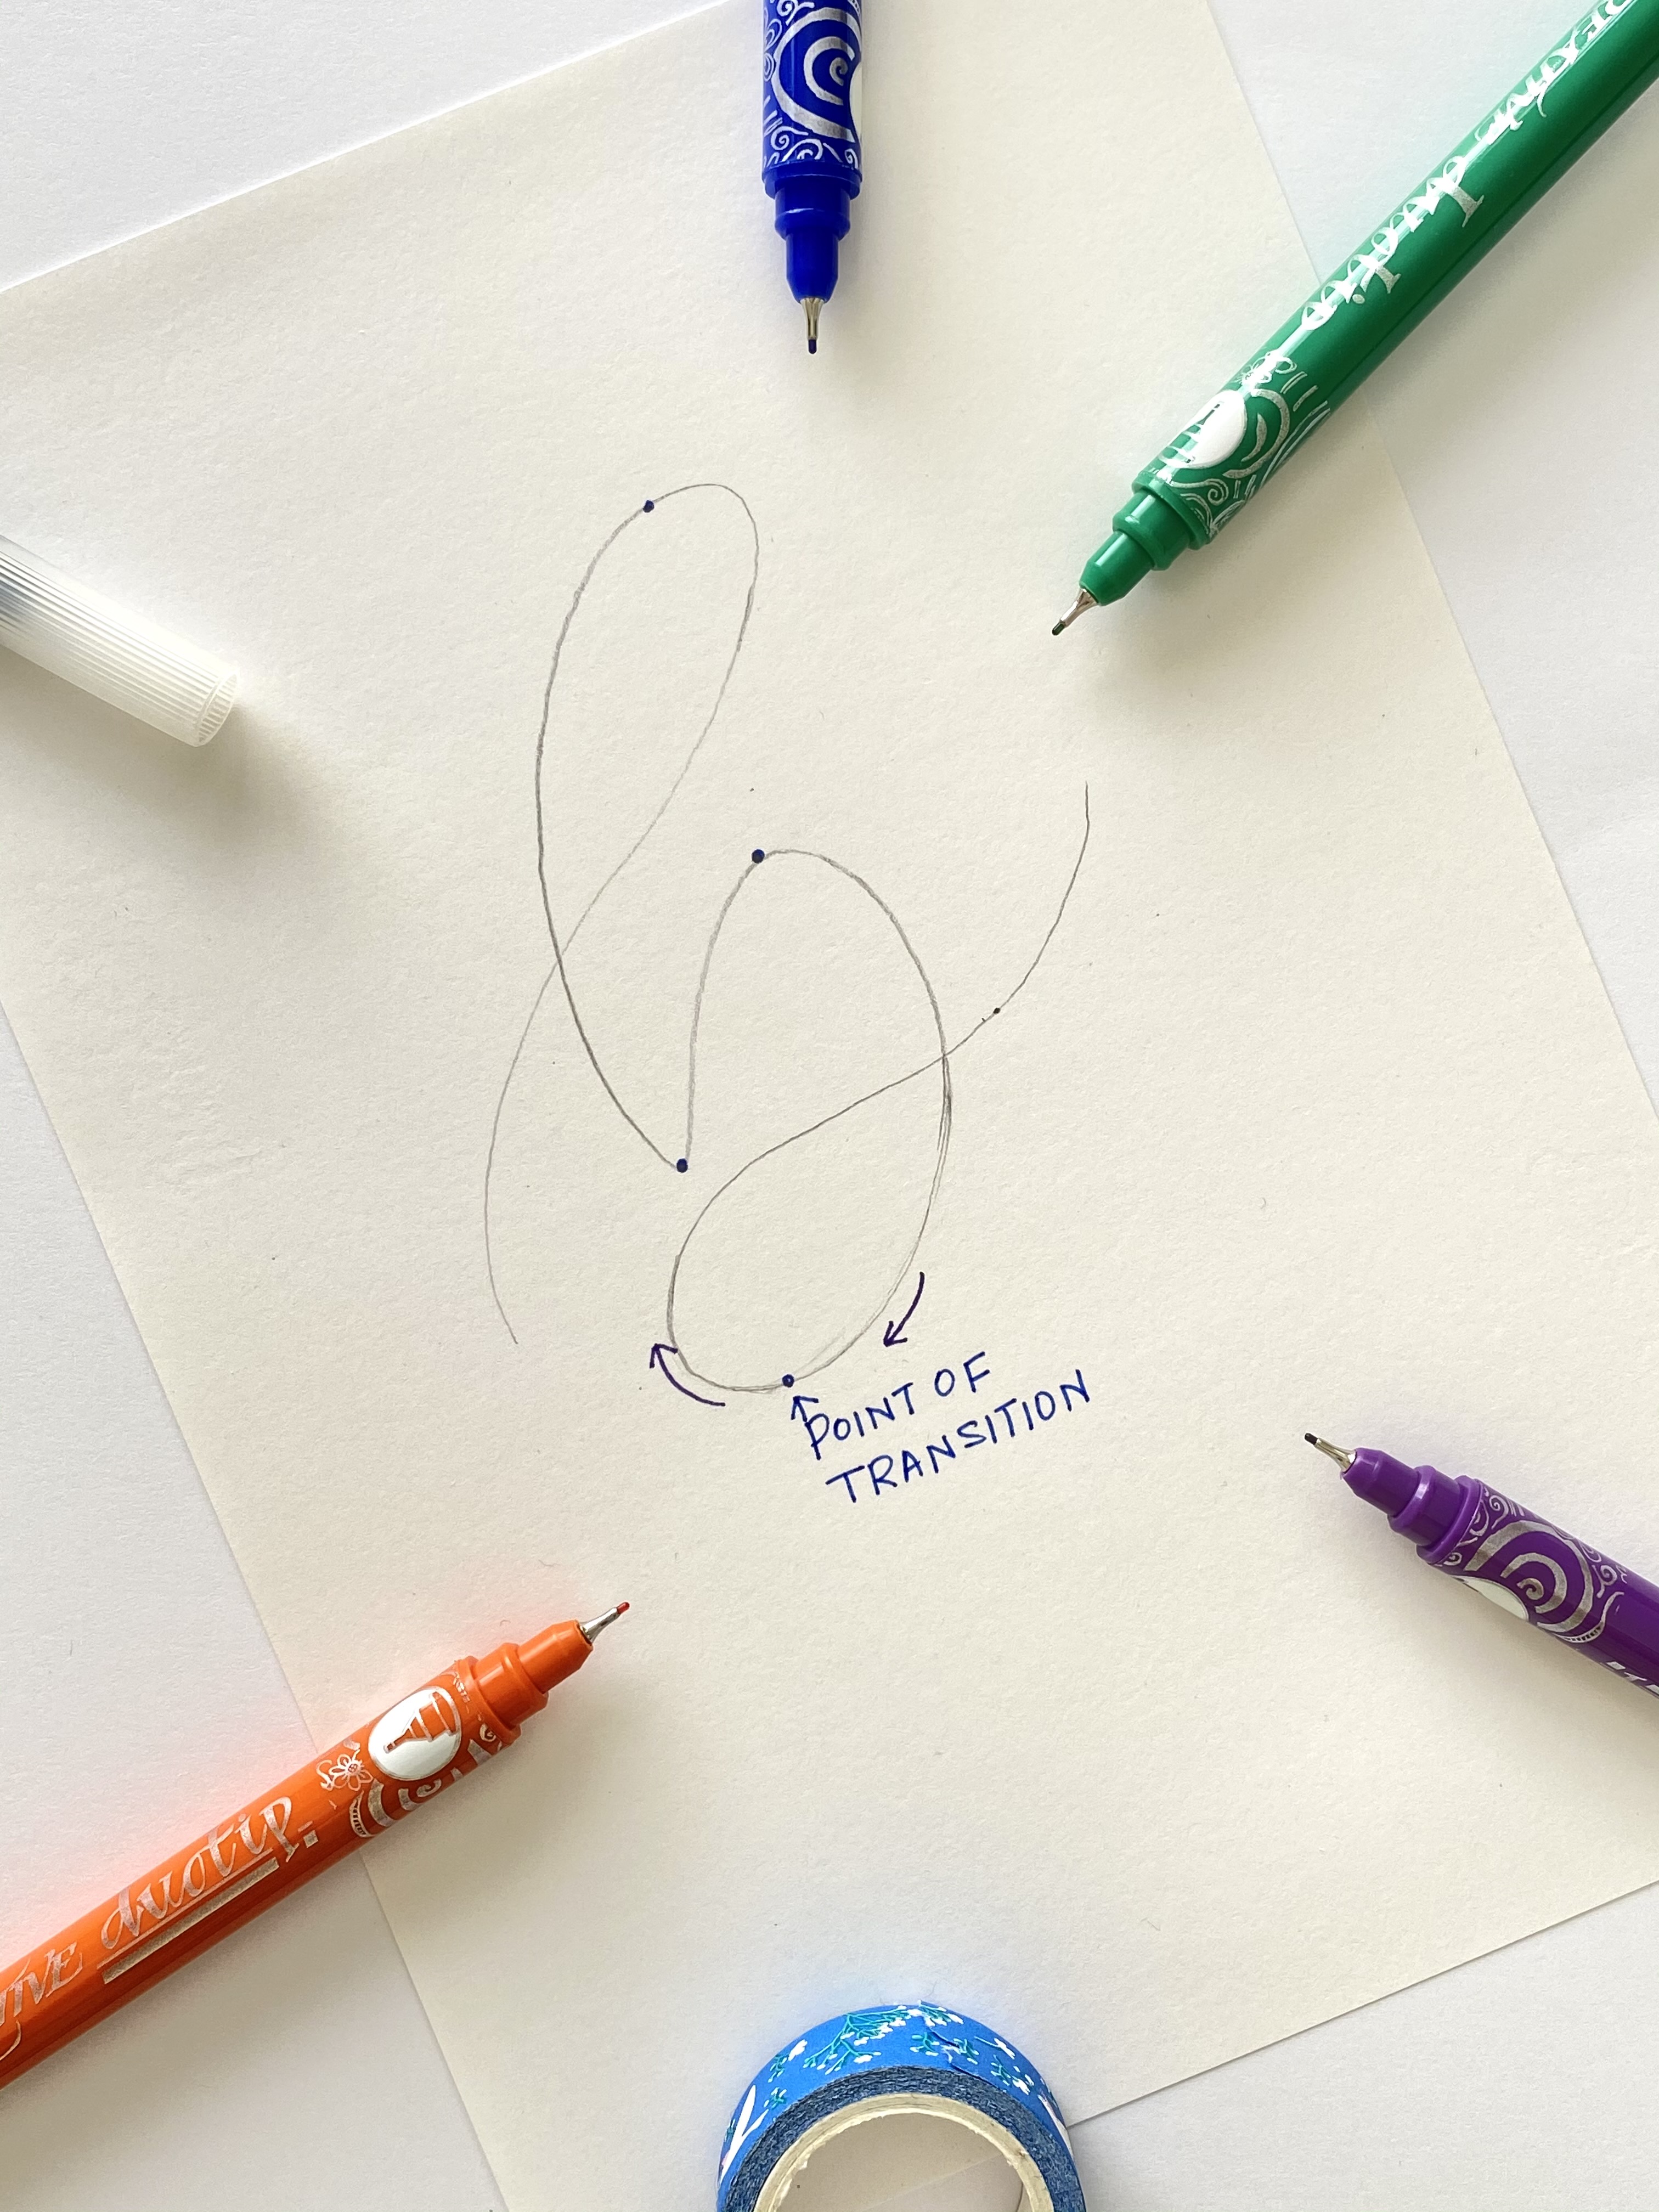
2. Another point to the right and upward position of the point of transition.
Repeat this for all the points of transition in your letter.
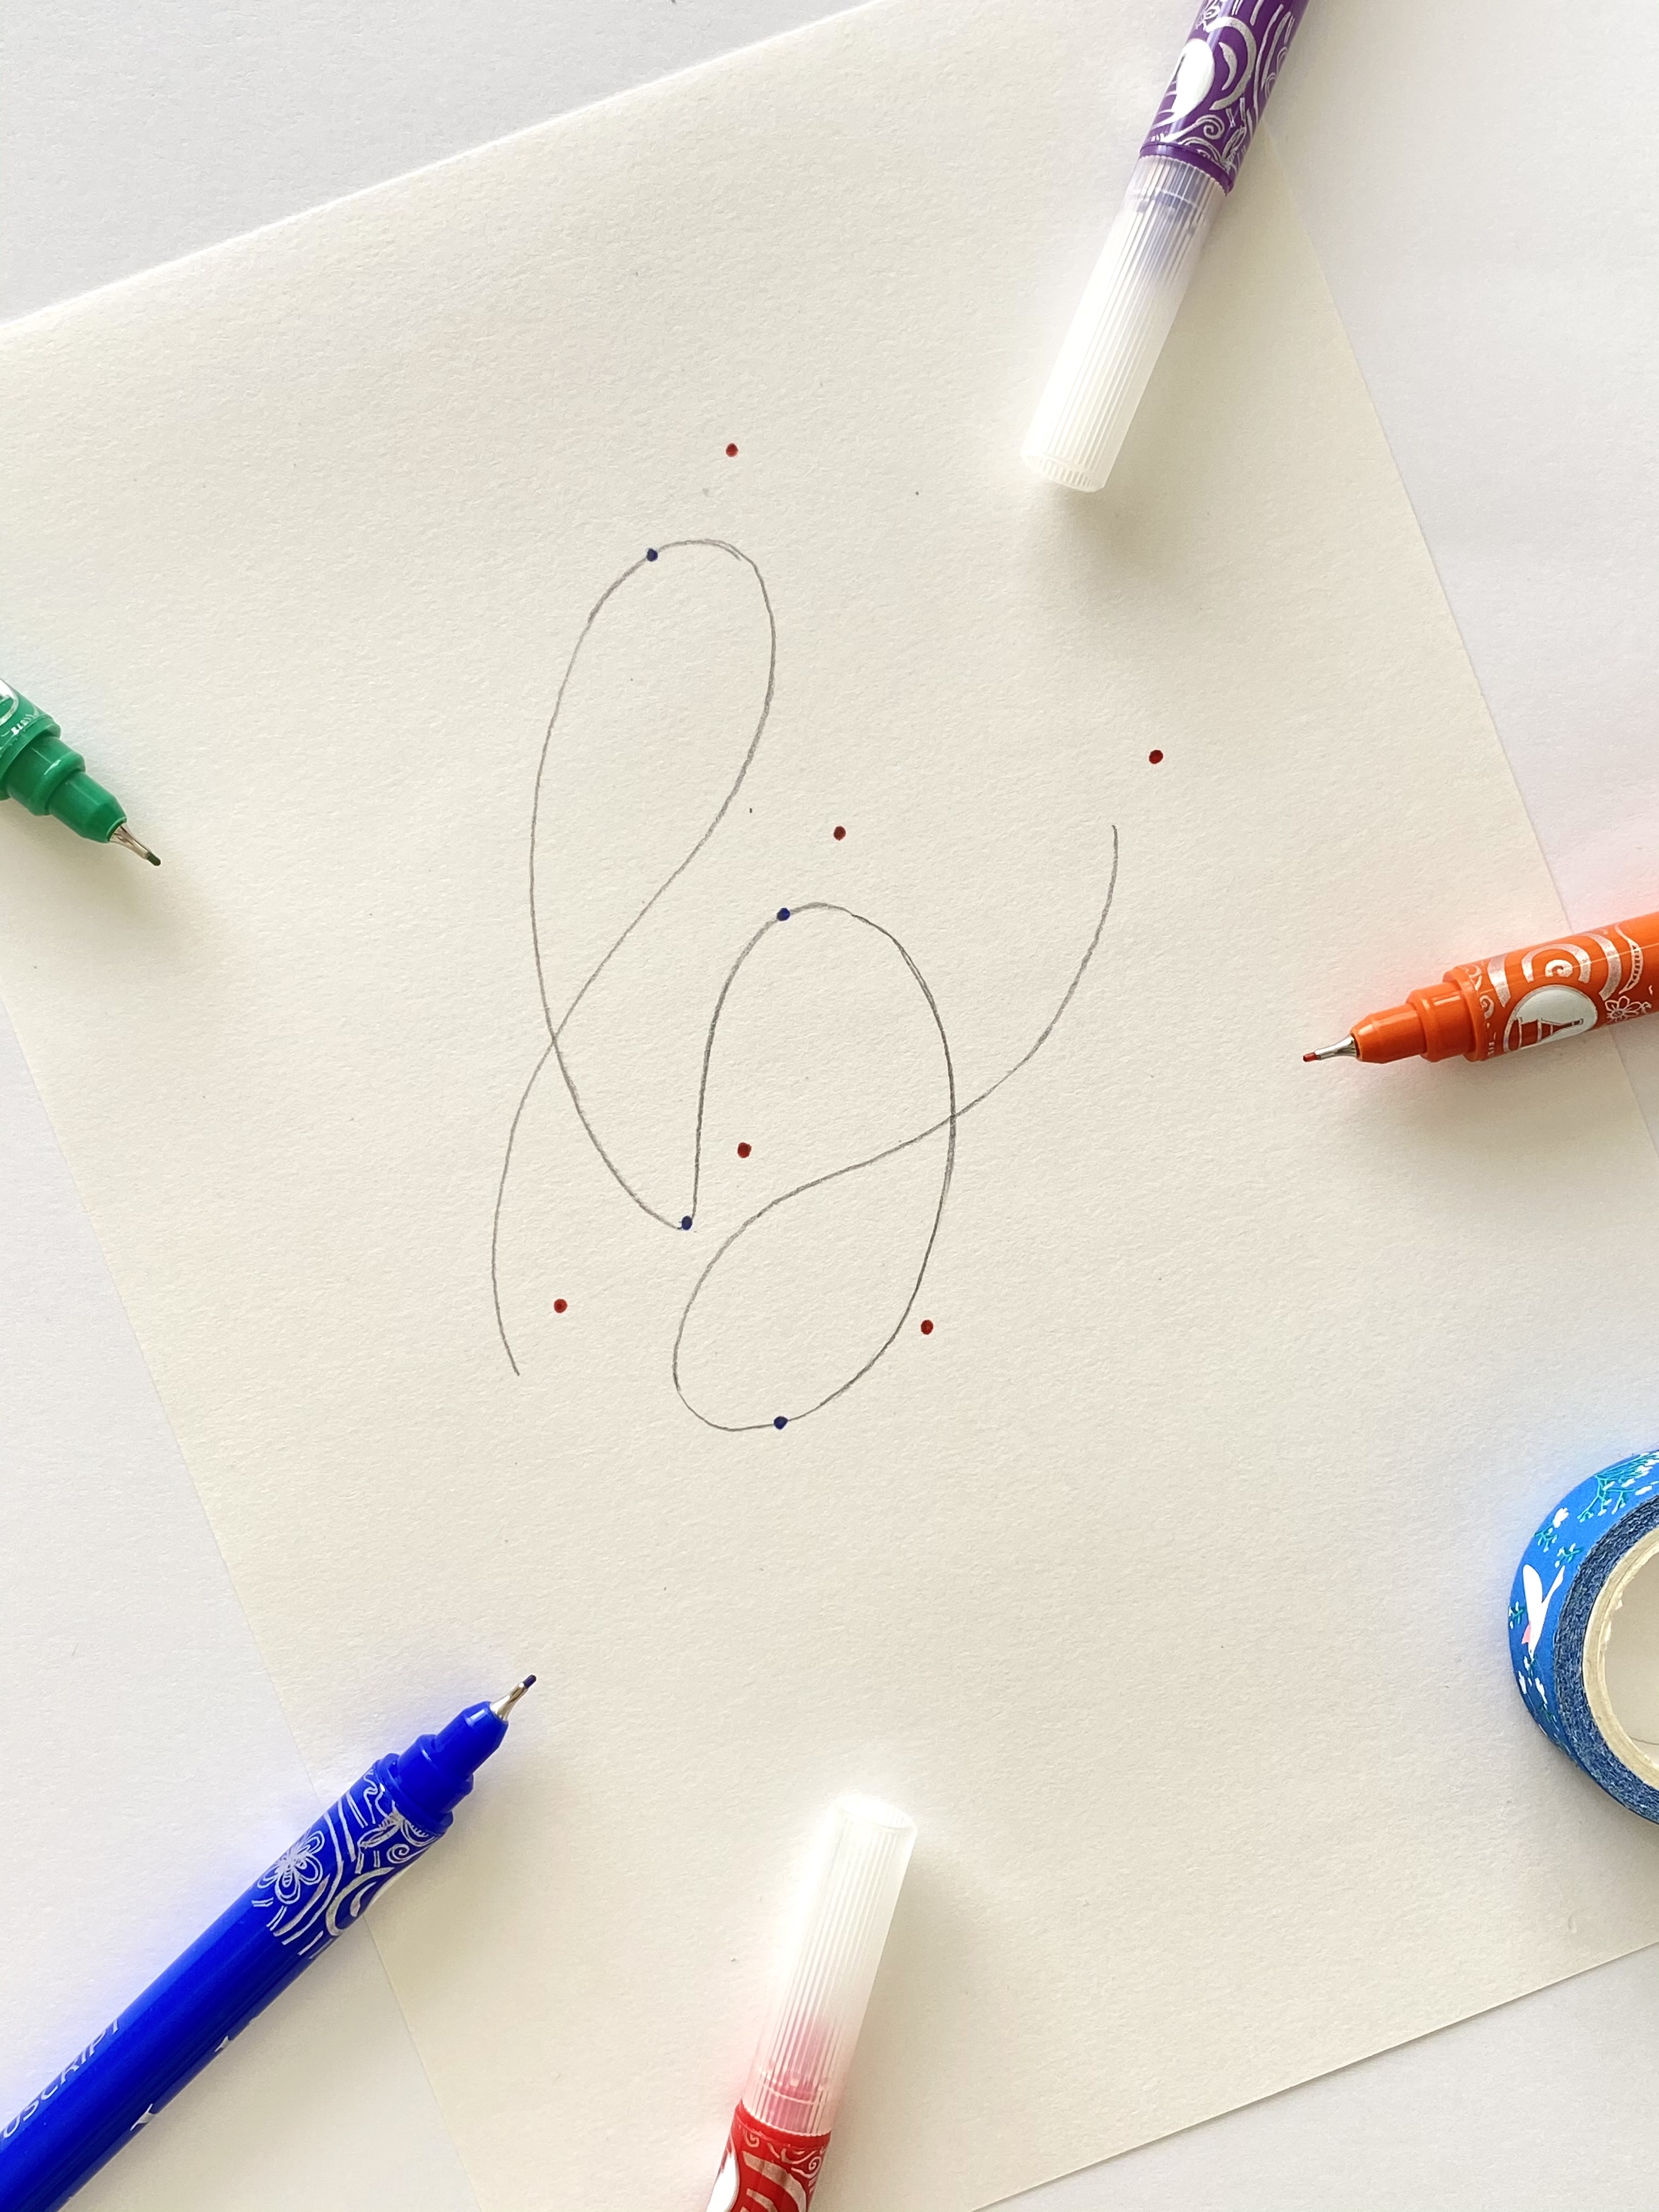
How far to the right and up you put these dots will decide the width of the ribbon. Now connect all the points of step 2(b)
This will create another sketch of letter but to the right side of what you did in the first step.
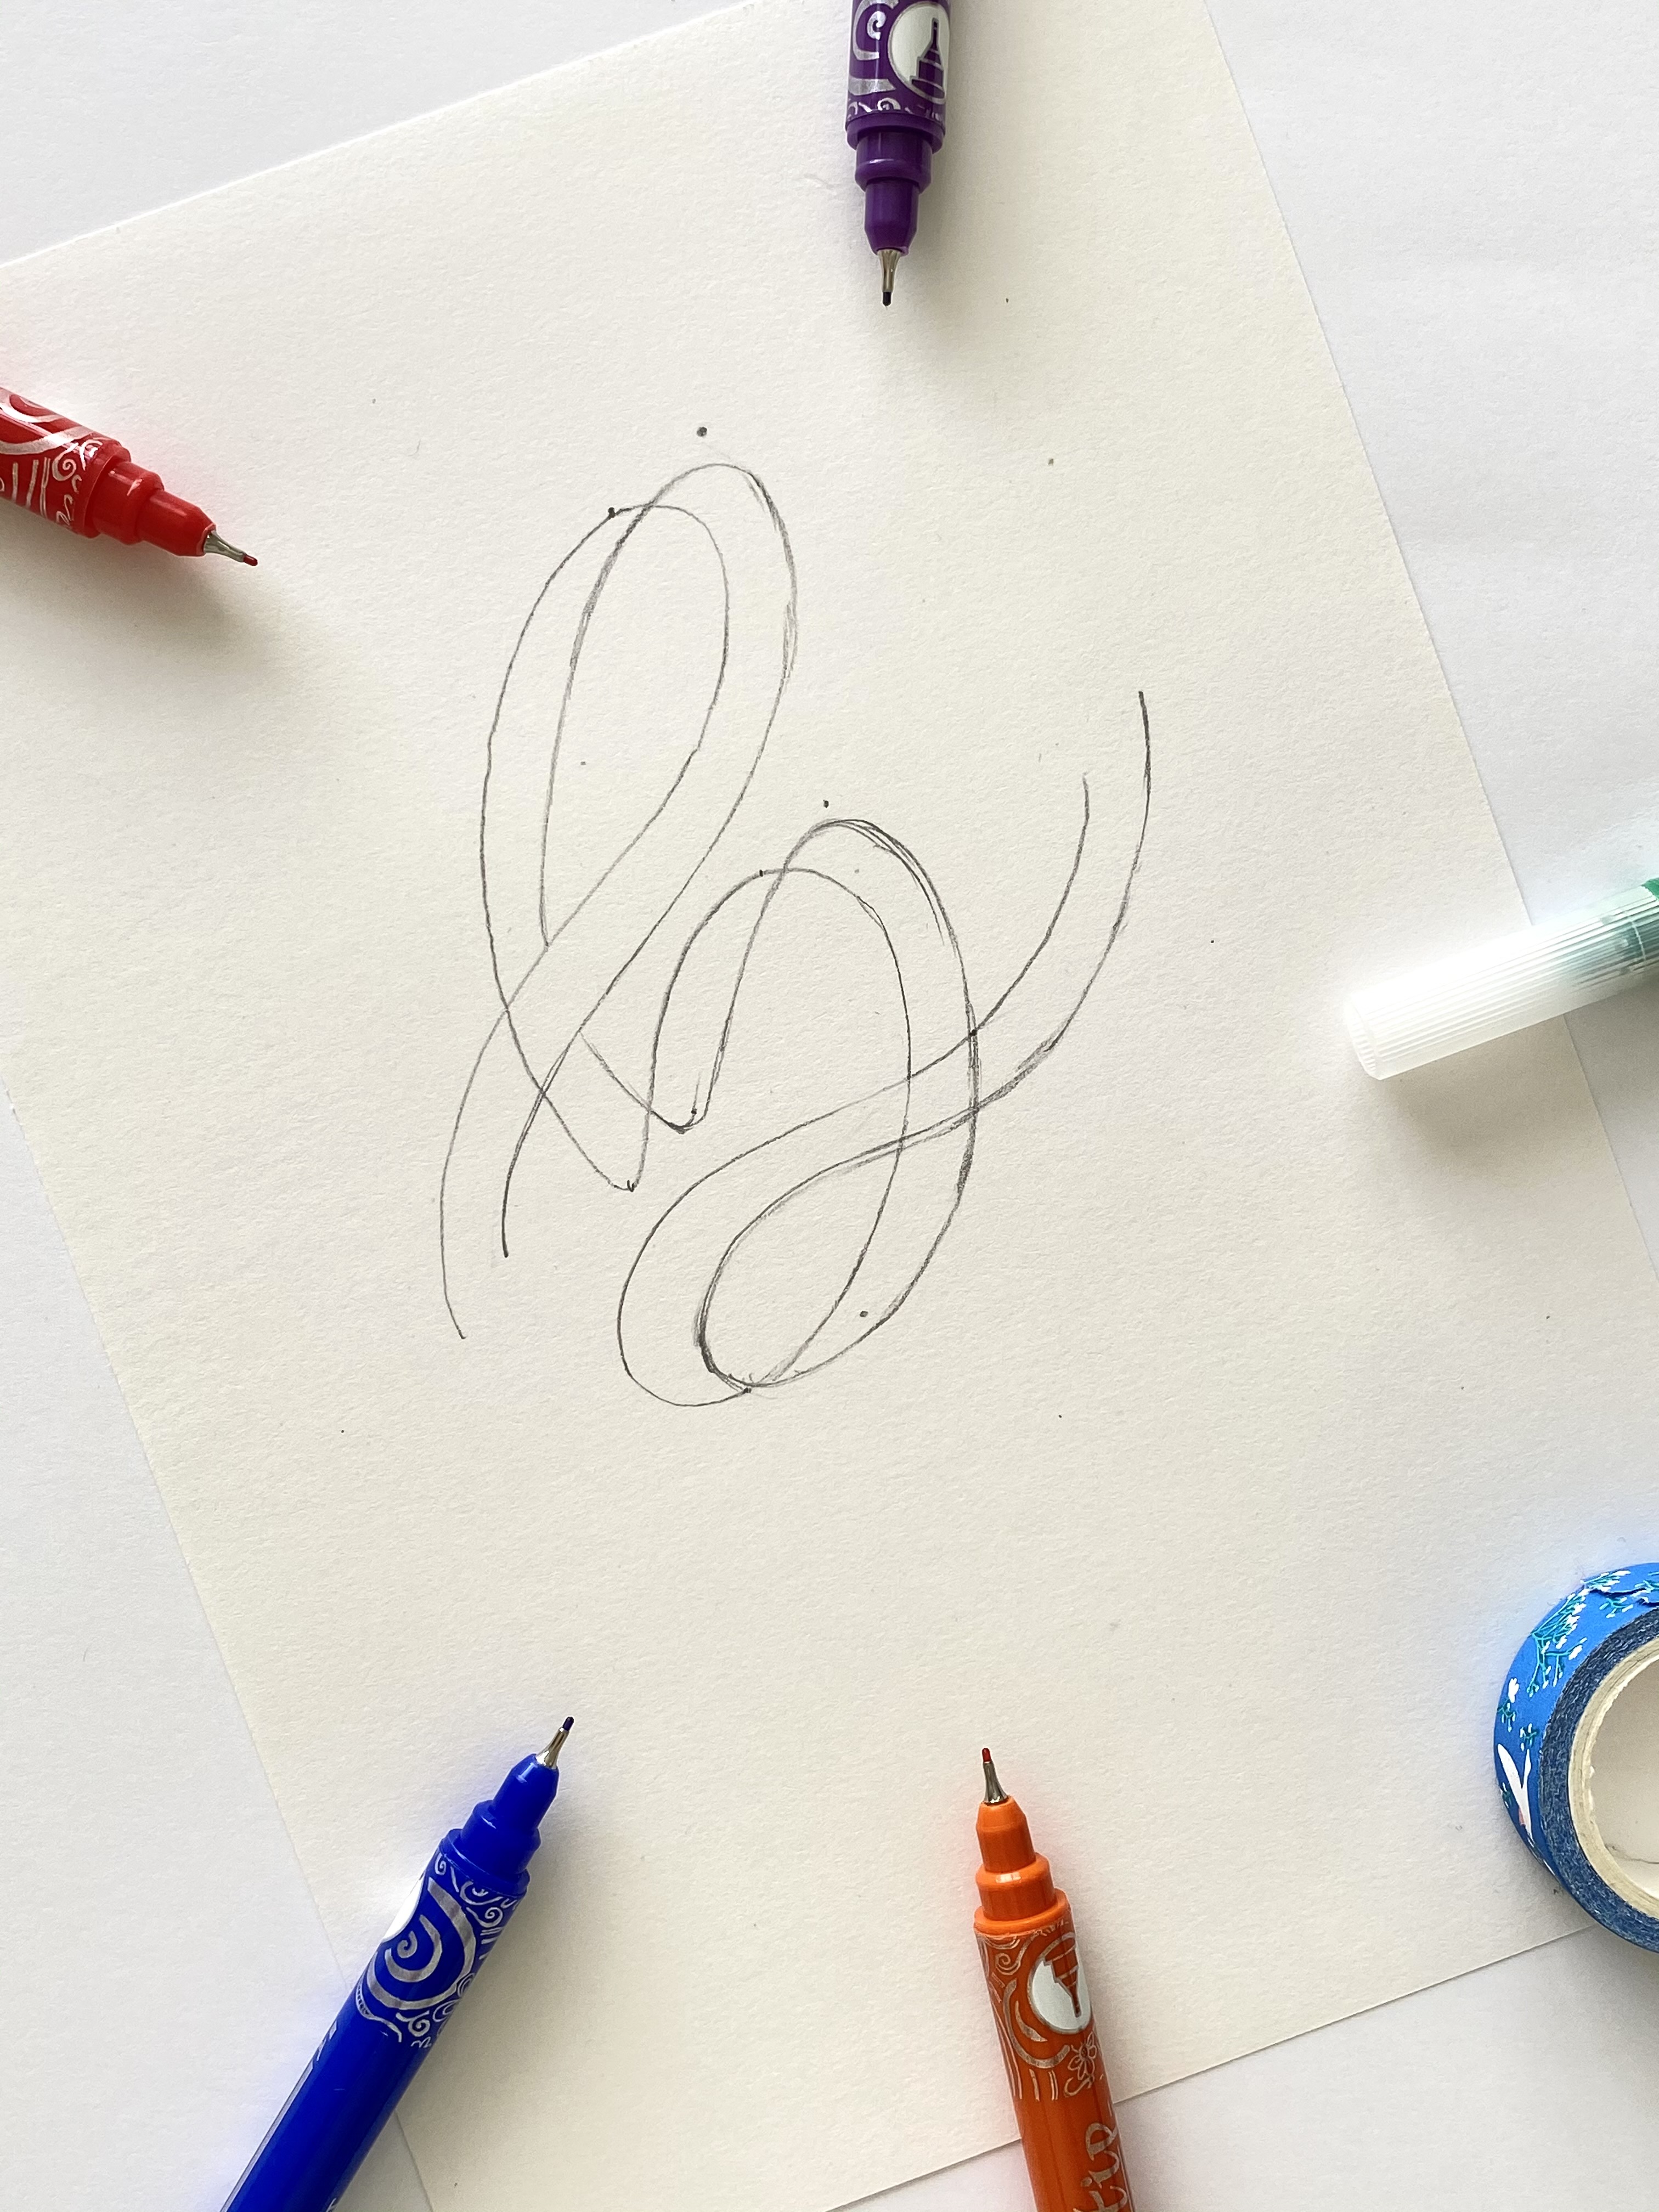
Step 3 - Connect the dots
Connect the dots that you put in the Step 2.2 to the points of transition in Step 2.1
As you do this you will notice a little triangle (sort of) will start to show up at the point of transition. Repeat this step for all the points.
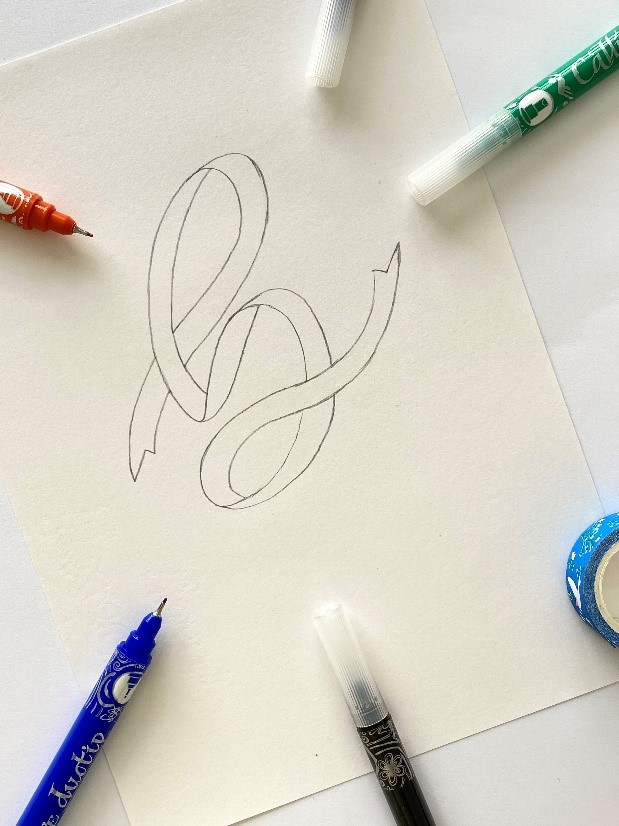
Step 4 - Erase your triangles
At this point, you have two choices. Either erase side 1 (refer to the picture) or side 2. Whichever side you erase will decide whether your ribbon folds forward or backward.
If you want your ribbon to fold backward, erase side 1.
If you want your ribbon to fold forward, erase side 2.
Whatever you choose, stick to that option for the entire letter. This is important to create the seamless flowy ribbon effect.
Step 5 - Add your colours
Now that you have your final sketch, it is time to fill colours. Pick 2 colours of your choice. One for the front side and another for the back side of the ribbon. This will help to create 3D effect and will show the folds of ribbon beautifully.
As a rule, fill one colour in the upstrokes and other for the downstrokes.
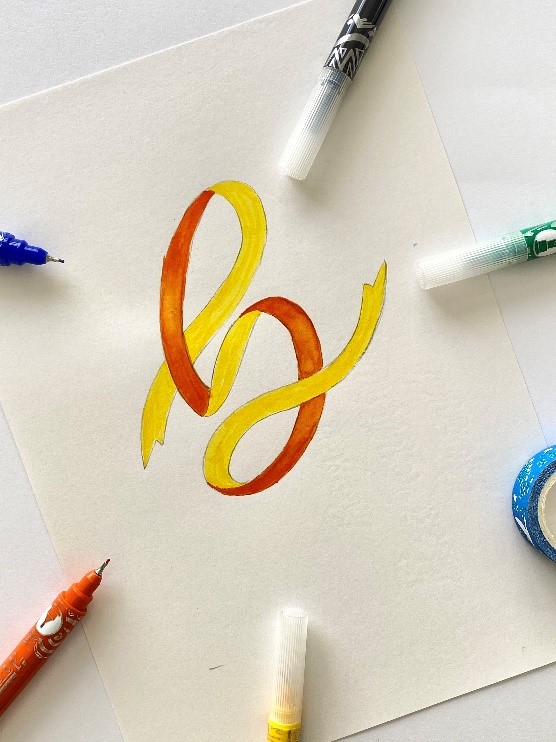
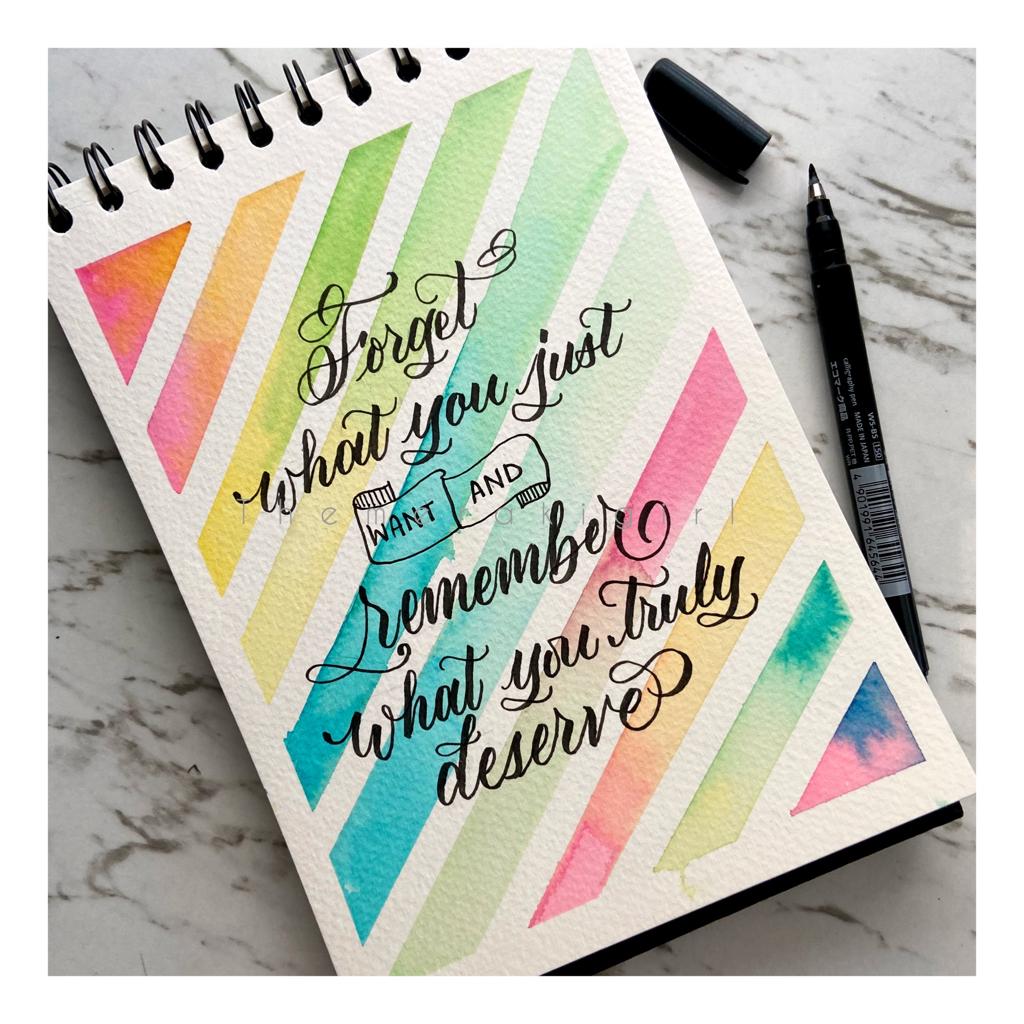
You can simply pick two different colours or even blend them. Get creative and have fun with this step. Here I used Manuscript Aquabrush Markers and then used water to give them a subtle watercolour effect.
Use these steps to create a monogram for a card or make a wall art to brighten up your personal space. In the example below, Tarandeep decided to use Manuscript Acrylic Gold Ink and ShimmerInk.

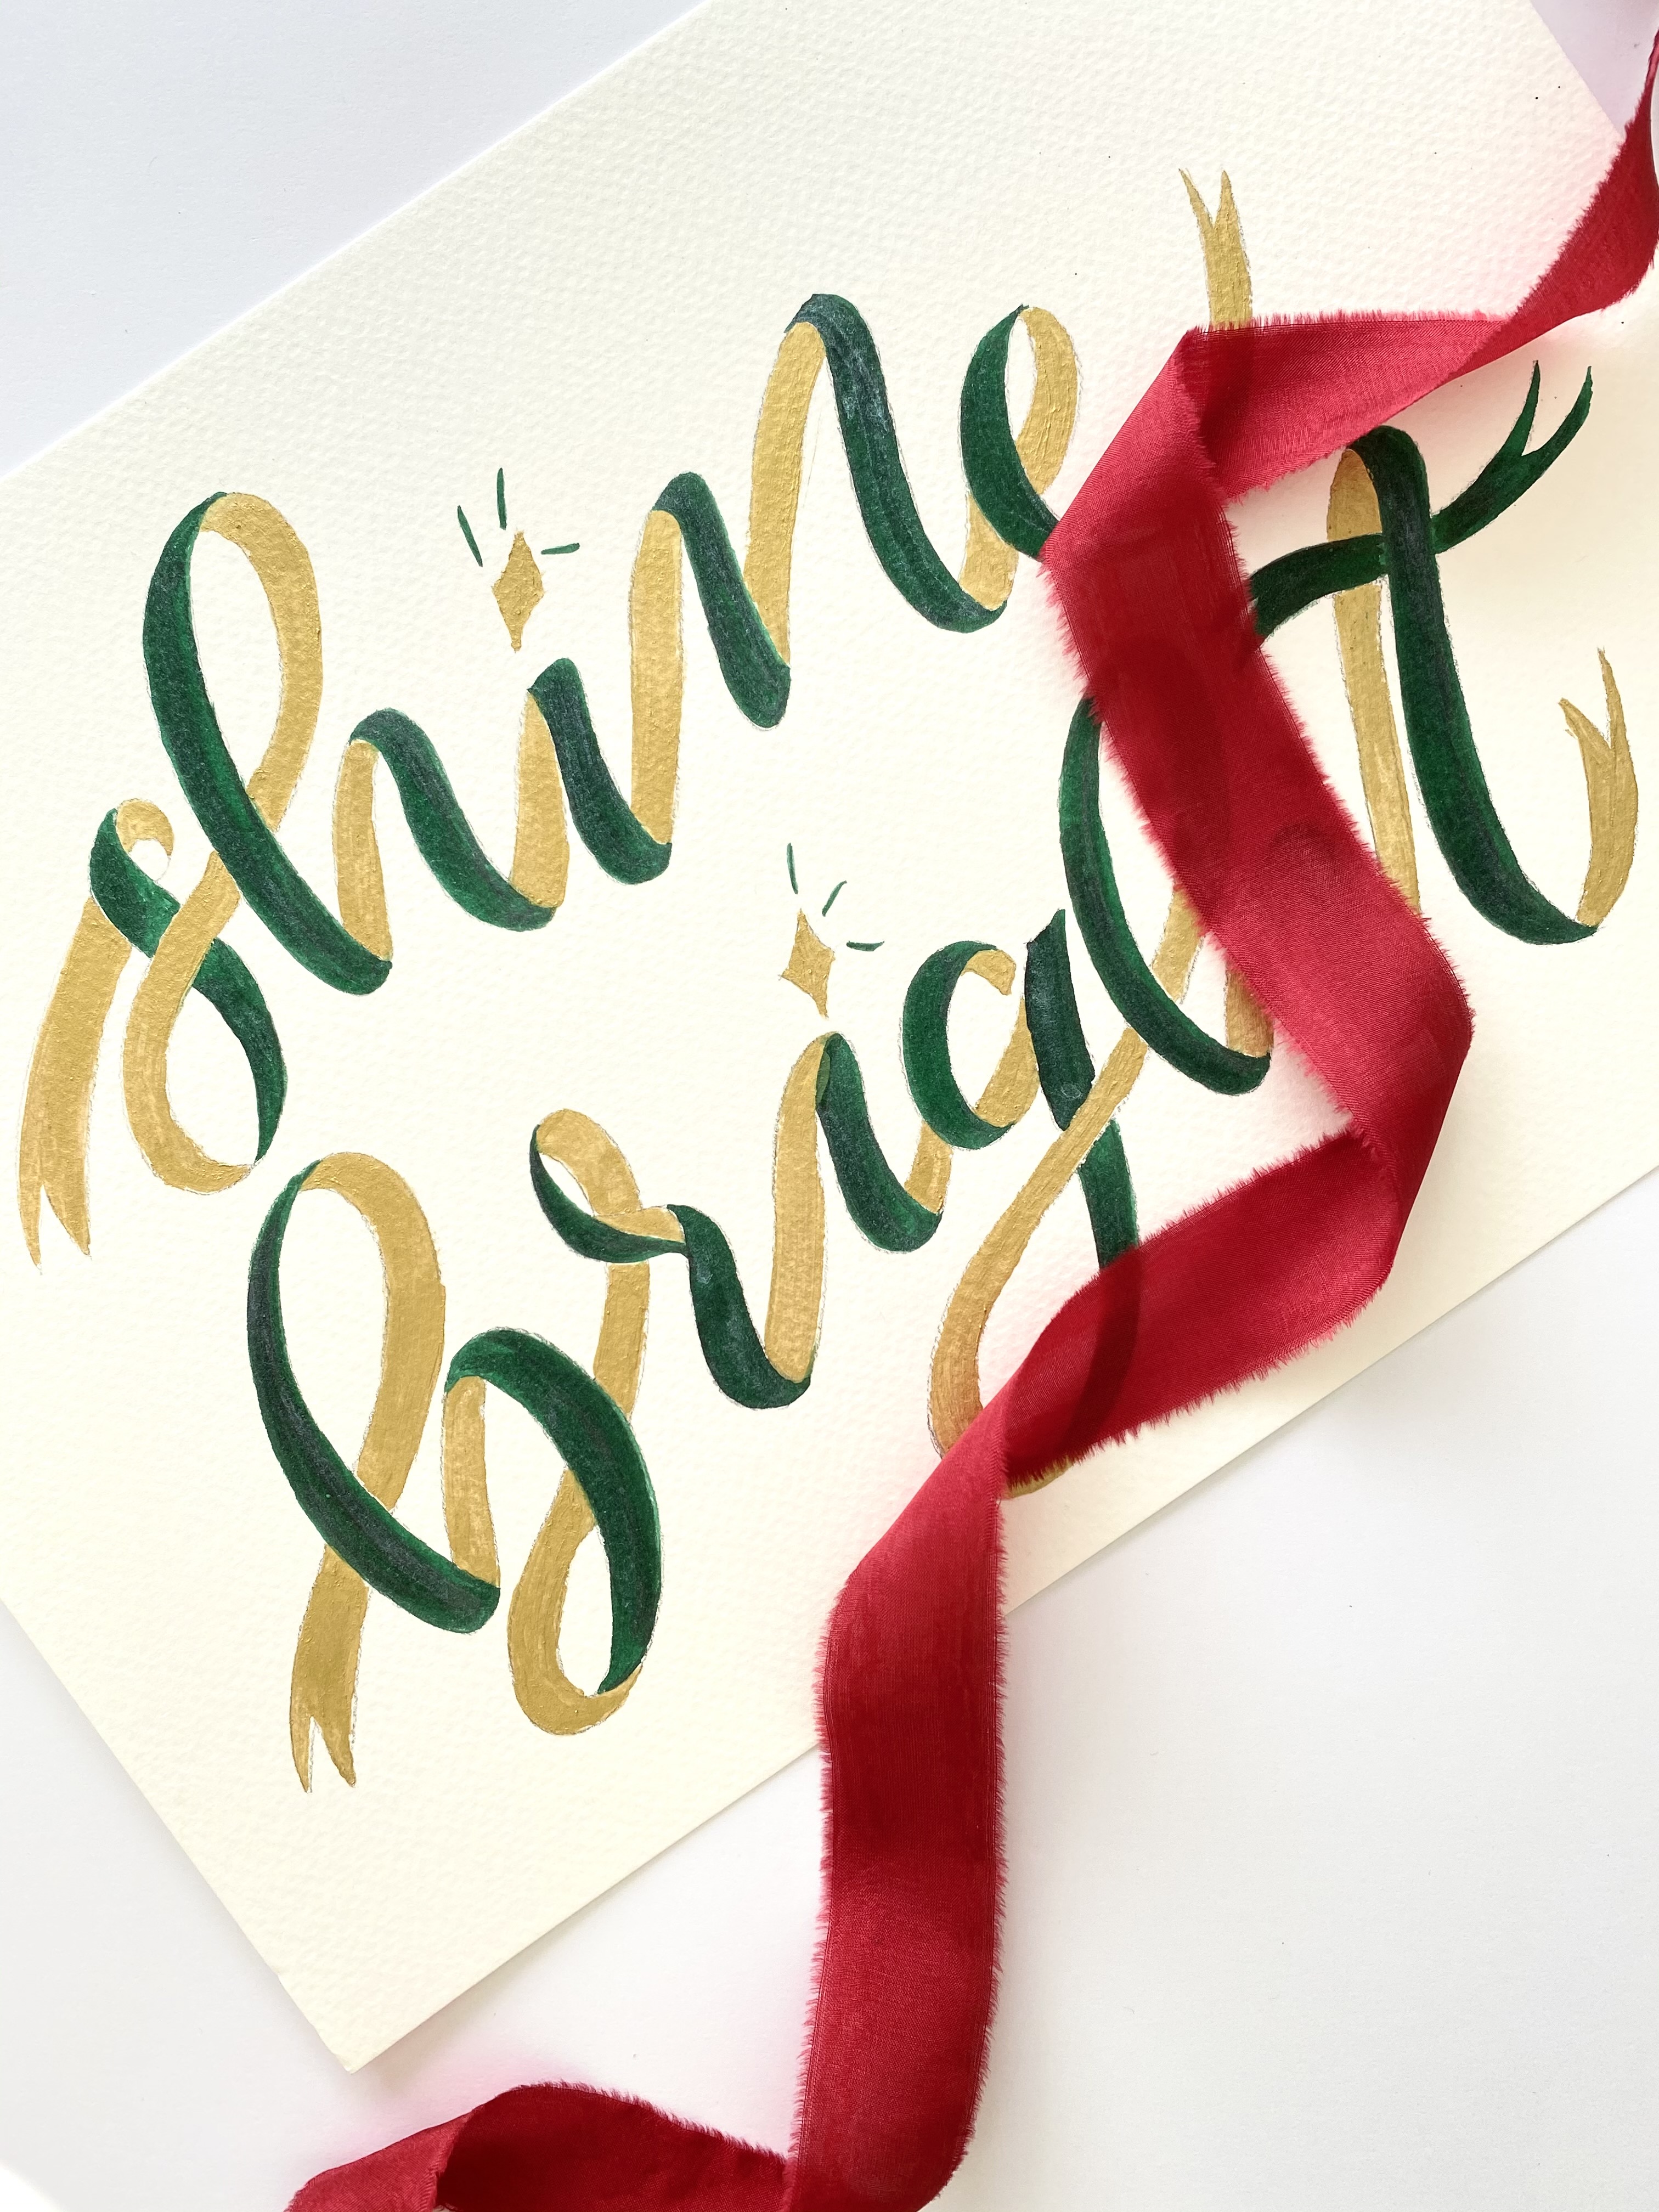
To see more of Tarandeep's work you can follow her on Instagram. Remember to follow @manuscriptpenco on Social Media where we will be showcasing her work throughout the month.