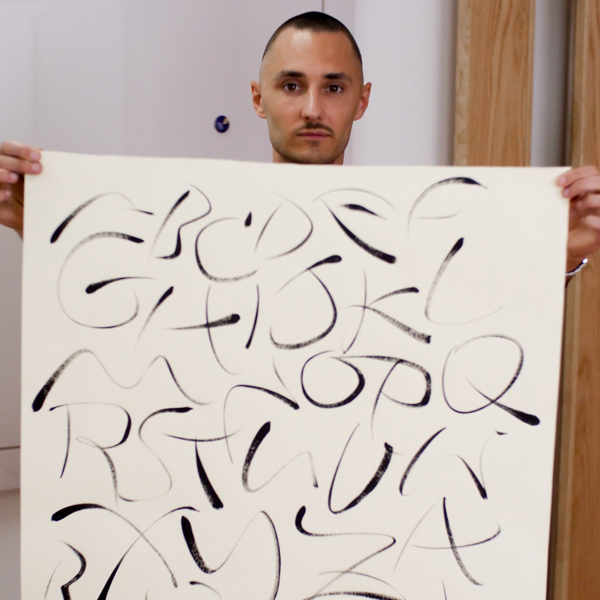
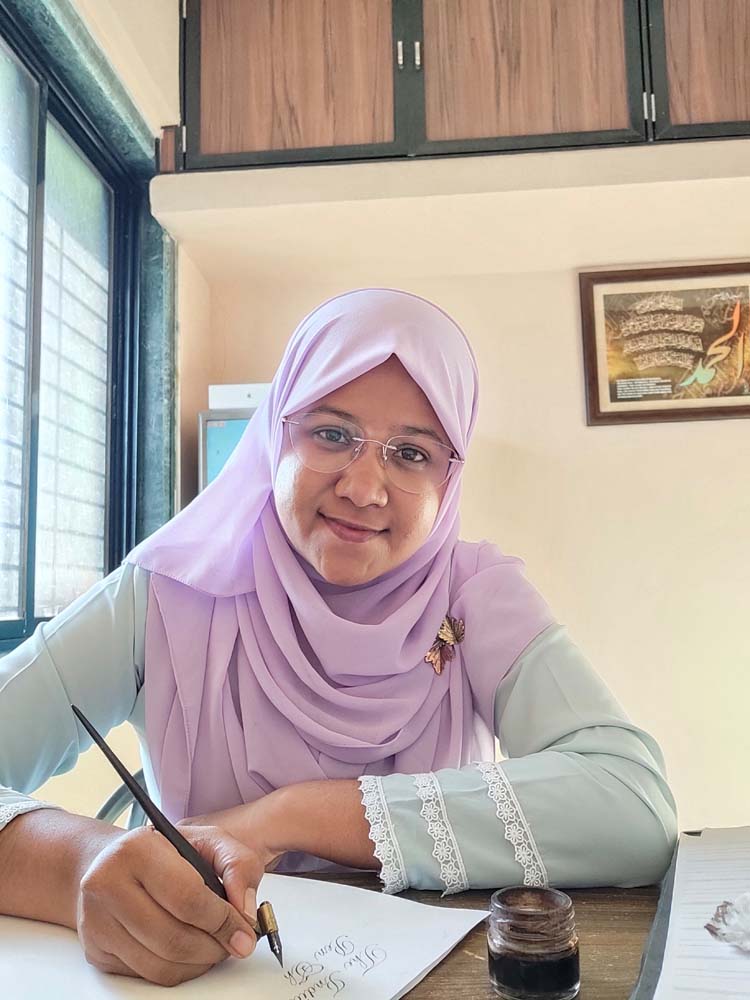
We asked our Artist of the Month Stacy Oakley to create a new DIY tutorial for you all and she did not disappoint! She has put together this watercolour calligraphy border project for you that is simple but so effective!
This tutorial is perfect for beginners, doesnt require alot of product and can be adapted to any celebration, from weddings, baby showers, and birthday parties!
So, what are you waiting for? Get your pens ready and lets go!
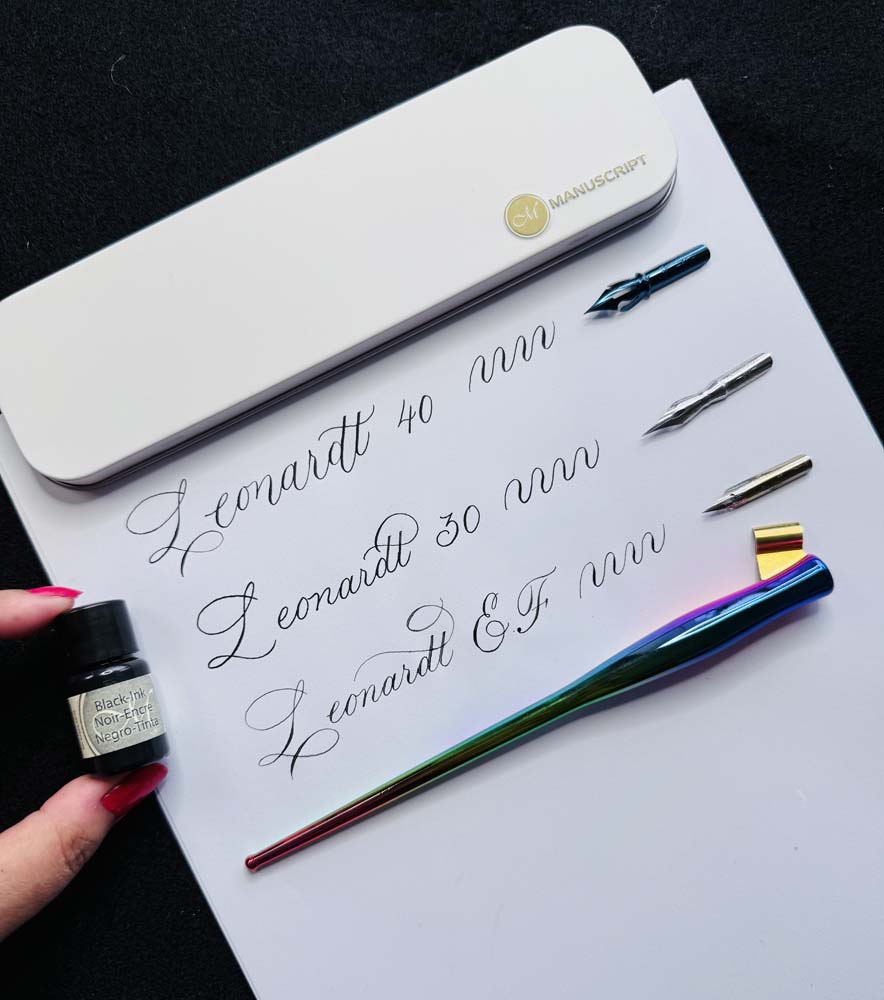
The Tools you need to get started:
- Manuscript Modern Calligraphy Set
- Aquabrush Markers
- Black Acrylic Ink
- Oil based Marker (as an alternative to acrylic ink)
- Watercolour Paper of choice
- Vinyl or acetate sheet (a food bag will even work!)
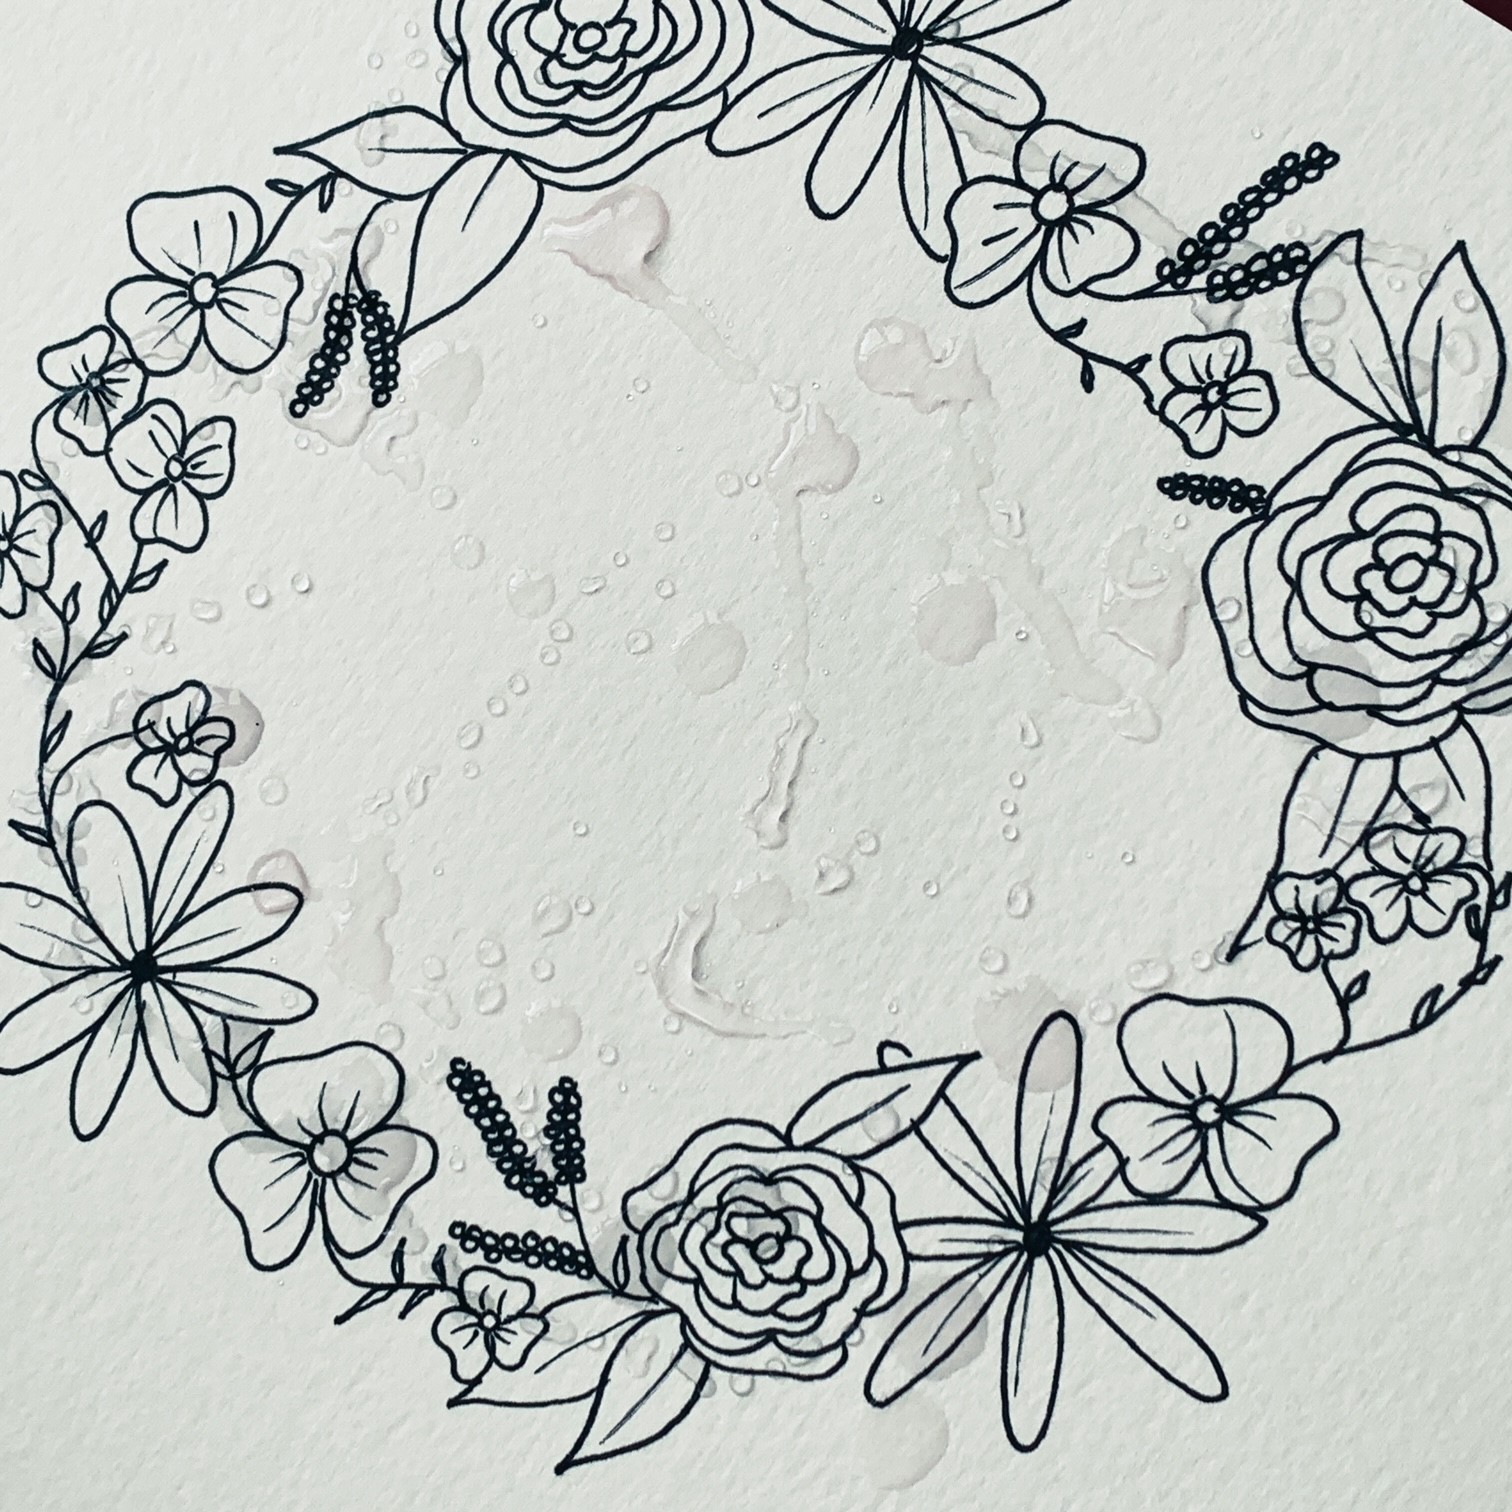
Step 1
Using your dip pen and acrlic ink, draw 4 flowers at top, middle and each side of your piece of paper. If you have another theme you can replace your flowers with stars, hearts, or shapes to suit your theme. You can also use an oil based marker which wont cause any smudging in the later steps.

Step 2
Fill the gaps with different floral illustrations using your dip pen and ink. Really use this time to express yourself and how you want your design to look. Again, you can also use an oil based marker which wont cause any smudging in the later steps.

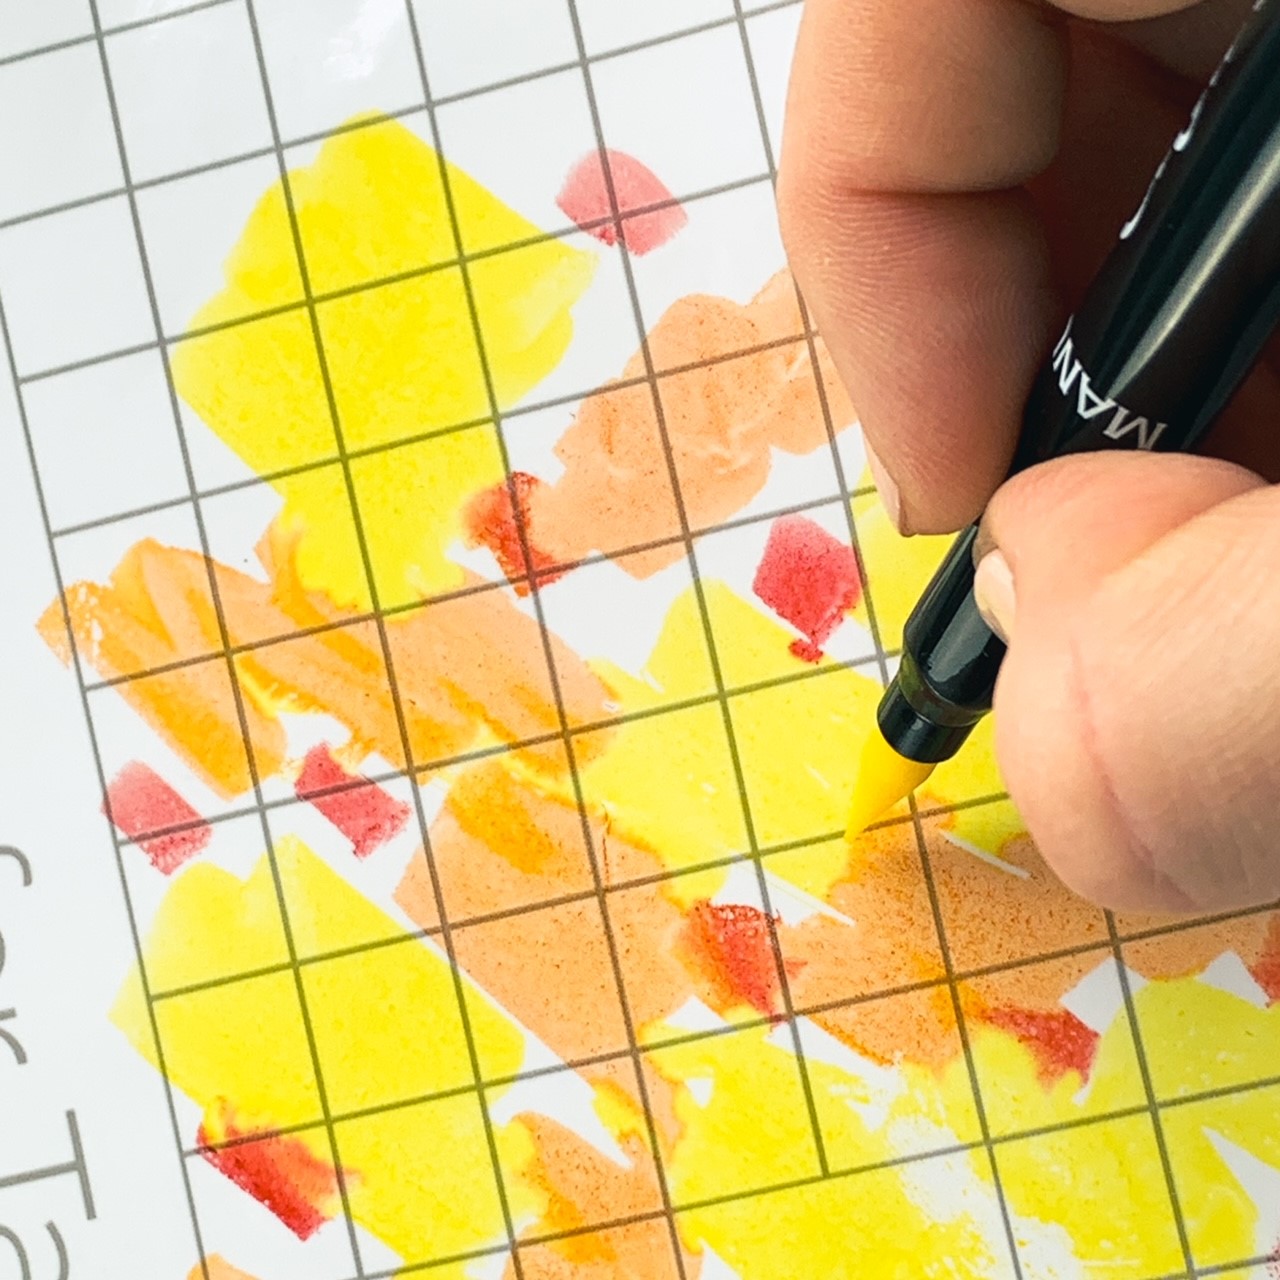
Step 3
Using the Aquabrush Markers, colour random sections of any shiny surface (vinyl, freezer bags and laminating pouches work well!). Use as many or little colours as you want, we would recommend using at least 3 colours to create a lovely effect.
Step 4
Make sure your border is completely dry first because you don't want your design to smudge. Then, using a brush, cover your piece with small droplets of water.
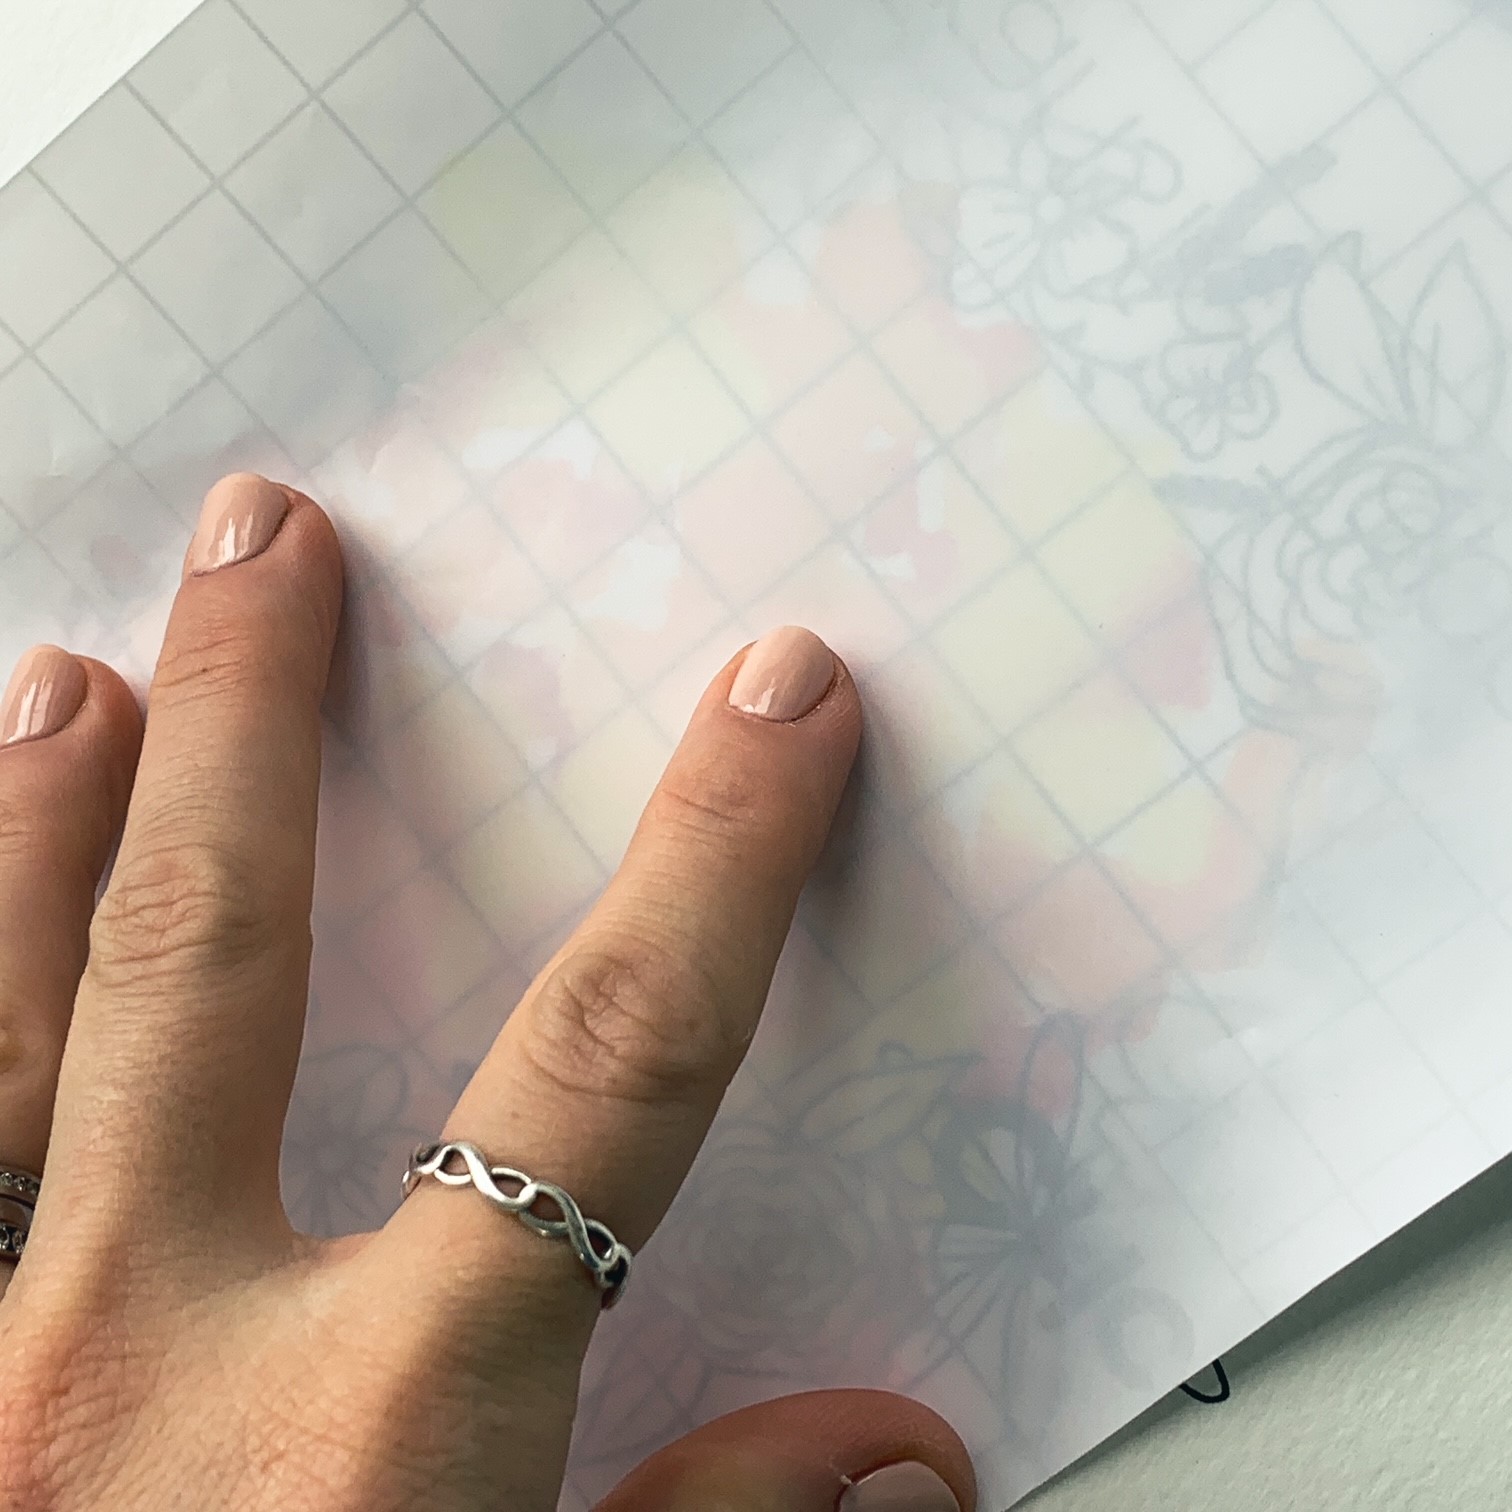
Step 5
Place your shiny surface on top of your water droplets and smudge.
Step 6
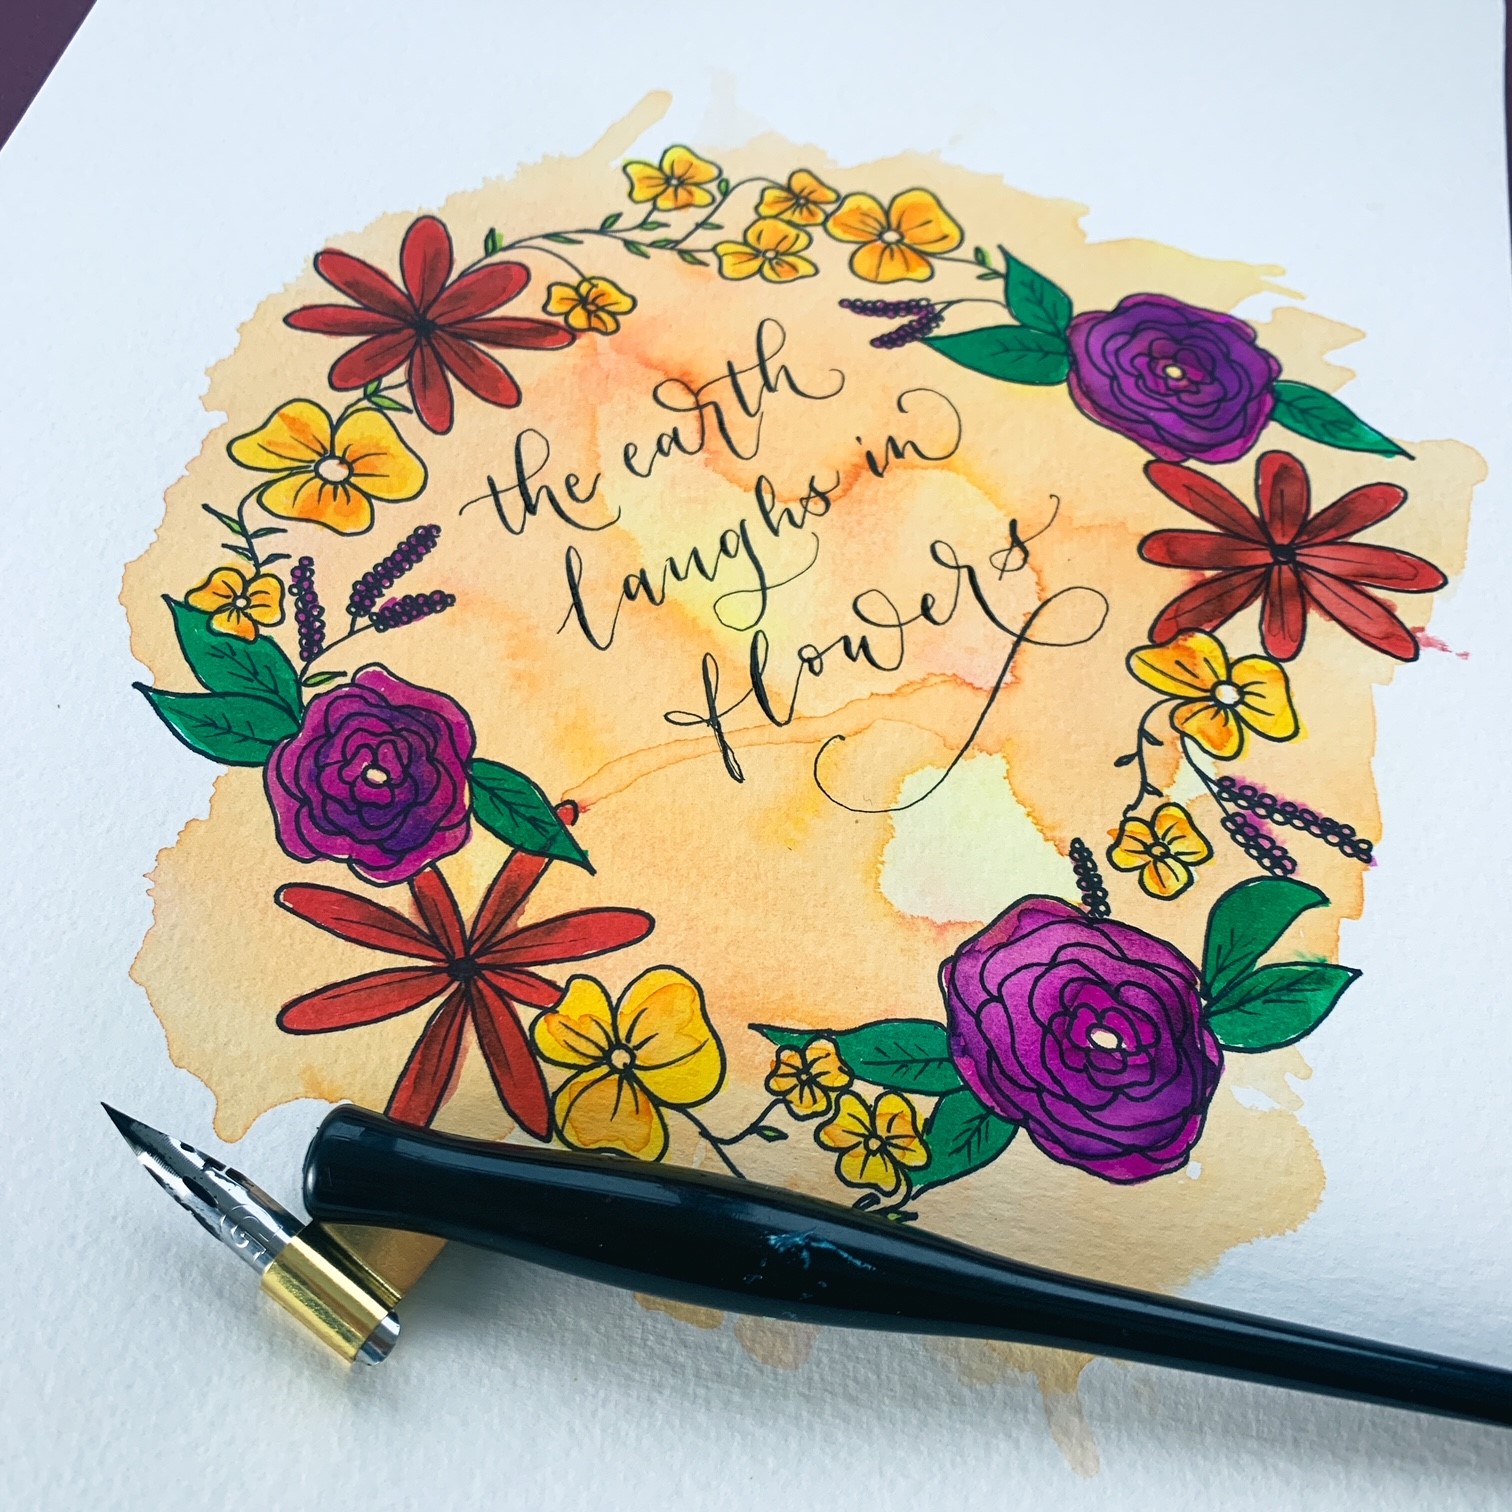
Use your Aquabrush markers to fill in any flowers. We used different colours and a wet brush to add some tone.
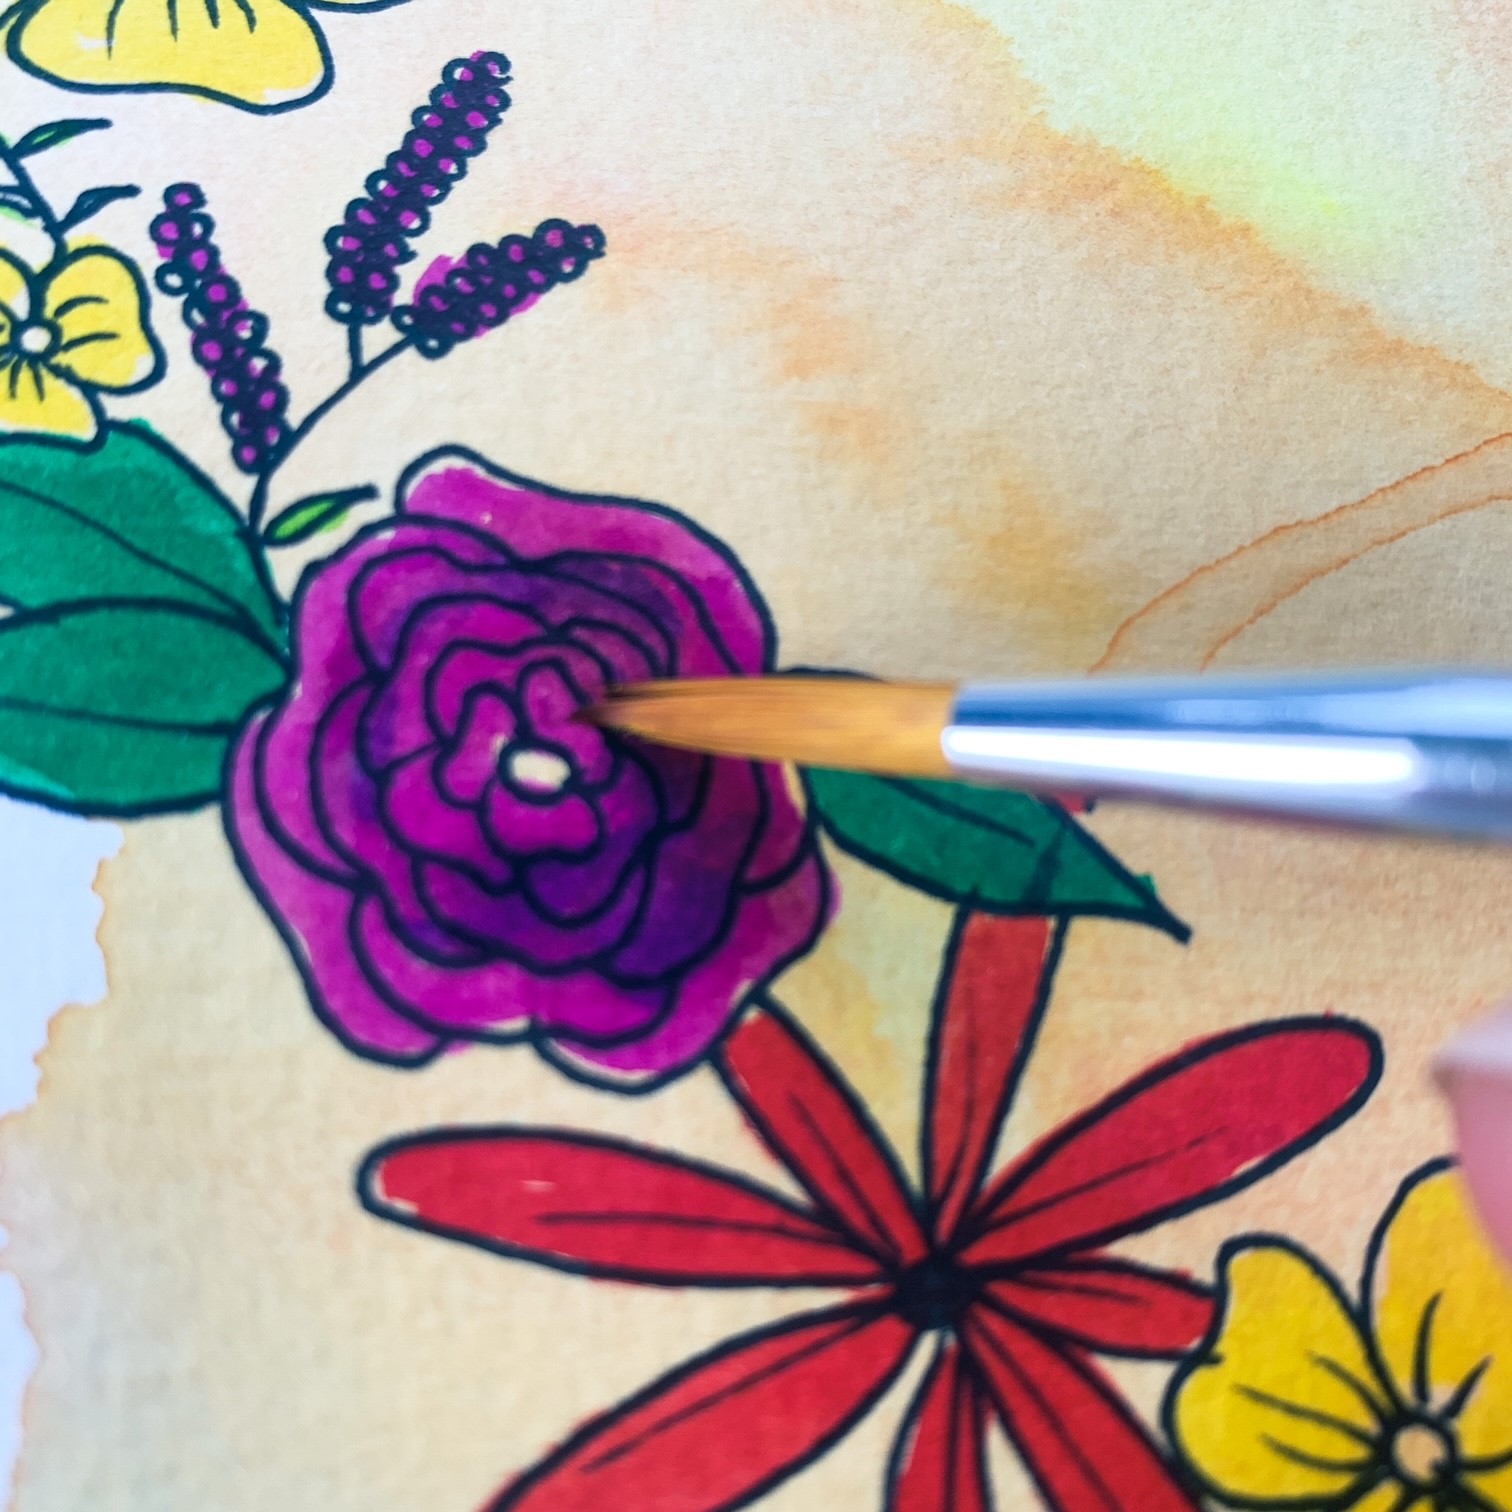
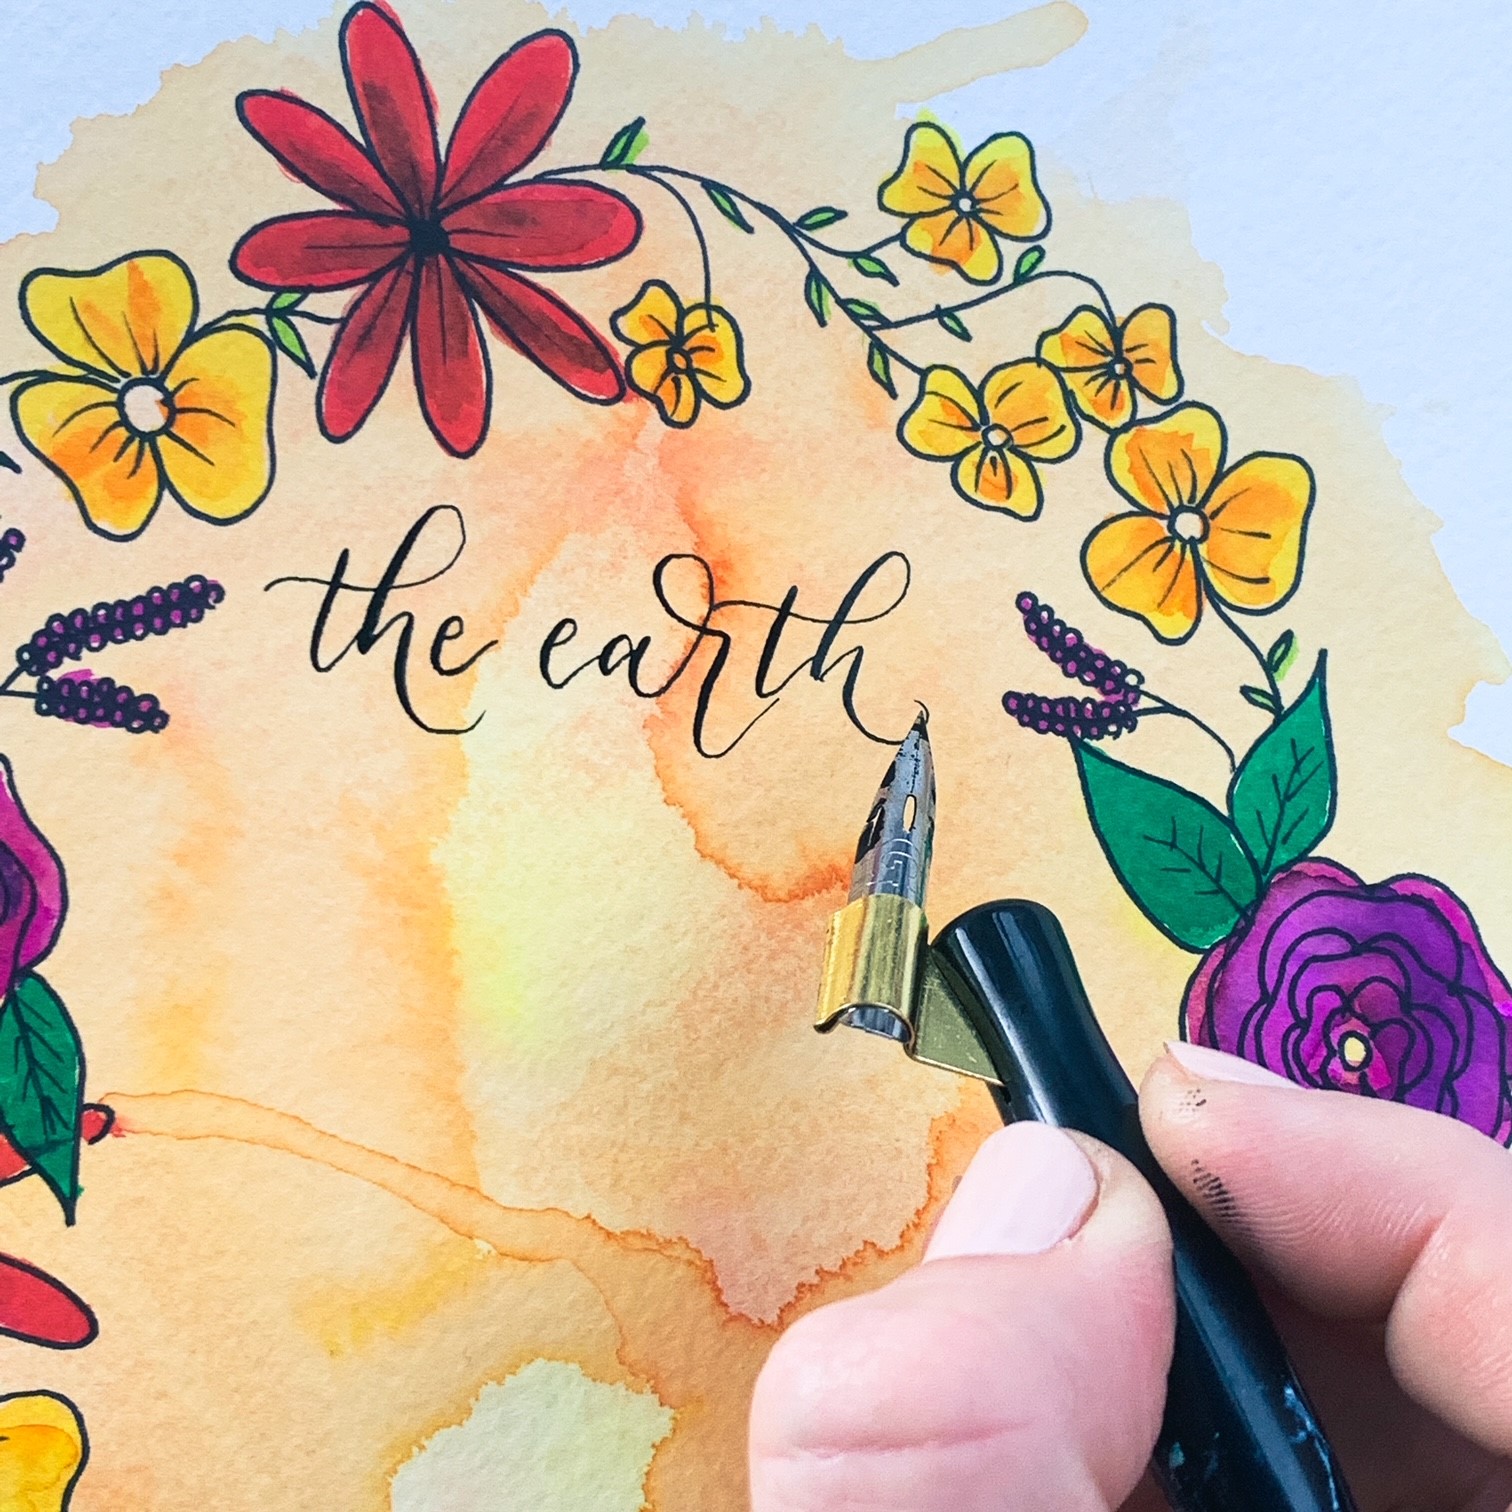
And there you have it, your complete watercolour border piece. We have used a modern calligraphy script for our design but you can use any style whether its copperplate, italic, textura, brush or even hand lettering! Get creative and see what you come up with!
To see more of Stacy's work you can follow her on Instagram or learn more about her and view her work or visit her website: www.socalligraphy.co.uk.
Remember to follow @manuscriptpenco on Social Media where we will be showcasing her work throughout the month.