So, you’ve just opened your Manuscript Oblique Dip Pen Set. First things first, that’s a great choice! Whether this is your first time trying pointed pen calligraphy or you're adding this set to your collection because... well, the colour options are stunning, and more importantly, it's a solid, versatile set. But where do you begin once it’s in your hands? Let’s walk through everything from nib prep to your first stroke.
What's inside the box?
Your Oblique Dip Pen Set includes: 1 rainbow-finish pen holder with removable brass oblique flange, 3 pointed nibs & 1 bottle of black calligraphy ink (I'm using the Rainbow Set!). This setup gives you the flexibility to use it as both straight and oblique holder which is rare and incredibly useful, especially if you're just figuring out what suits you best.

Step 1: Prepping your nibs
New nibs come coated in a very thin layer of oil from the factory. It protects the metal from rust during storage, but it also repels ink. That means if you skip this step, your nib may skip too.
You may have seen that here are many methods out there for prepping your nibs, I've explained what they are below:
(Please note some of the methods may carry risks and therefore I do not suggest using them).
1. Dish Soap & Water (Ani's suggestion) : Add a drop of mild dish soap to warm water. Gently scrub your nib with a soft cloth. Rinse well and dry it completely.
2. Rubbing Alcohol or Acetone: Involves soaking a cotton pad in rubbing alcohol or nail polish remover. Then wiping down the nib thoroughly and letting it air dry or pat dry.
3. The Flame Method: Involves holding the nib with tweezers. Passing it through a lighter flame once or twice, quickly to burn off the coating, letting it cool before inserting the nib back to the holder. I do not recommend this method.
4. Toothpaste Scrub: Apply non-gel toothpaste on a toothbrush. Scrub, rinse and dry and that’s it.
5. The Potato Trick: Potatoes contain natural acids that help remove surface oil. This method involves gently sticking the nib into a half cut raw potato. Leaving for about 10–15 minutes. Remove, rinse thoroughly with water and dry completely. That said, with fine pointed nibs, inserting into a potato can sometimes cause slight misalignment or damage to the nib tines if not done gently. I do not recommend this method, as there are other methods that are safer for delicate nibs and just as effective.
6. The Saliva Method: Calligraphers have quietly used this for generations. Some artists simply lick the nib or spit into a tissue and wipe the nib. The science works because saliva breaks down oils naturally. This method is debated within the community. I don't recommend licking the nib as this could cause injury to your tongue.
Prep your nib once, right when you start using it. After that, just clean with water and dry after each session.

Step 2: Inserting the nib - oblique or straight?
This pen holder lets you write in two ways:
Oblique Setup
This is especially helpful for scripts like Copperplate or Spencerian, which have a natural slant. Insert the brass flange into the pen body. Then gently push the nib into the flange, curving it in slightly so it fits snugly. The nib’s point should align with the center axis of the holder. The oblique flange helps your hand achieve a consistent writing angle, no contortion required.
Straight Setup
Prefer upright styles like Italic or Modern Calligraphy or offhand flourishing? Simply remove the brass flange. Insert the nib into the central opening of the holder like a standard dip pen.
Tip: Don’t force the nib, hold it from the lower part. It should slide in with a gentle push or a slight wiggle.
Step 3: Get to know your nibs
This set comes with three nibs and each one has its own feel and personality.
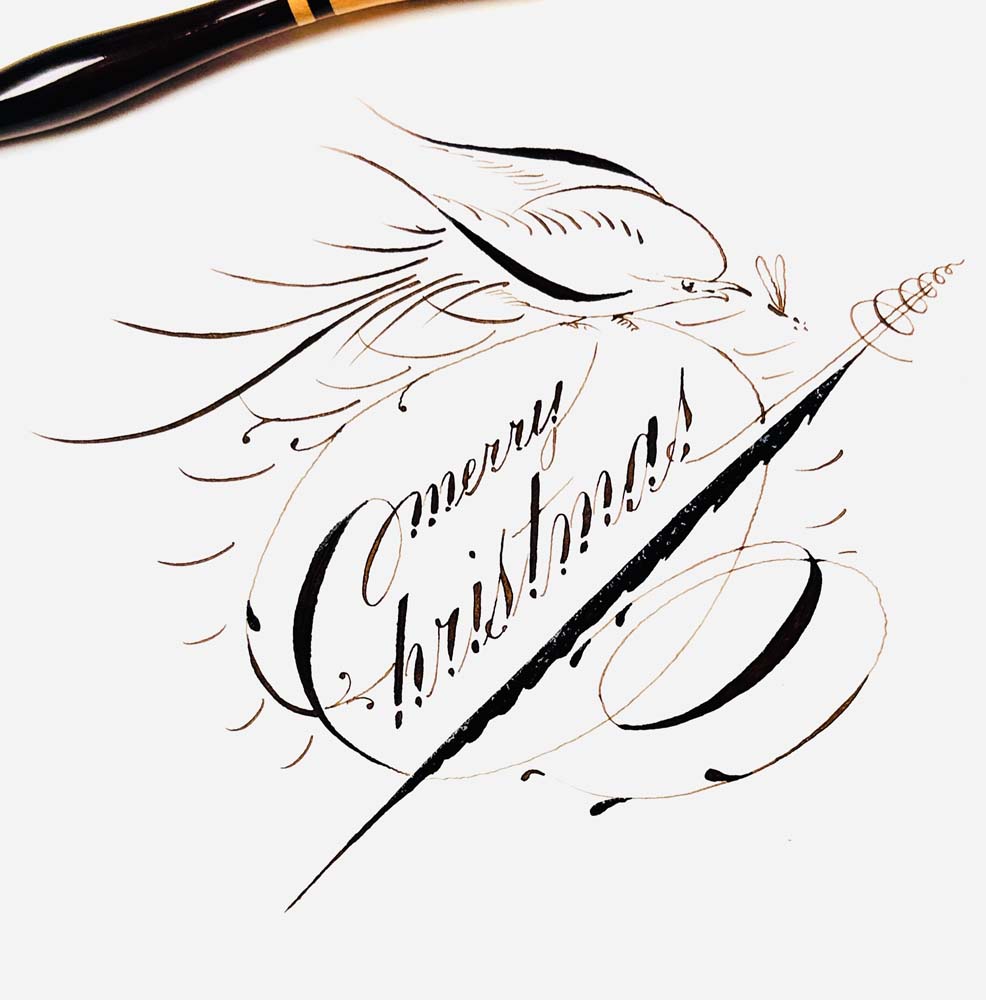
1. Leonardt Principal EF (Gold-toned): A flexible, sharp-pointed nib. It creates beautiful hairlines and dramatic thick down strokes. Great for Copperplate and flourishing but go slow. It responds to pressure and needs a light hand. The LP EF gives one of the best shade to hairline contrast in my opinion. This is my go-to nib for most of my pointed script practise as well as offhand flourishing practice.
2. Leonardt 40 Nib (Blue): Firm, versatile, and beginner-friendly. It’s more forgiving on textured paper and ideal for practicing modern calligraphy, or longer writing sessions.
3. Leonardt 30 Nib (Silver-toned): This is a good beginner nib. Less flexible but very stable. A good general-purpose nib that works well for upright scripts, simple penmanship, or learners easing into pointed pen techniques.
Try all three to see what suits your style best as each brings something different to the page.
Step 4: Ink up & start writing!
Now for the fun part. Dip your nib into the bottle of black ink and slowly take it out and just past the breather hole (the slit in the nib). Gently tap off the excess ink on the edge of the bottle if any. Hold your pen at a slight angle and let it guide your strokes.
Quick writing tips: Angle your paper to match your script style (usually 55° for Copperplate). Press lightly on down strokes and lift for upstrokes. Use bleed-proof, smooth paper (Bristol, or hot-pressed watercolor paper work great). If ink isn’t flowing smoothly, your nib may still have some oil, try cleaning it again and try.
Step 5: Cleaning & storage
After you’re done writing, rinse your nib under lukewarm water. Wipe it gently with a soft cloth or tissue. Let it dry completely before storing. Don’t leave your nib in ink or water, as that will lead to rust. Store your pen in its tin or upright in a pen holder. If you’re not using it for a while, remove the nib and keep it dry.
FInal thoughts:
The Oblique Dip Pen Set isn’t just eye-catching (especially the Rainbow Set!), It’s a practical, adaptable tool that grows with your calligraphy journey. With just a little prep and care, you’ll be making elegant marks in no time.
Whether you're exploring Copperplate, Spencerian, Offhand flourishing or Modern calligraphy, or just slowing down with a new creative ritual, this set is a great companion.
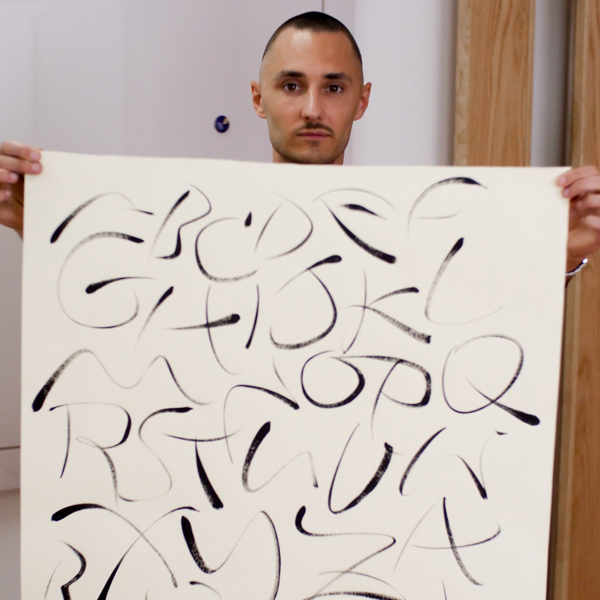
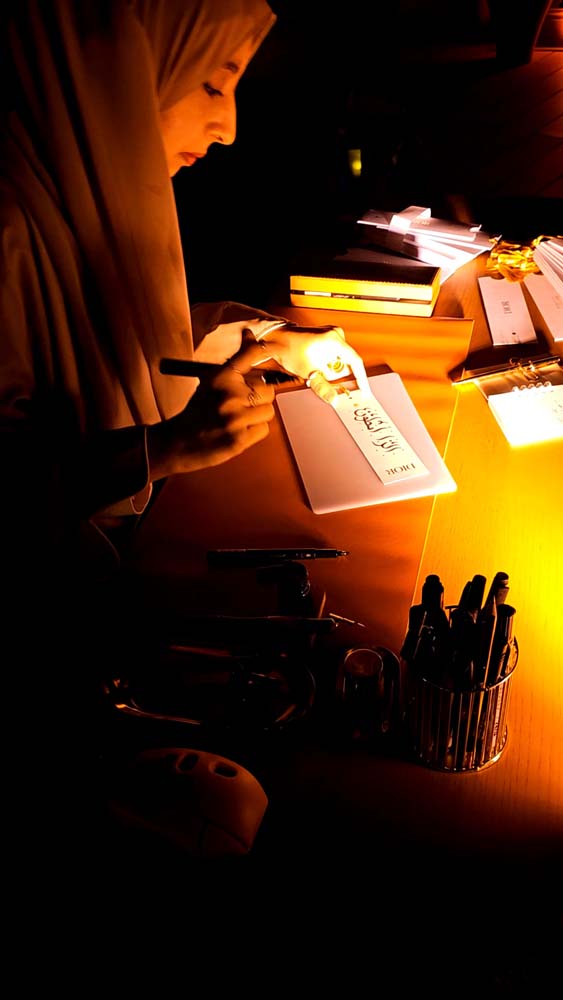
Tag @manuscriptpenco when you share your work and we can’t wait to see what you create. Blog write up contributed by Anindita Biswas, IG (@calliscript).
To see more of her beautiful work you can follow her Ani (@calliscript) and remember to follow @manuscriptpenco on social media where we will be showcasing her work throughout the month!